Summer Scunthorpe Steeler tour No16
Saturday 18th August 2018
Report by Mark Herriott
I hadn't done a BLS tour round Scunthorpe for two years - so high time for another trip then. I stayed in Doncaster the night before so, with bay P0 still on the required list, that would be the first objective. Saturday morning saw me at Doncaster station for the 07.42 Doncaster to Scunthorpe Northern service. I wasn't the only person with this thought - a couple of other members joined on their way to our tour.
With 142005 in charge we duly bounced our way to Scunthorpe. Sadly this Northern service has not run on a Saturday since that day due to the industrial action. With plenty of time I elected for the short walk to the Steelworks and on arrival there were a few familiar faces loitering [with intent to grice], waiting for proceedings to start. Our BLS team soon arrived to check us in, issue a Jim Sellens souvenir ticket and two Martyn Brailsford newly updated A3 printed full colour maps to every participant.
[The marked up plan for this tour is on our website (for Members) Document Archive, 01.09.18.]
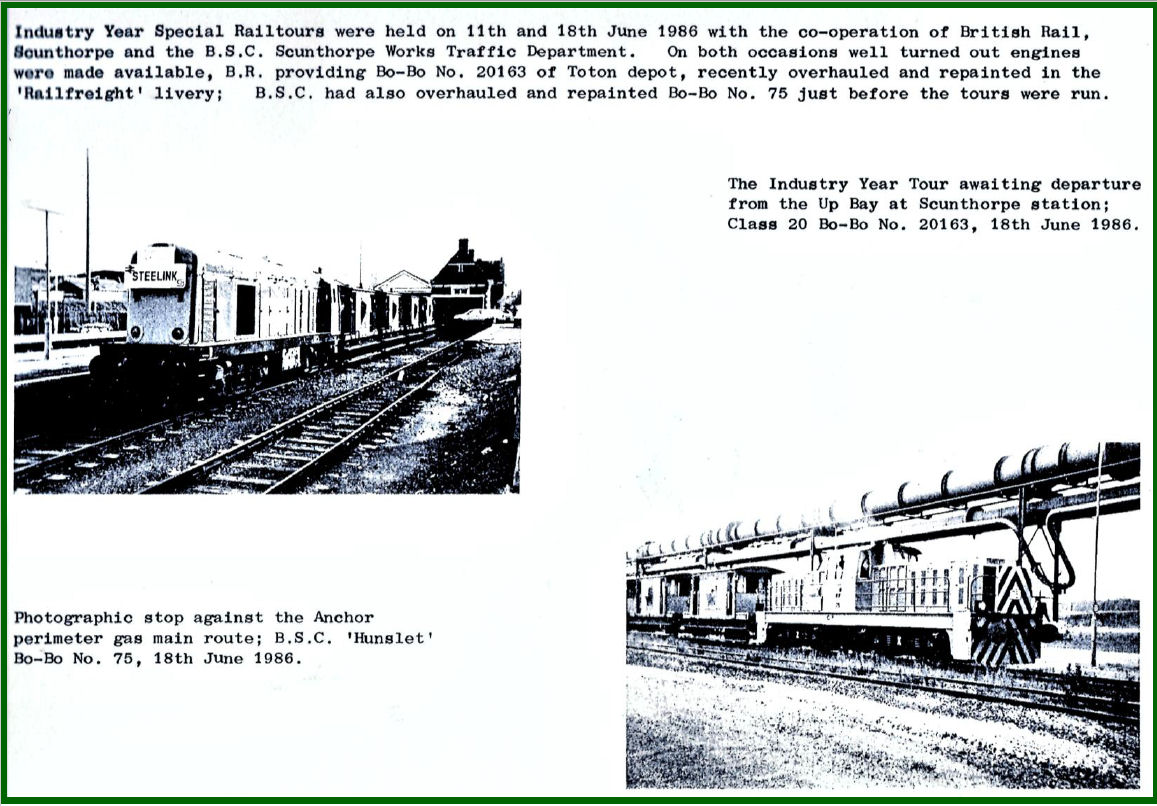
All Our Yesterdays... a steelworks railtour in 1986 (the year before the public trips began) started from the bay platform at Scunthorpe station - now there's an idea, Alan.
[© Tom Gilby 2018]Within minutes a familiar horn could be heard from the works as Yorkshire Engine Company No1 hauled three brakevans up to the 'Frodingham' platform and, after running round the train, the first objectives of the headshunt and runround loop here were achieved. On departure we dropped down the slope into the works and approached the Plate Mill site. Although closed and with most lines disconnected, 23 Road remained [to the Old Stripper Shed - don't ask!] and was achieved to the doors.
We then headed to the northeast end of the Heavy Repair Bay where, amidst the wagons, we covered Roads 1, 2 & 6 (and through the doors on 6). Following a reversal over Dawes Lane Bridge we headed up to the Corus Rail Sidings [♪ ♫ all together now‽ ♫ ♪]. This area is always a challenge for Al Shep, Glenn and his Appleby Frodingham Railway Preservation Society (AFRPS) team due to the wagons there for loading/unloading. But the effort paid off, with all 58 participants gaining a little track by the looks of things. This is a good point to thank Al, our local member, Scunthorpe expert, an AFRPS working volunteer and tour route coordinator, for all the time and effort he puts in to the trips.
Eventually a route through the sidings to Rail Delivery Line 1 (to the doors) was found along with parts of Lines 2 & 7. After two more reversals (there can be 100 on these days), routes were found to both the East and the West Siding of 2 Bay at the Rail Service Centre (RSC). Leaving this area, a route through to 5 Bay Road in the RSC was apparent and as a bonus we, unusually, entered the building.

The Heavy Repair Bay.
[© Chris Ziemer 2018]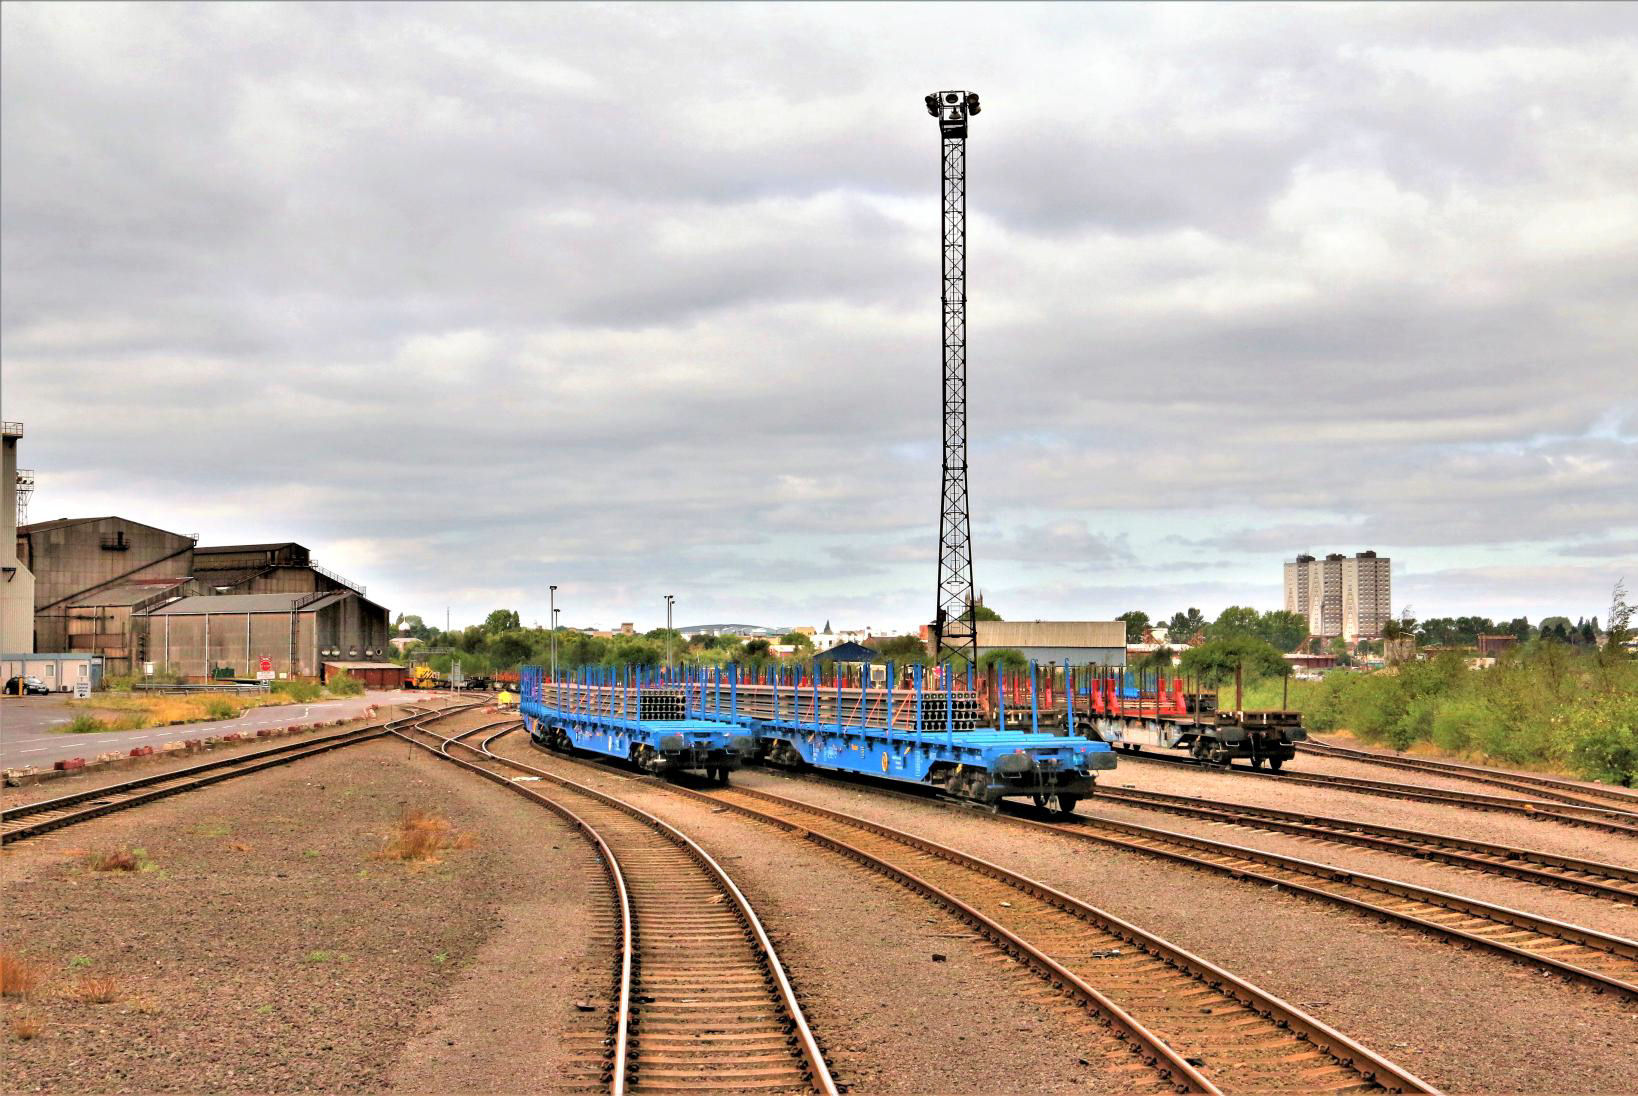
The Corus Rail Sidings.
[© Chris Ziemer 2018]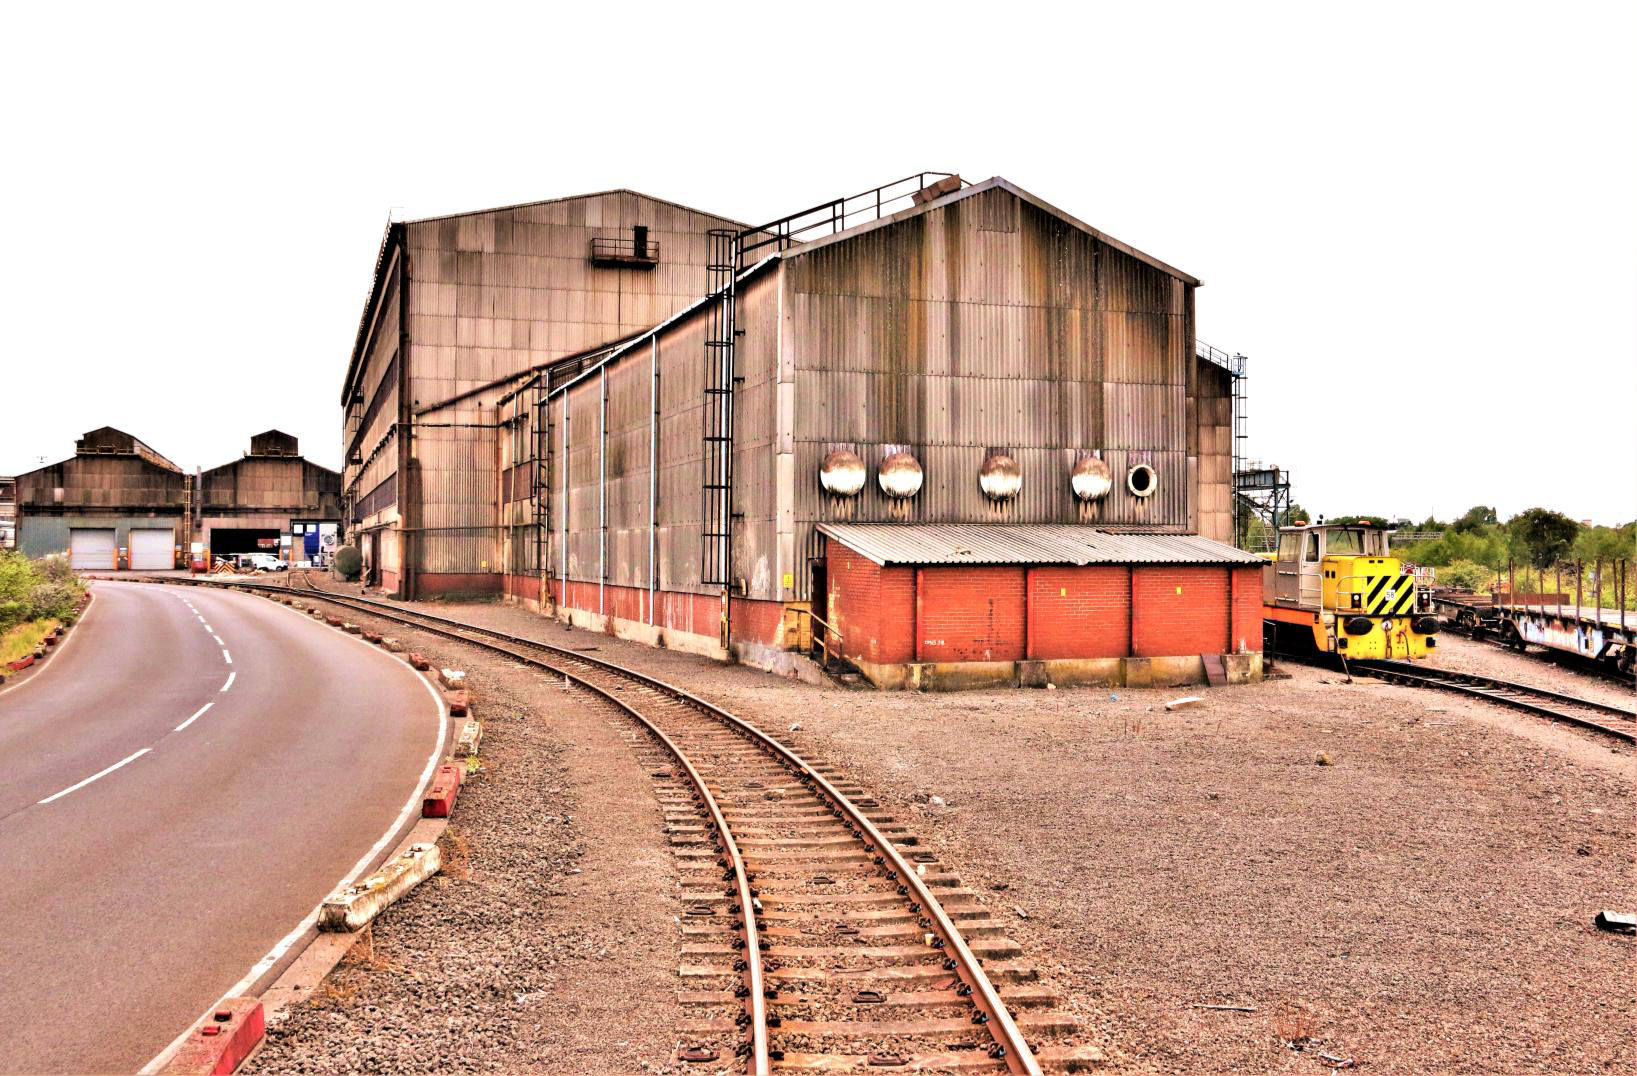
The approach to the Rail Delivery Lines.
[© Chris Ziemer 2018]
Trent Low Level Sidings.
[© Chris Ziemer 2018]
Redbourn Semi-Finished lines (the far end of Line C2 - in the middle - was reached). Note a train of iron ore is on the Foreign Ore Branch top left.
[© Chris Ziemer 2018]The tour dropped back down to the incline from RSC and headed to DBC's Trent Sidings complex. It is also not easy to find a through route in this area but we succeeded and ran via High Yard Line 5 and returned through Low Yard Line 11 [...and I'll be in Scunthorpe afore ye...] although the reversal at the west end (NR boundary) was very tight with the brakevans but we avoided appearing on Scunthorpe Signal panel! With Trent Sidings completed for the tour, we retraced our tracks back south to the Steel Stockyard and Redbourn Semi-Finished areas [one day they will get round to completing them...]
As we proceeded to the end of Line D3 the windy conditions which had been prevailing for the morning claimed its first victim - ME! Unfortunately, my record of all my movements so far decided it would fly out of my hands on to the ground, but thankfully we managed to attract the crew's attention and the train paused before making its way down Line D2, to enable it to be retrieved. On our route down line D2 an inconveniently placed wagon meant we had to stop just before Points 583 on D3. Reversing twice more our tour then ran all the way down Line C2 and then, after further reversals, proceeded down Line B2, in both cases testing the buffer stops.
With this area completed we then headed to one of the 'highlights' of the Steelworks - the High Lines reached through the Coke Oven Weighbridge Loop. With the engine propelling, we made our way steadily up the incline reaching the first set of points on the High Lines. This was the limit we were allowed to traverse and was certainly impressive. It was thought to be the furthest reached here by a Society trip at the works - indeed for several years during repairs the incline was out of bounds. With the morning section nearly complete, it was time to head to the AFRPS Shed for a break, but via a slight detour on the line serving the north end two (of four) blast furnaces 'Mary' and 'Bess'....
Beneath the blast furnaces - 'Mary' and 'Bess' (but no swearing now)...
[© Chris Ziemer 2018]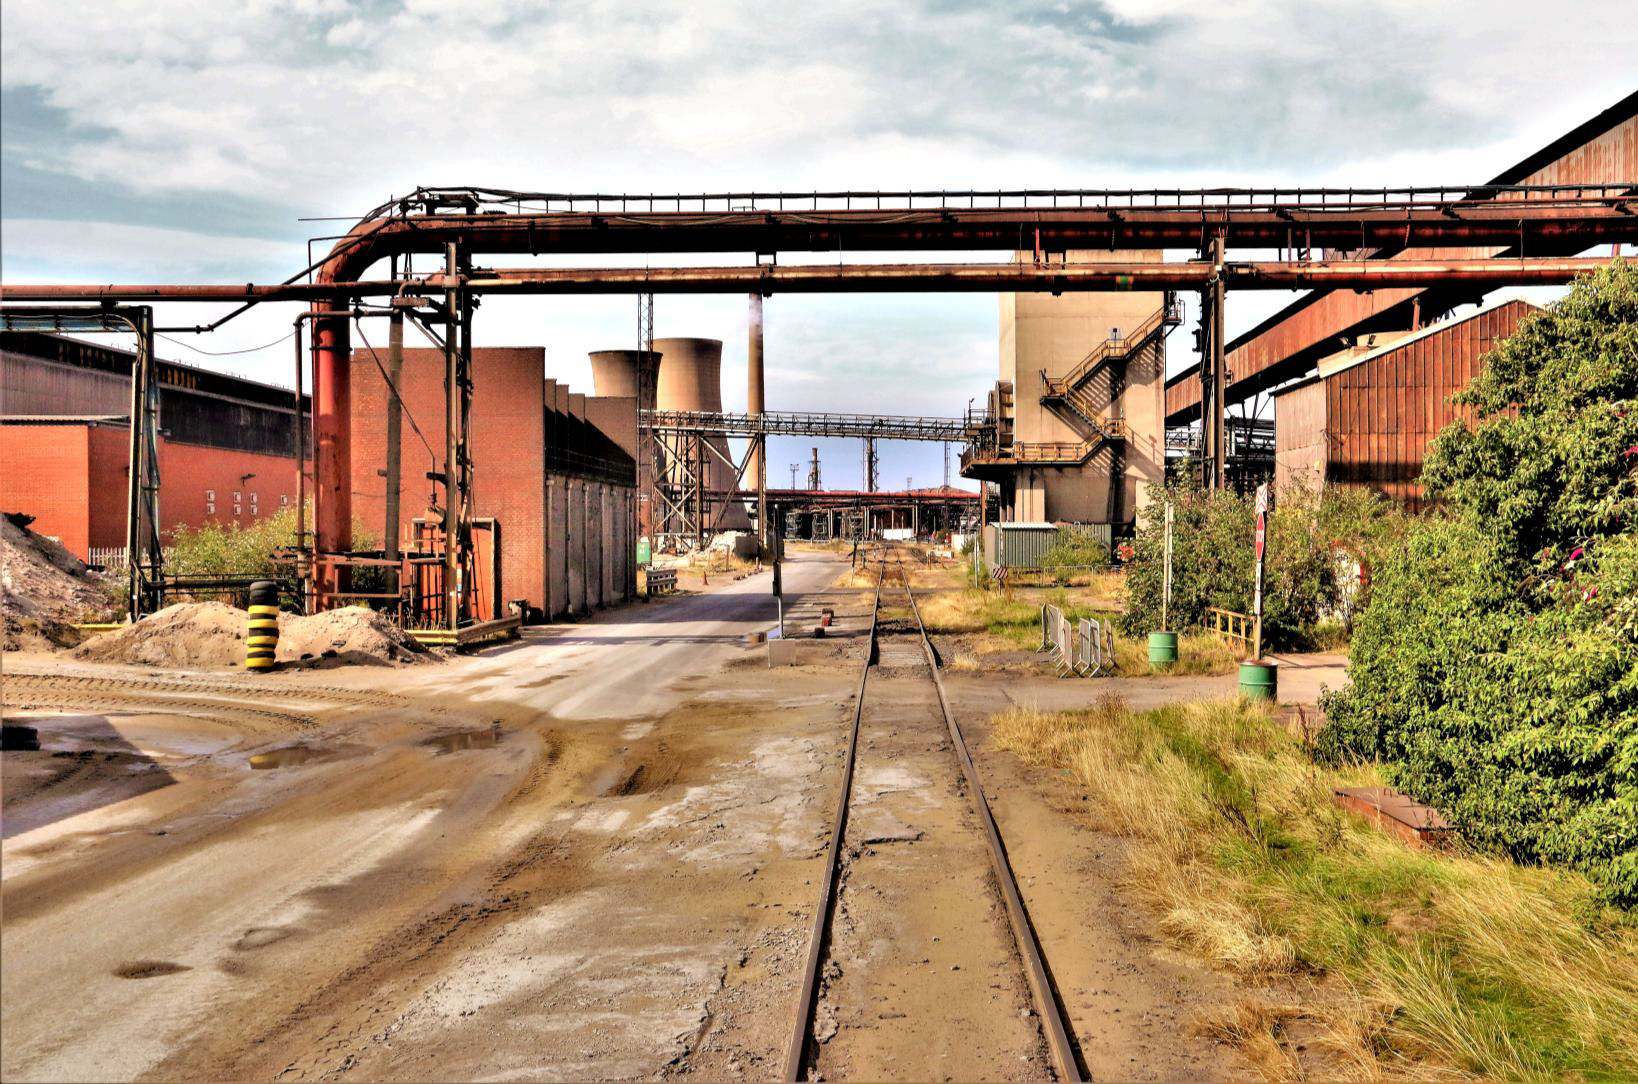
Running alongside the four blast furnaces (they are off picture right).
[© Chris Ziemer 2018]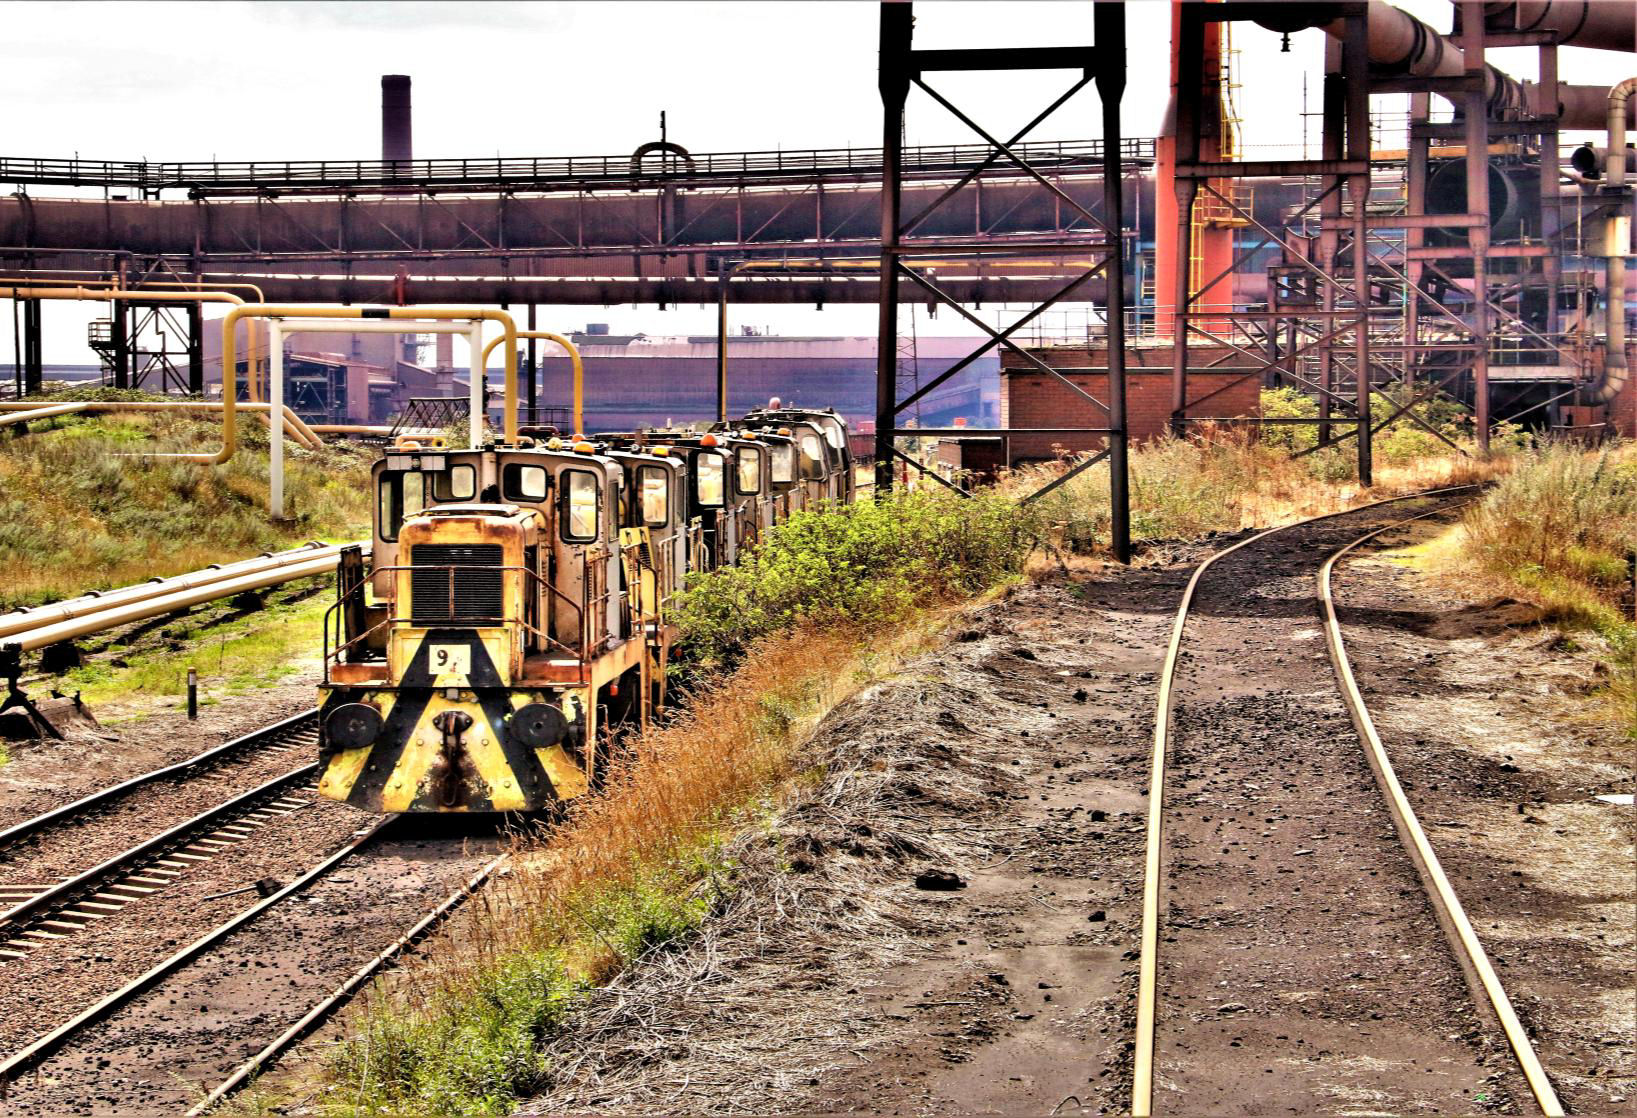
Ascending to the High Lines (off right).
[© Chris Ziemer 2018]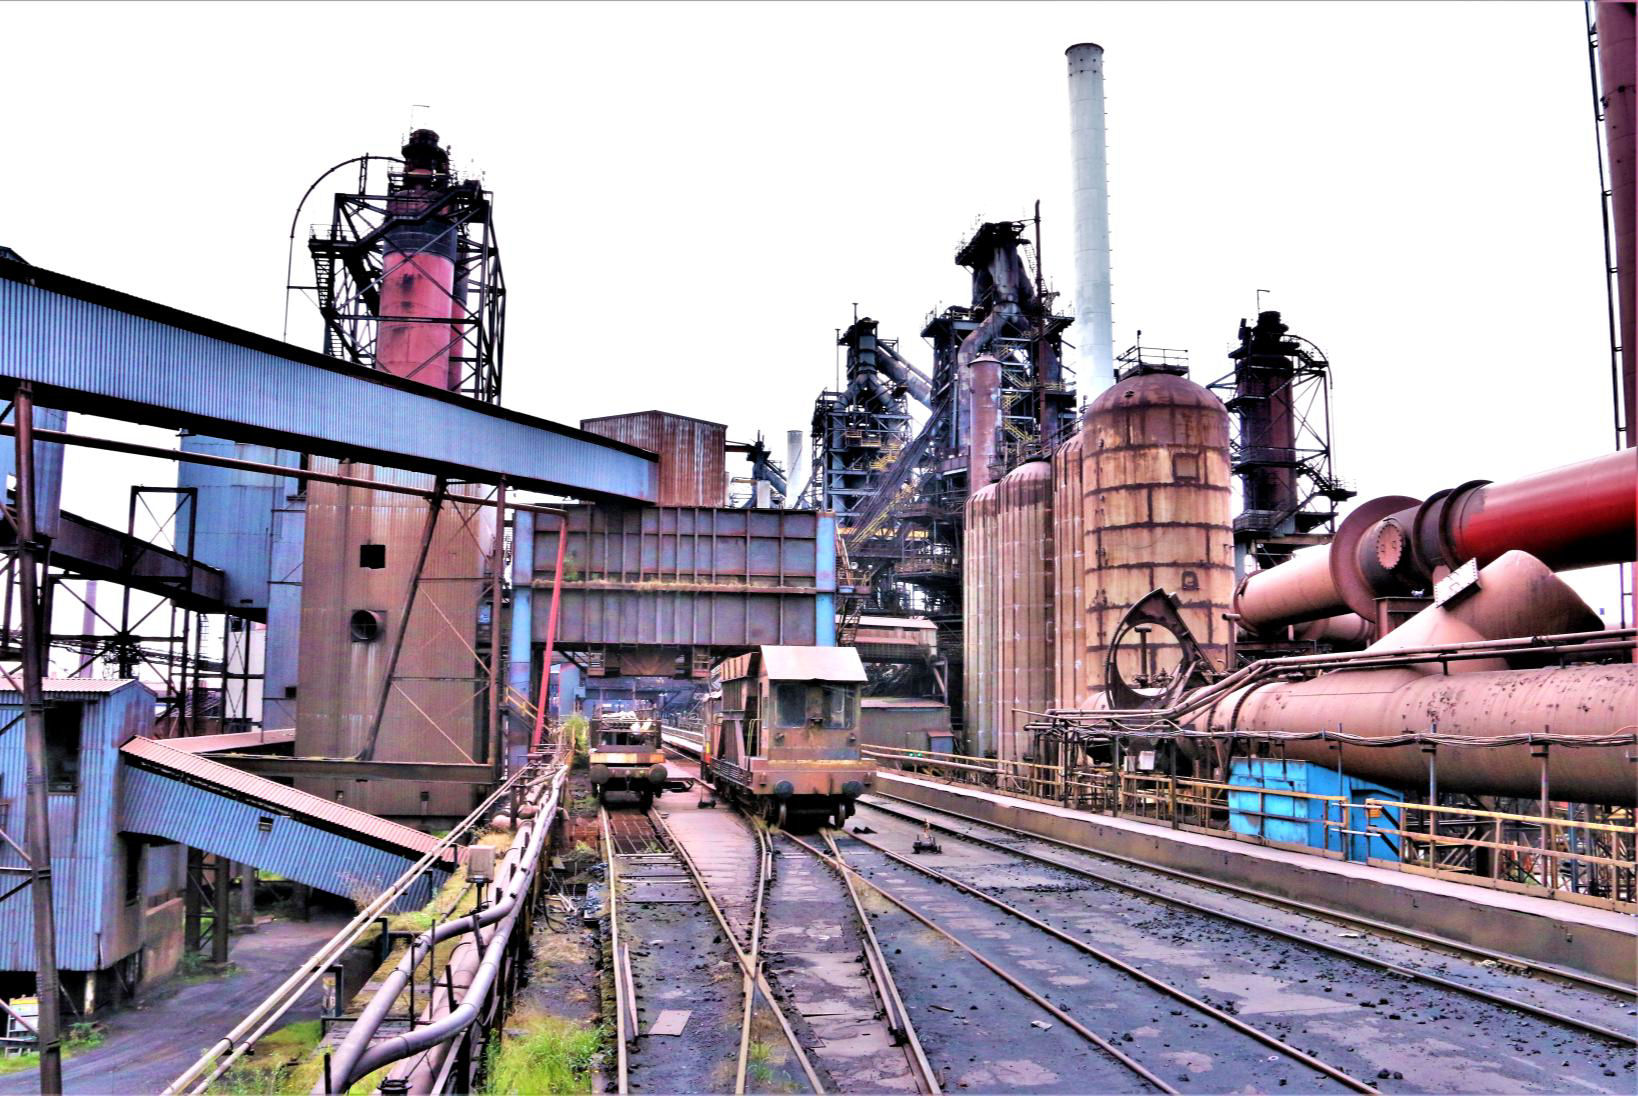
The view at the top of the High Lines.
[© Chris Ziemer 2018]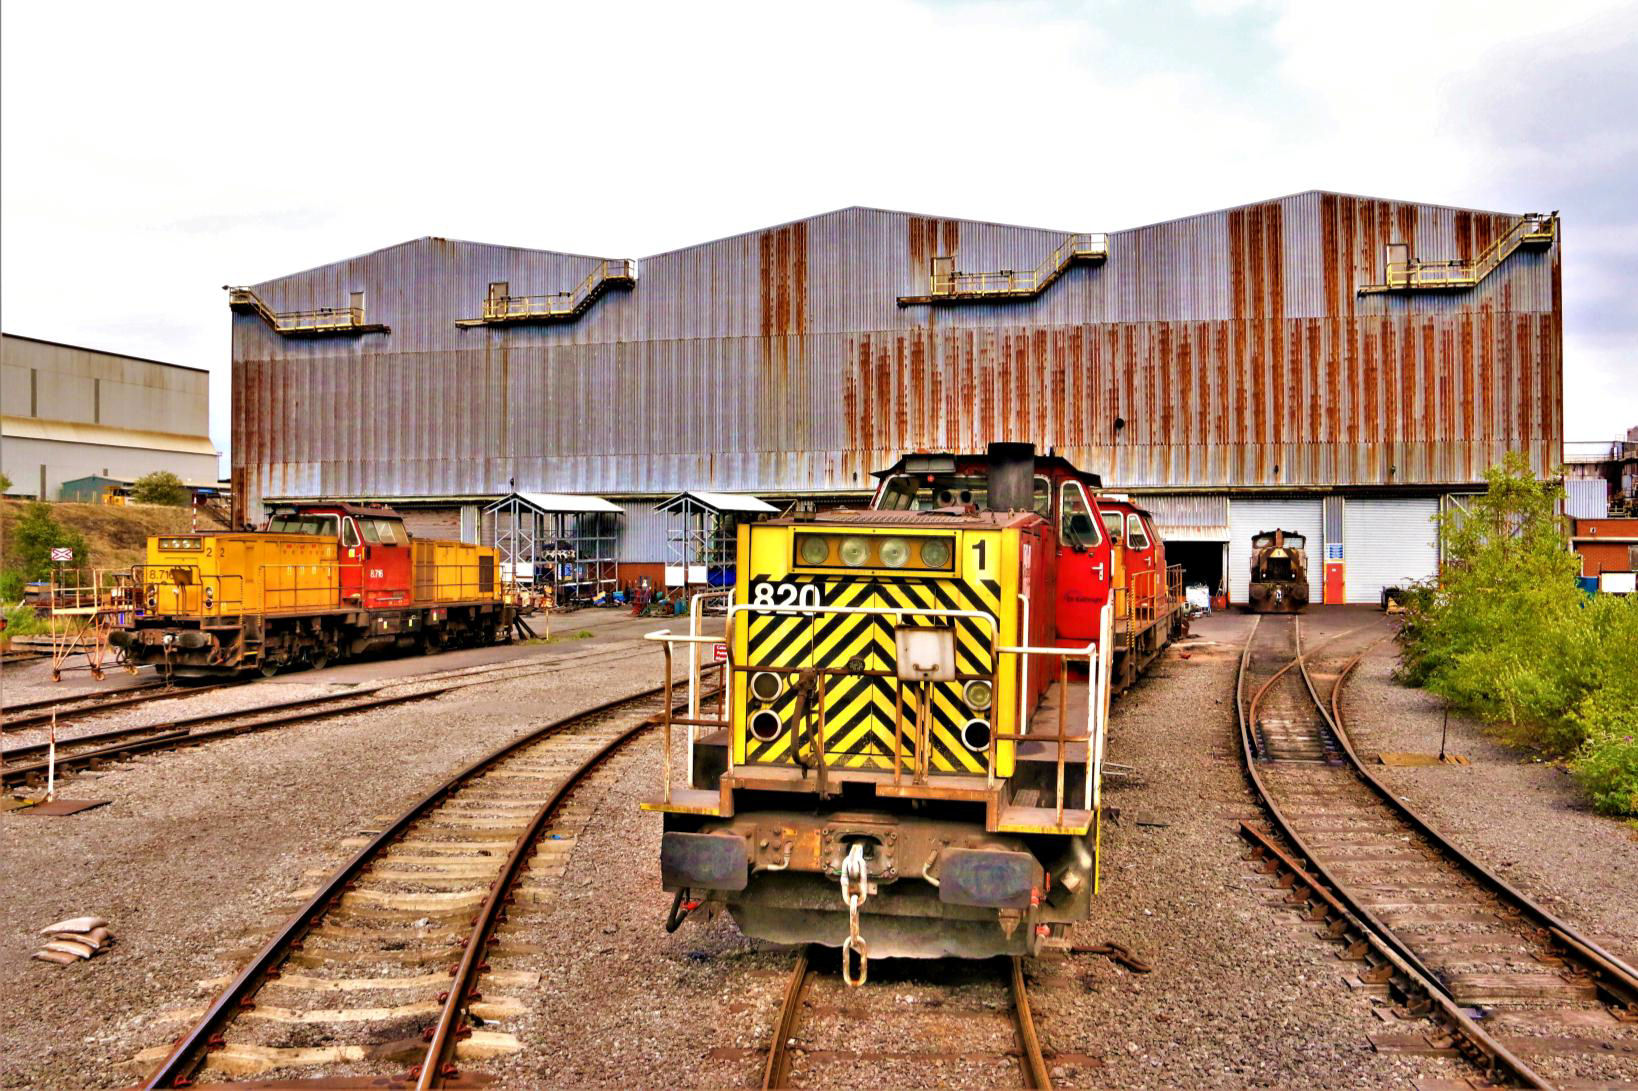
The Heavy Repair Bay again.
[© Chris Ziemer 2018]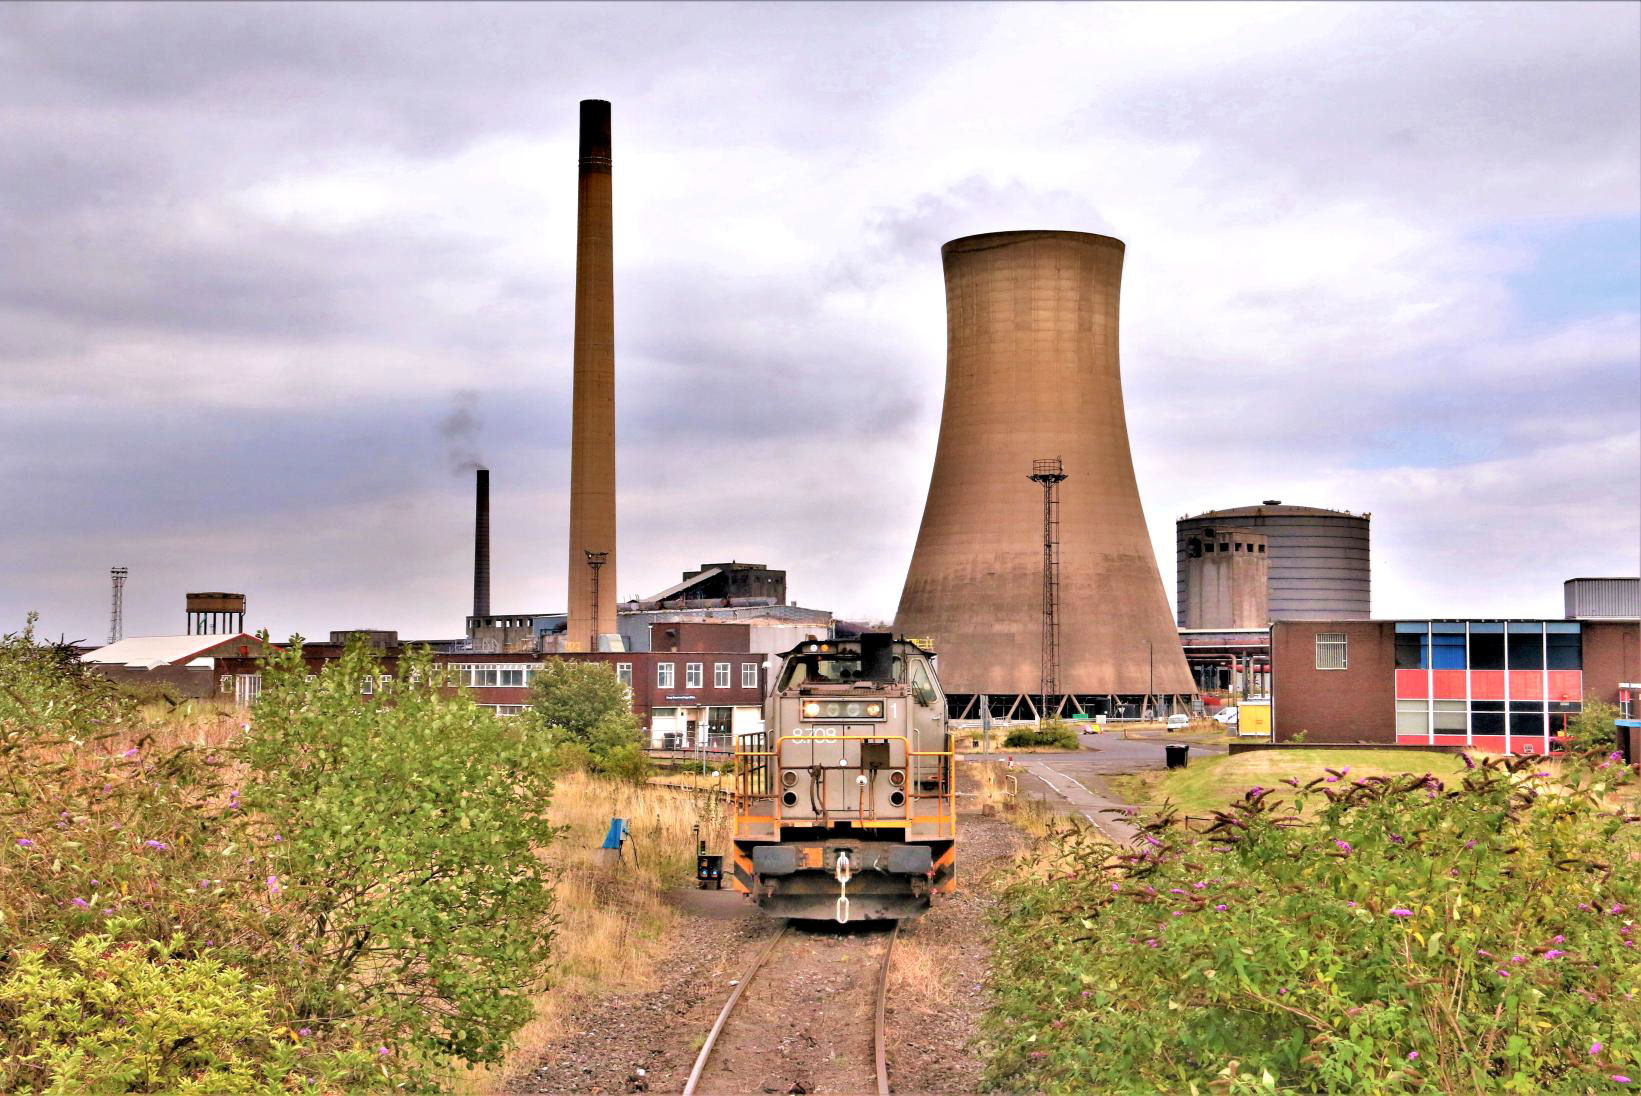
'Norwegian' Di8 8.708 is about to couple up to the tour for a loop of the steelworks.
[© Chris Ziemer 2018]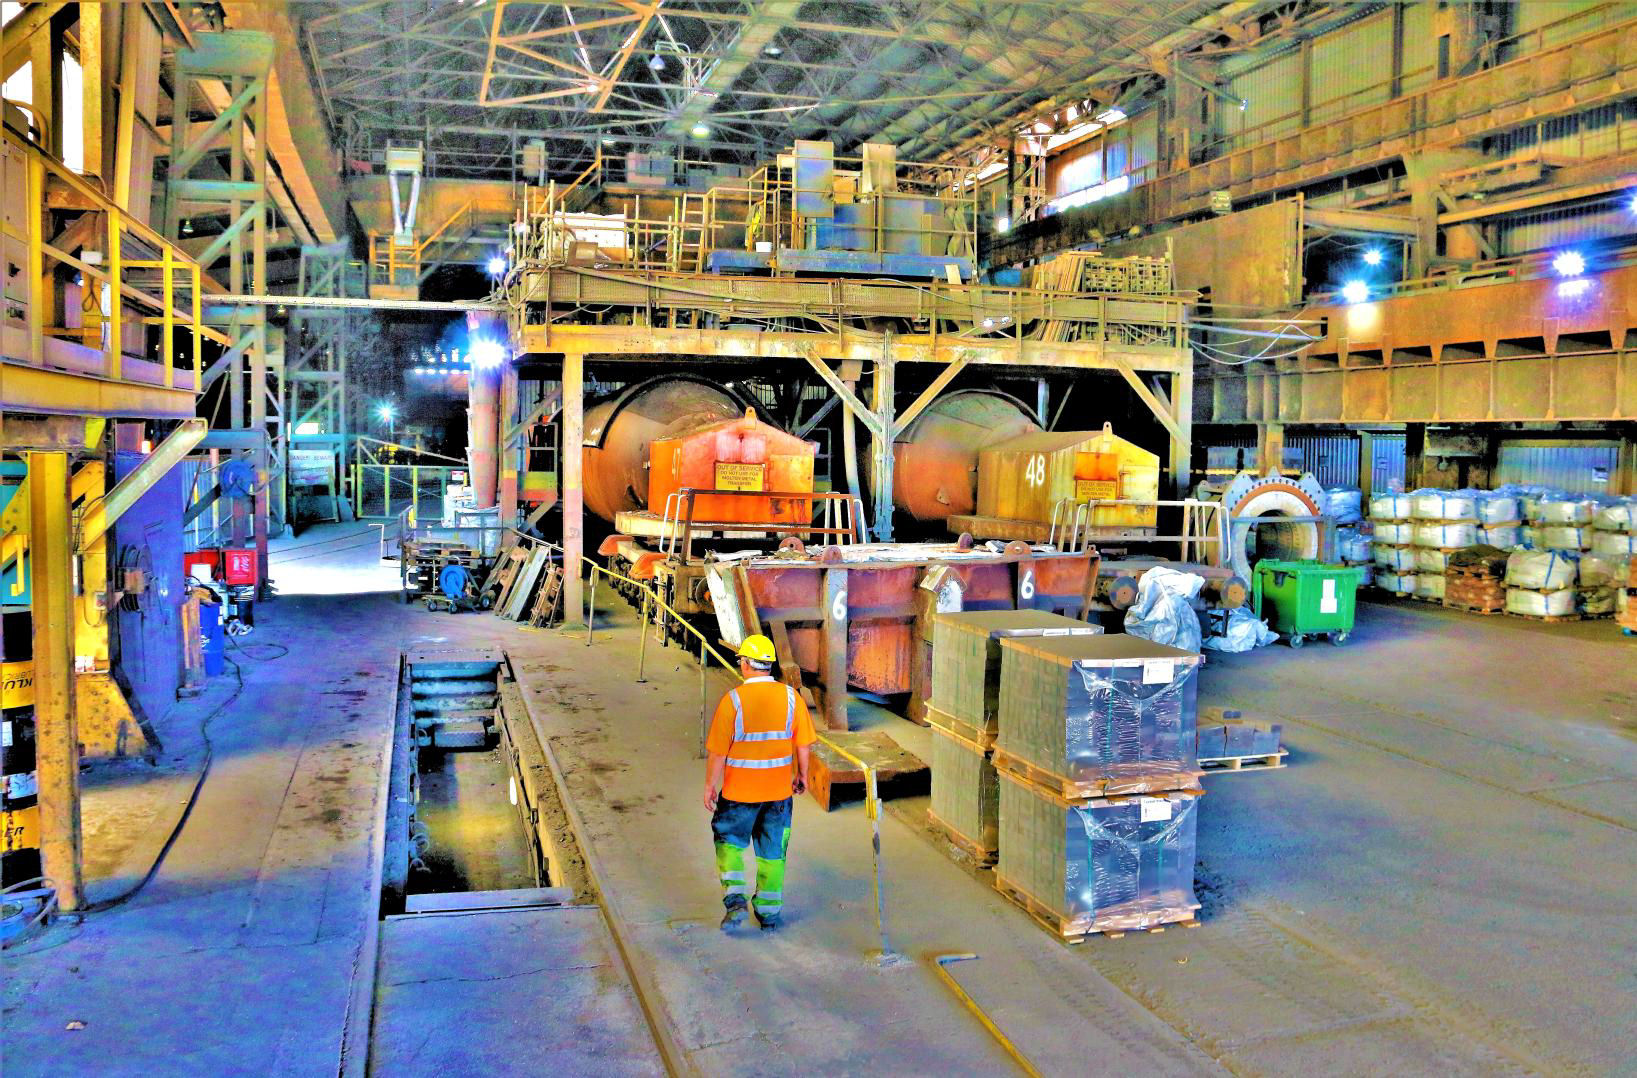
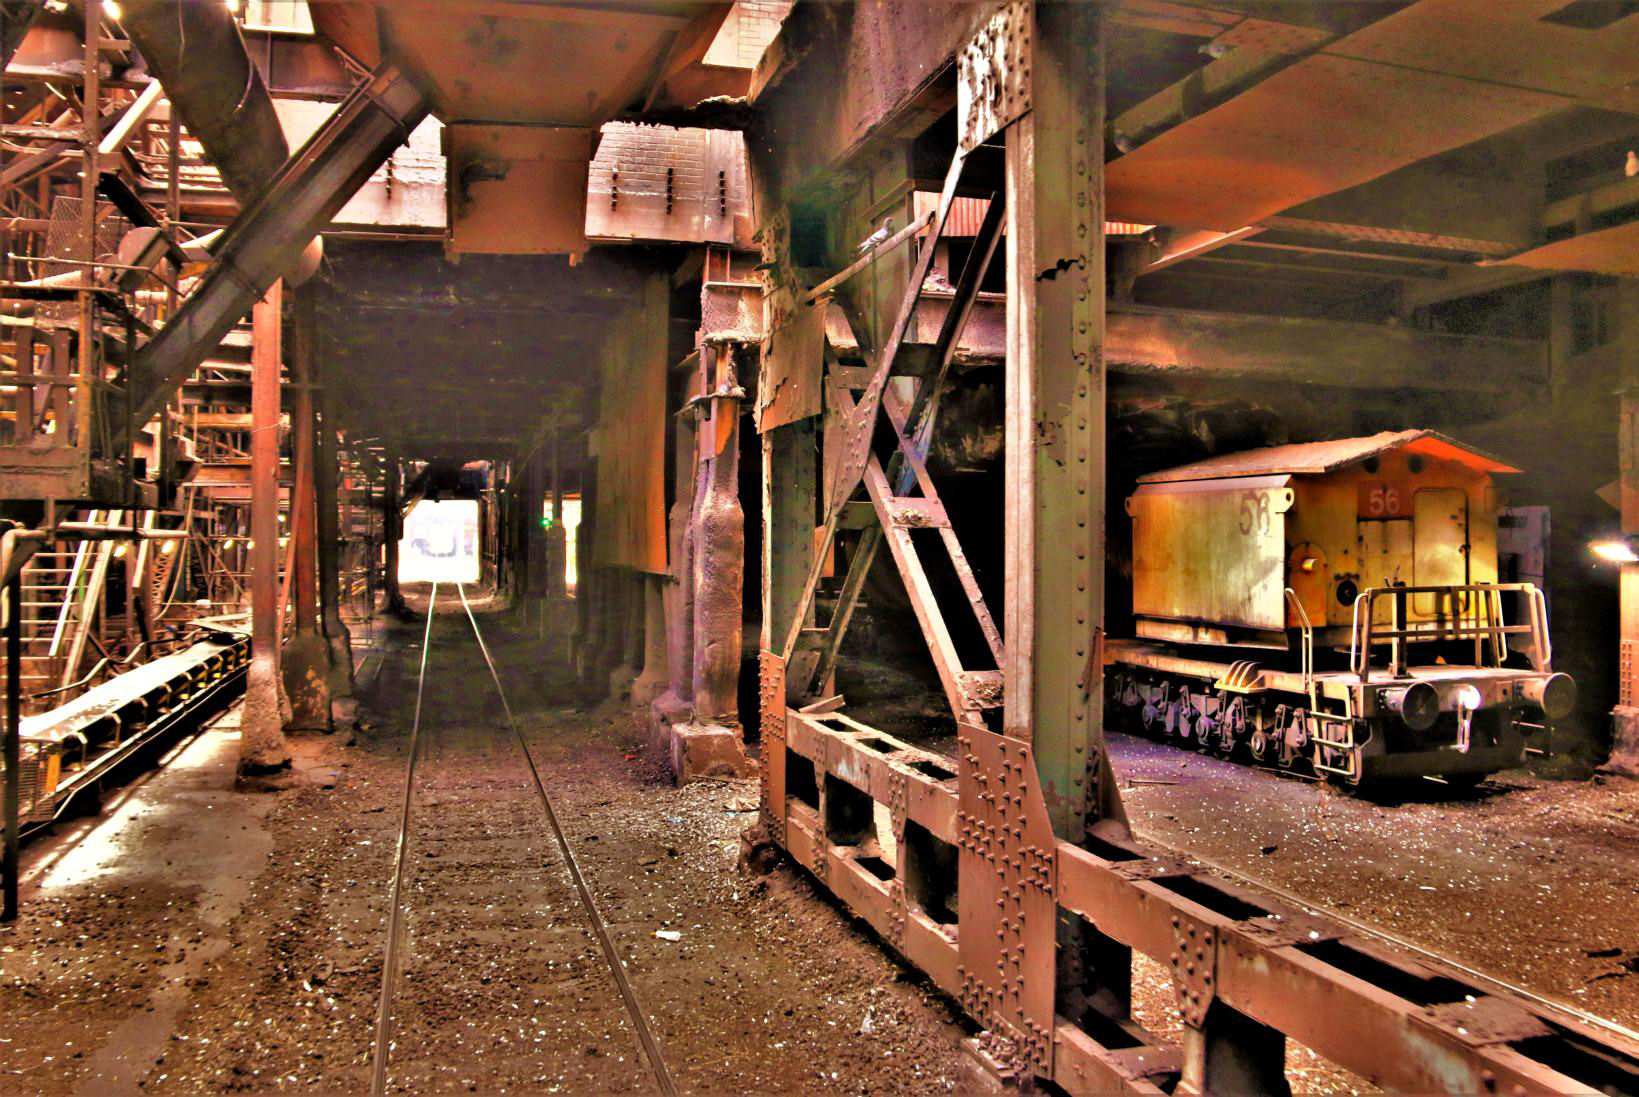
Inside the Torpedo Repair Bay.
[© Chris Ziemer 2018]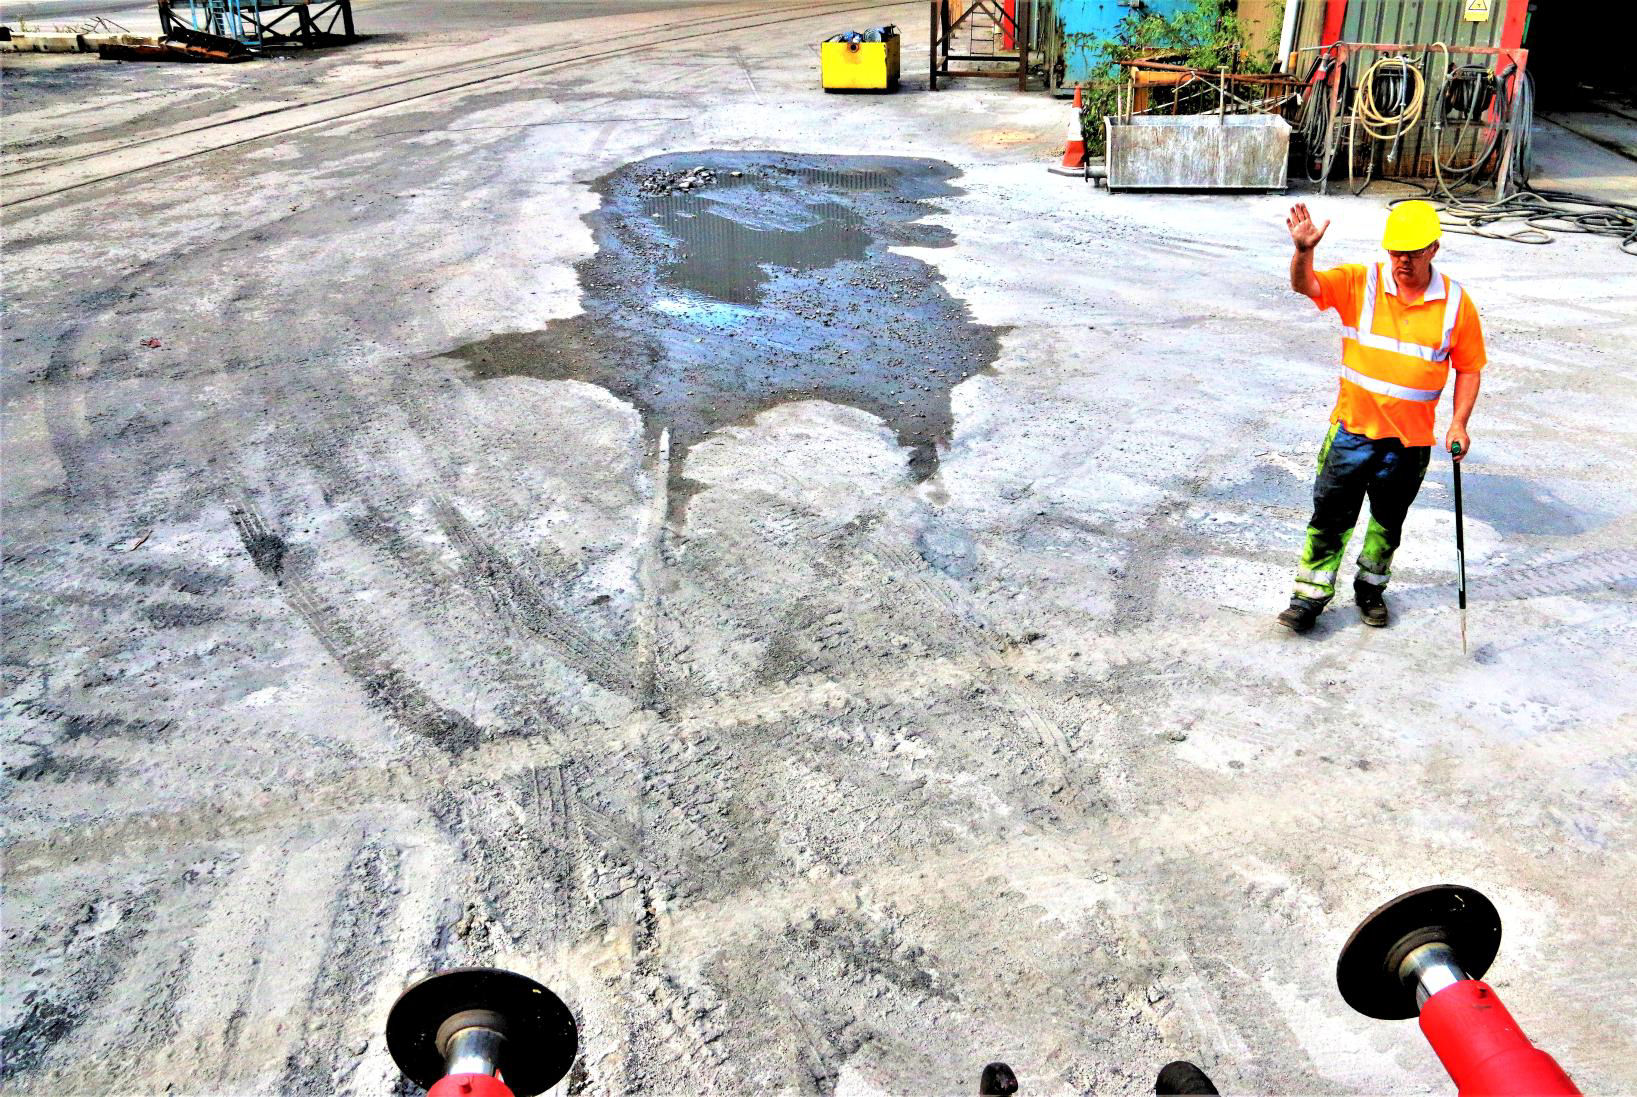
"I think you had better stop there..." Outside this building (top right) this well buried stub end siding actually continues left of the yellow box ahead.
[© Chris Ziemer 2018]
A view of the Blast Furnaces.
[© Chris Ziemer 2018]With the break over, and thanks to AFRPS volunteers for putting on their usual great spread of food and drink in the static buffet car, AFRPS Depot Roads 2 & 5 were completed. Road 5, the one furthest from the running lines and alongside the shed building, had been shunted clear specially that morning so the stop block was reached. Then it was a quick visit to the southwest side of the Heavy Repair Bay (No3 Road), although vehicles blocked the end. We ascended the hill towards Frodingham platform, but stopped part way. There had been talk of a surprise on the day and, after a short while, up the hill following us came the familiar shape of a former Norwegian Di8 No8.708 for a run around the site.
This was a simple affair as the Di8s are out of gauge for other than the main routes, past the AFRPS sheds where YE No1 was left, round 'The Angle' past the Anchor Exchange Sidings and south to the Mills Exchange Sidings. We continued on round the BOS Plant, up the two track main line and over the Coal Running Road between the Torpedo Repair Bay and the four Blast Furnaces. The weight of three brakevans was nothing for a powerful Di8 [one can haul a main line tour and two Class 66s you know...] but clever driving techniques allowed us to hear and see it working hard! This ended with a run up to the Frodingham platform for a photo stop and a few people left early as had been arranged well in advance. They then sped over by car the Ecclesbourne Valley Railway to ride behind 08605.
After a short break to swap locos back to YE1, we ran back down the hill and visited three sidings in the wondrous, subterranean depths beneath the two south end Blast Furnaces 'Anne' and 'Victoria' - not working, of course. Next on the list was the Torpedo Repair Bay. This comprehensive visit completed Lines 3, 2, 1 & Caparo Merchant Bar Mill Gate 15 initially, all as far inside as possible. With lines 4 & 5 full, there was one still to do - a stub between Line 1 and Gate 15, covered in muck. No problem, a shovel and a crowbar cleared out enough to allow us to propel to just before the rails ran out!
Next were two new crossovers installed in the preceding months near Bridge 44, so a run south from the Torpedo Repair Bay enabled us to cover both twice before heading back north via the fairly new 15 Loop Line to the Bar Mill and then all available lines there and at the Rod Mill including 14 Loop.
With this area done well we were now approaching the end of the day, so time for a quick visit to the BOS Yard between the former Soakers and former Moulder Shop [so what are the buildings now?]
The two new crossovers near Bridge 44 on the Outer Perimeter which were covered twice.
[© Chris Ziemer 2018]This involved a series of reversals firstly at the new set of points, then 209, 145 & 157 Points to drop us down into the yard area. In the BOS area the tour ran through the Stripper Loop [insert your own comment here] to reverse at 362 & 351 Points heading towards BOS Plant No1 Siding before reversing back to cover BOS No3 Siding. With these done it was time to head home. Here though is where the infrastructure had other plans with Points 363 refusing to budge for us. This meant reversing back through the yard, this time via the Mill Shop Running Line to reverse at 345 Points to be sidelined on the Soaker Side Line and reverse at 314 & 311 Points respectively, which put us on our way again. Now it was a sort of straight run back to Frodingham platform, via the outer mainline to Bridge 44, the Coal Running Road, South Melting Shop Running Road and the loop between Points 111 & 113 before running up the incline to the platform. This is where the tour ended, with new track for all [one large bit for our first-time visitors], a thoroughly good day out and back within a few minutes of the expected time. Well done AFRPS who were very grateful for our donation of £2,466.