This is Paul Stewart's fault. If you would be prepared to do the report you can have a place on the rear brakevan veranda. Ok, deal. (I have never done a BLN report before, so apologies now - my writing skills usually extend to 'Defer to next 'B' exam' in a 170 DMU fault book.)
The now traditional Society August Bank Holiday trundle around British Steel Scunthorpe, re-dated to Monday 28th due to our weekend of mainline tours to Yorkshire and Cumbria, was enjoyed by three brakevans worth of the usual plus a few first timers (referred to in the trade as 'Scunthorpe virgins').
In ideal weather, especially for Alan and Glenn doing the shunting and points, we sampled the scenic vistas of the increasingly rare opportunities to see British heavy industry at work. This was my seventh visit in a row and I still find it fascinating to view and amazing that in this age, given all the rules and regs for rail operations on the mainline and heritage railways, we can still do these trips here. Even better, they still manage to find more 'new' track to do! Anyone who has never been, book now!
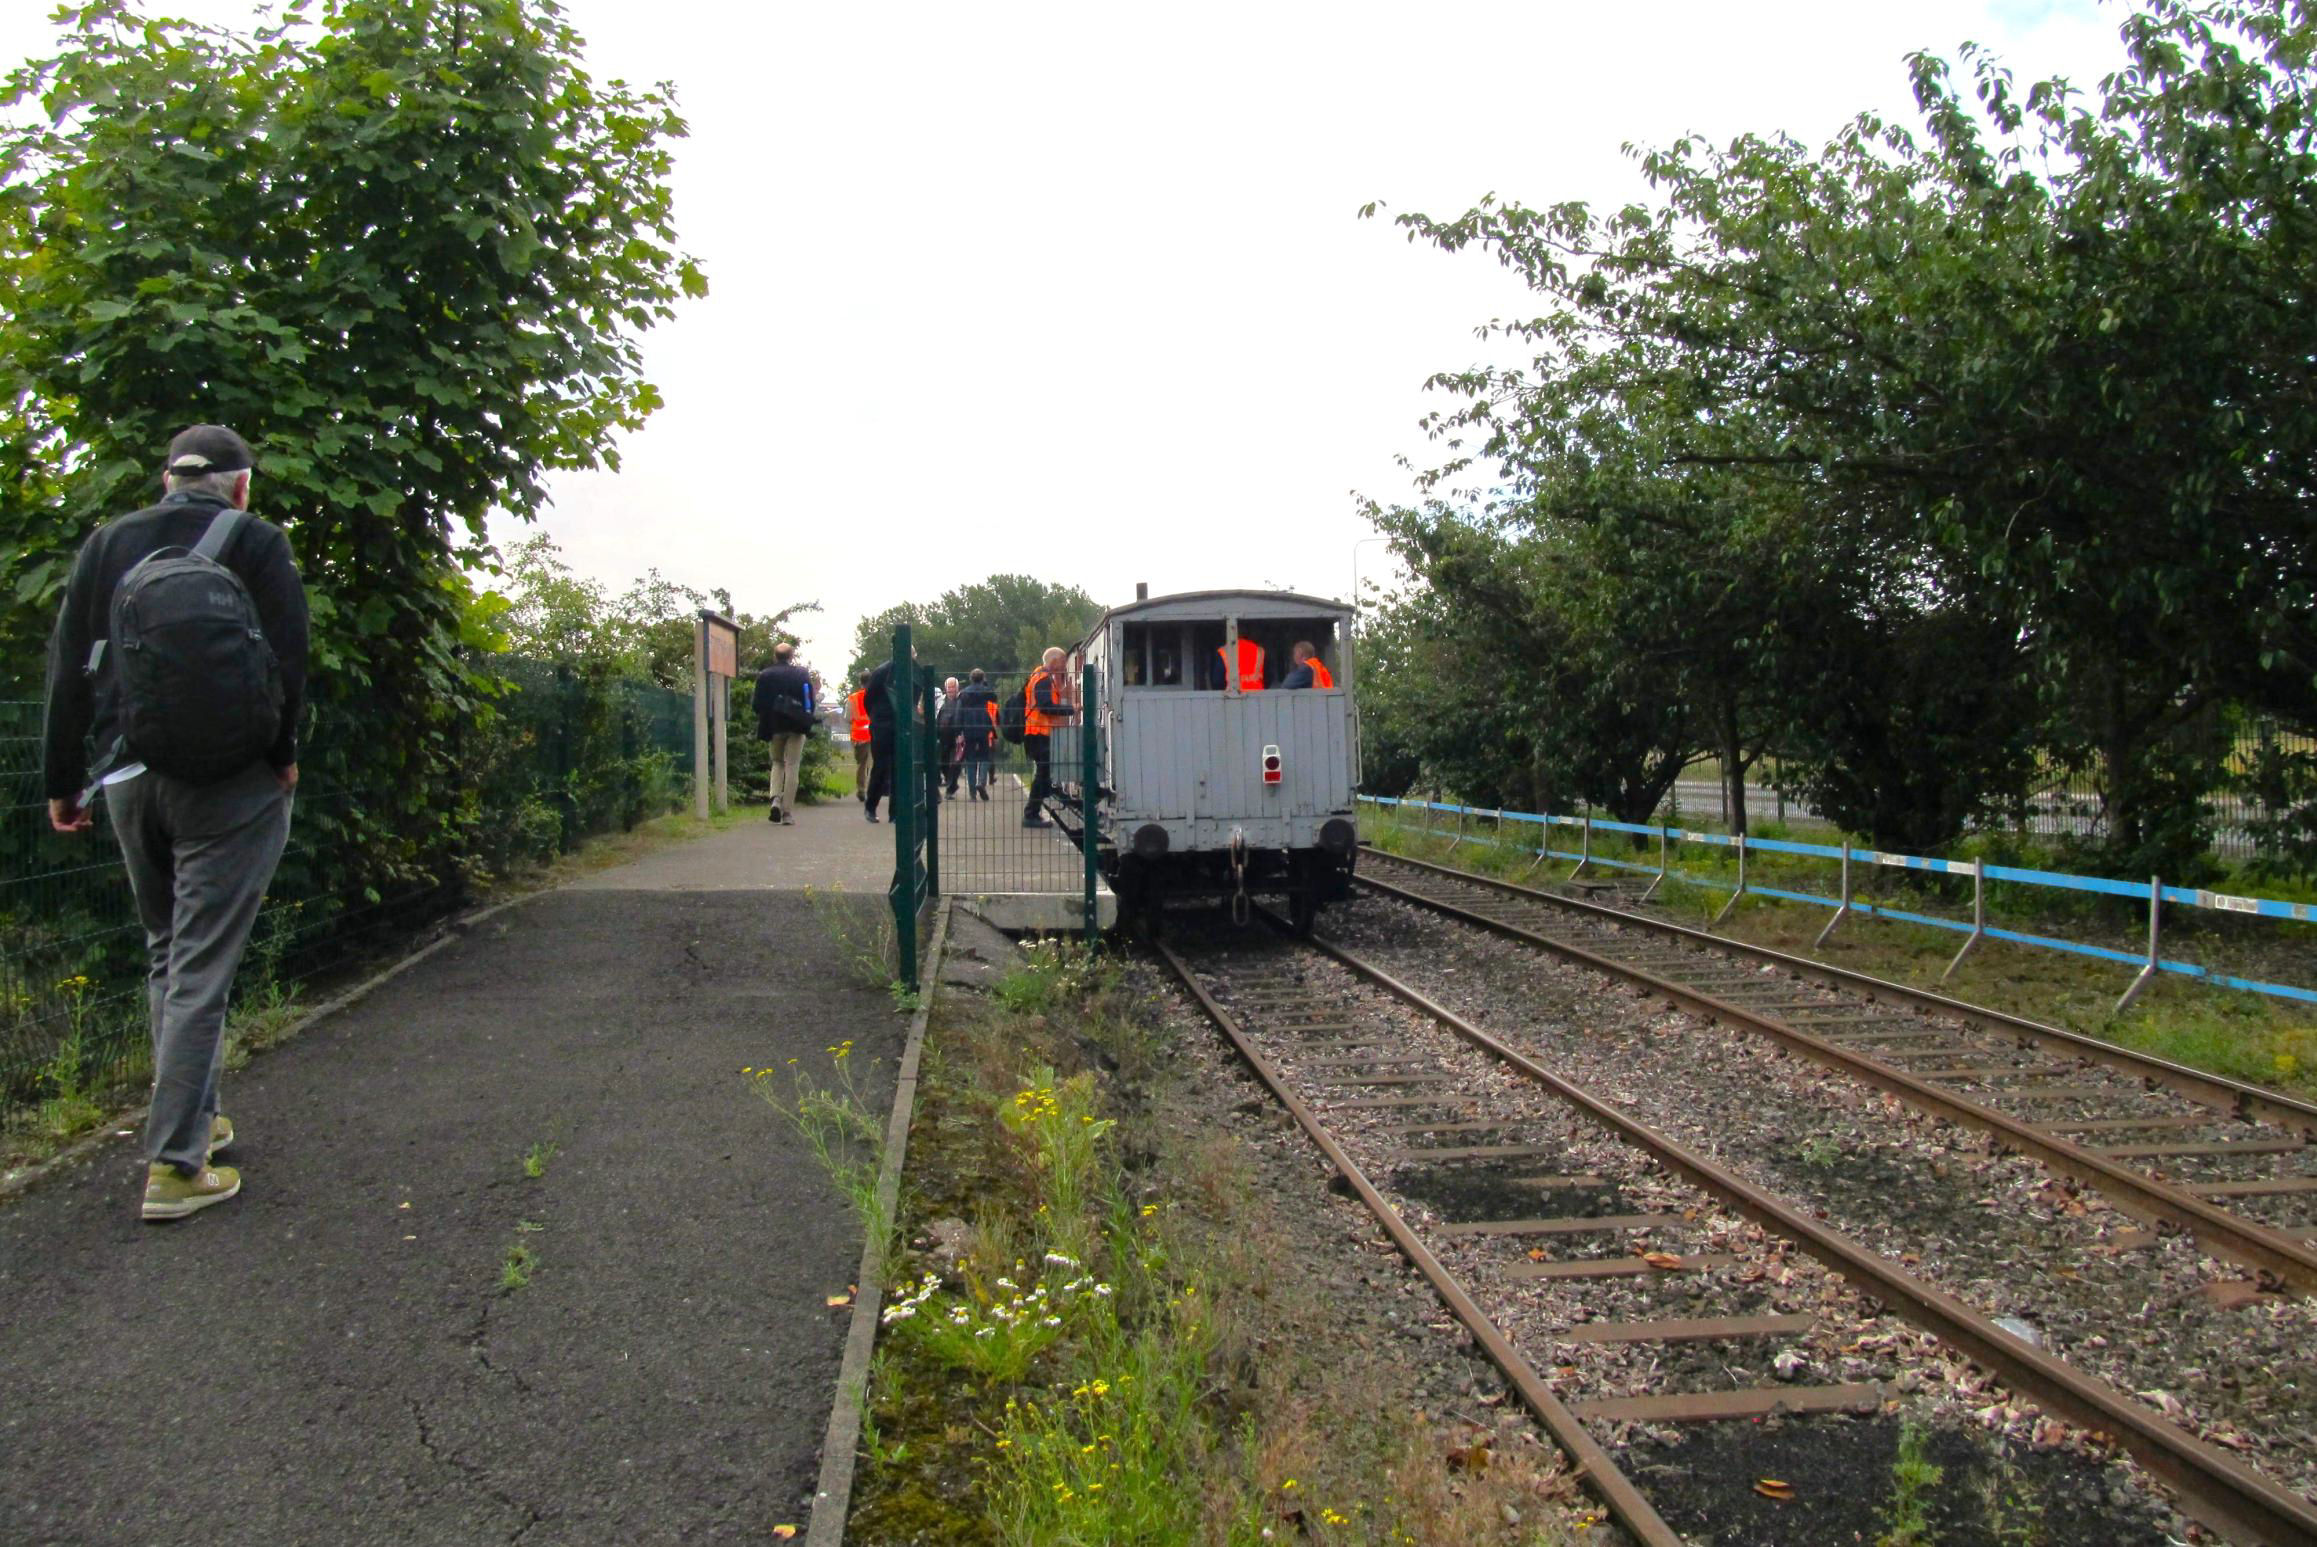
Here participants arrive for the tour at Frodingham Platform (the end of line is behind the photographer).
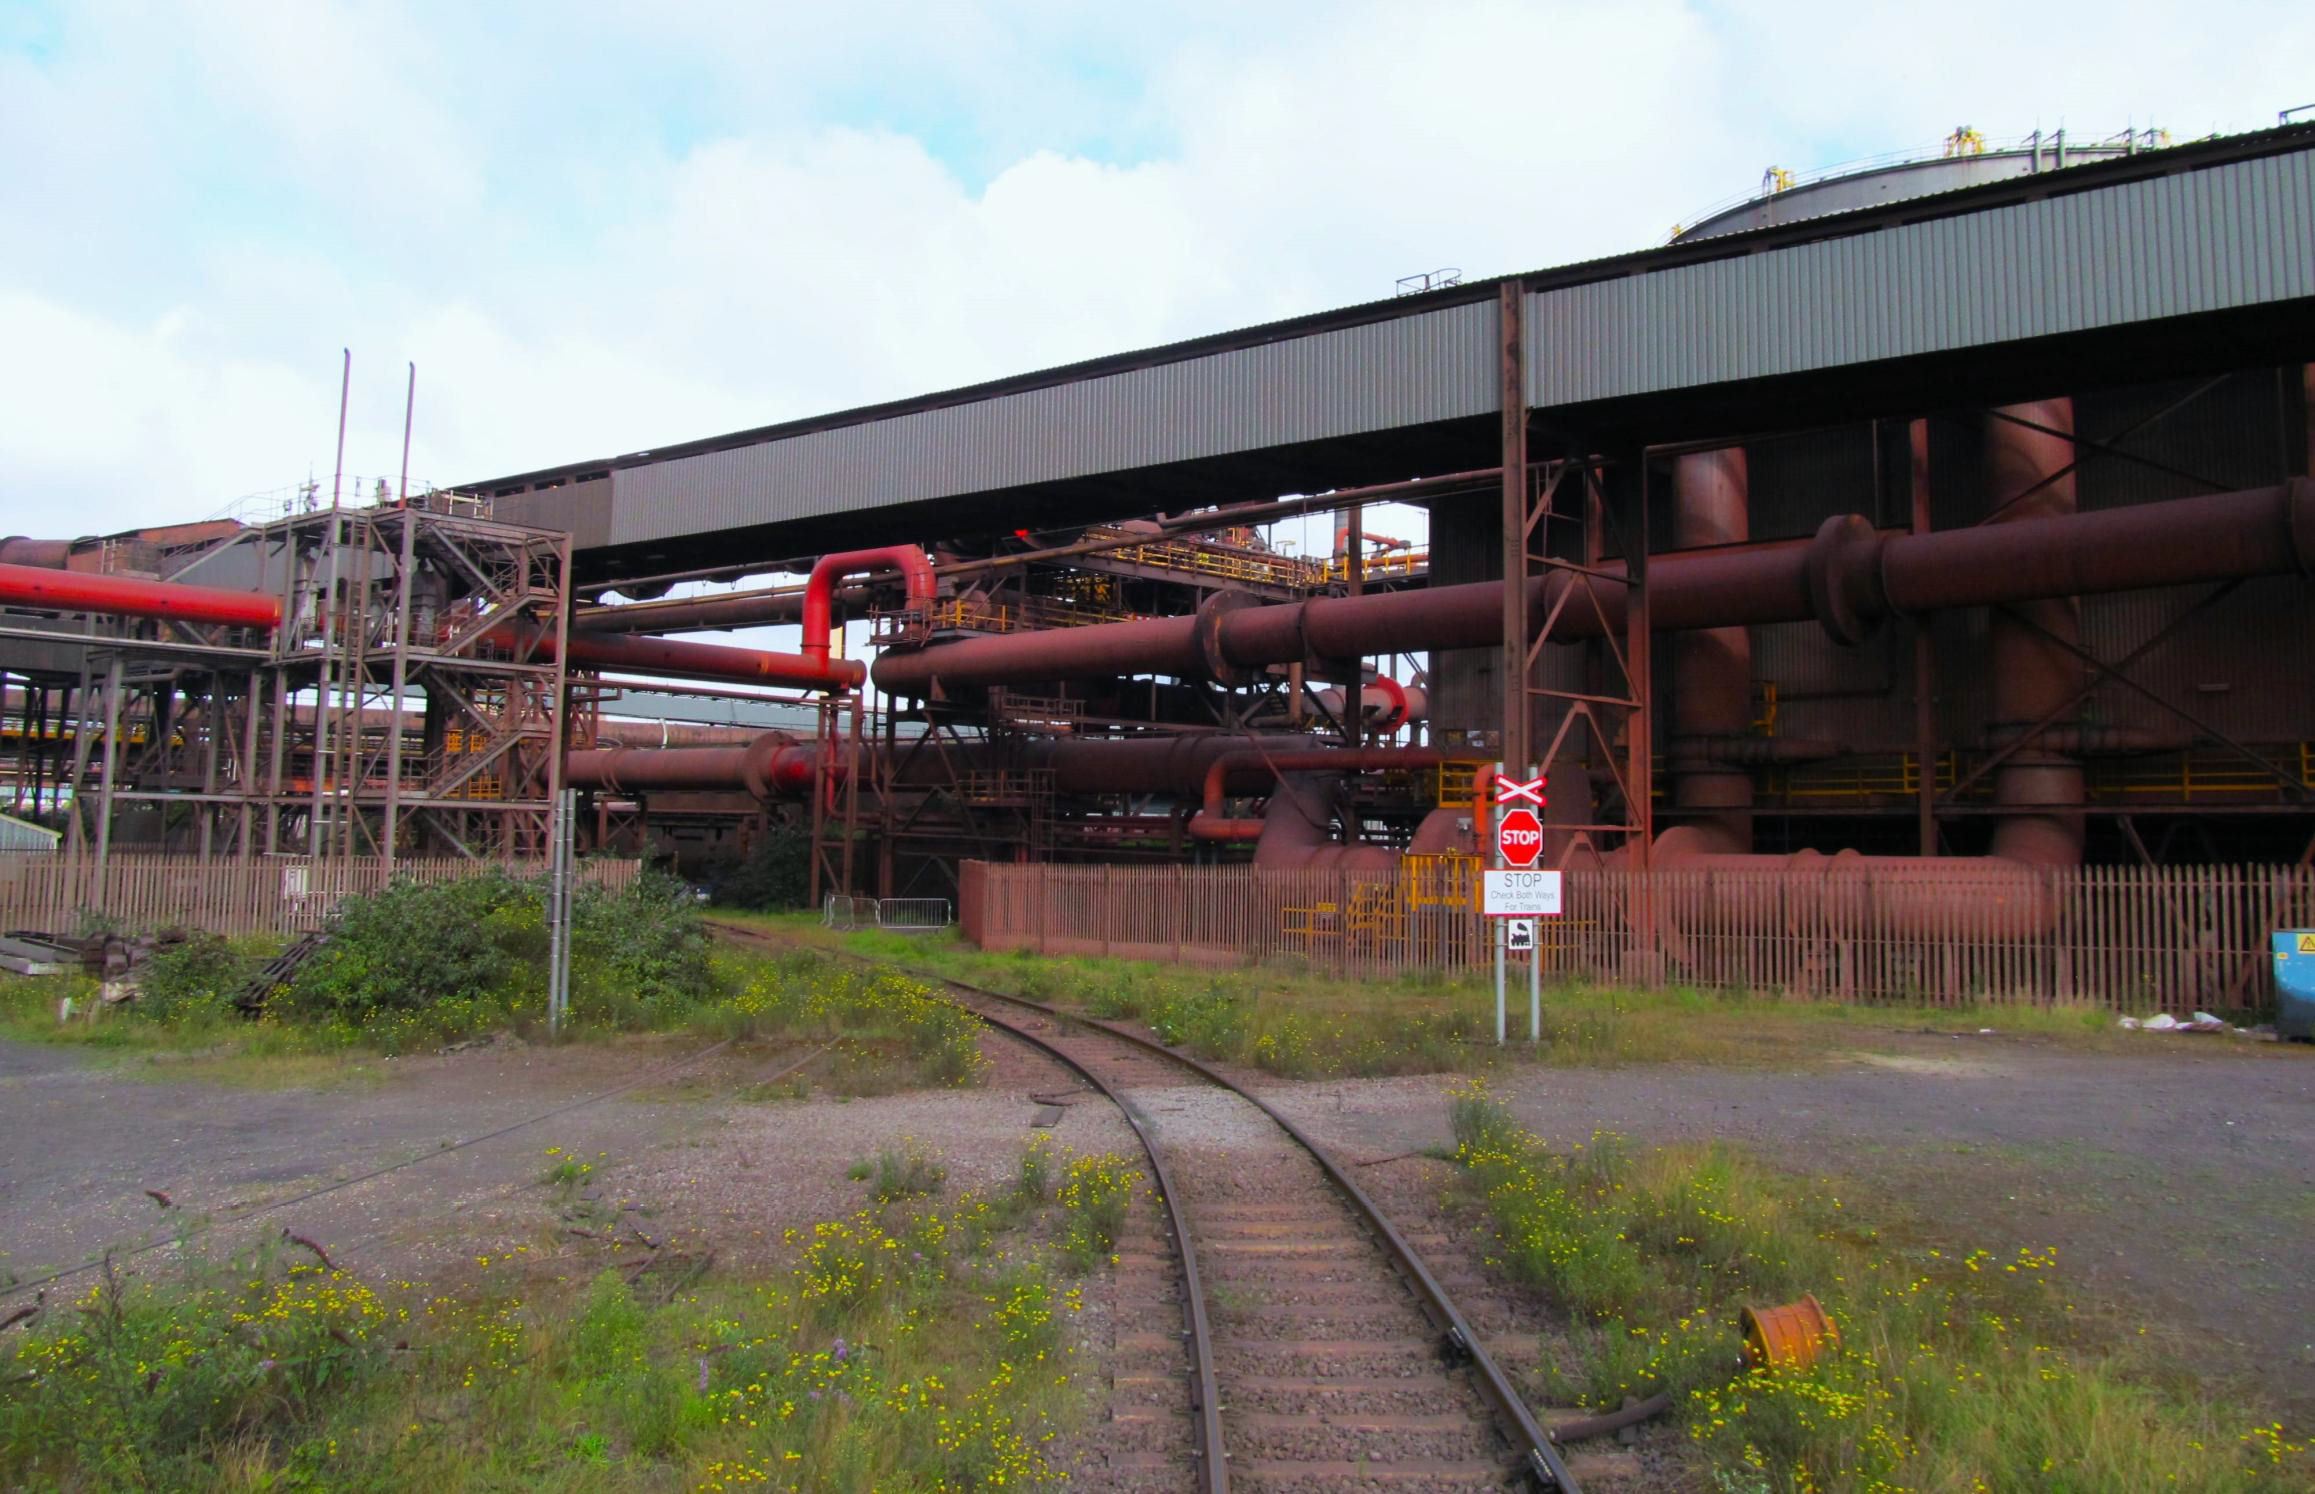
[© Chris Lings 2023]Starting 09.30 from the rebranded AFR (Appleby Frodingham Railway) Frodingham Platform, even those arriving by TPE made it OK. (I chickened out and drove.) With Appleby Frodingham No1, YE 0-6-0 Janus class, leading, we propelled back to the platform buffer stops,.then did the same in the run round loop. A fairly brisk run, obviously with a mission in mind, was made through the middle of the works and down 65 Road, giving good views of the eastern side of the four blast furnaces. Was it 'Anne' that was working? That took us to a reversal near Gate B back towards the Rod & Bar Mills with a quick diversion at 217 Points up the siding (while it was empty), the reason for which soon became clear.
Coming to a stand at the road crossing outside the Rod Mill, not only was the crossing alarm operated but also the shunting operation lights for entry into the building by British Steel's person in charge here. It seems a prior arrangement had been made! Into the gloom, a string of internal wagons could then be seen blocking the way to the end. That problem was soon solved by Glenn with his shunting pole; said wagons were moved to the previously done siding allowing our brakevans to be propelled right up to the buffers inside. This was a 'first' as previous visits had stopped at the closed door.
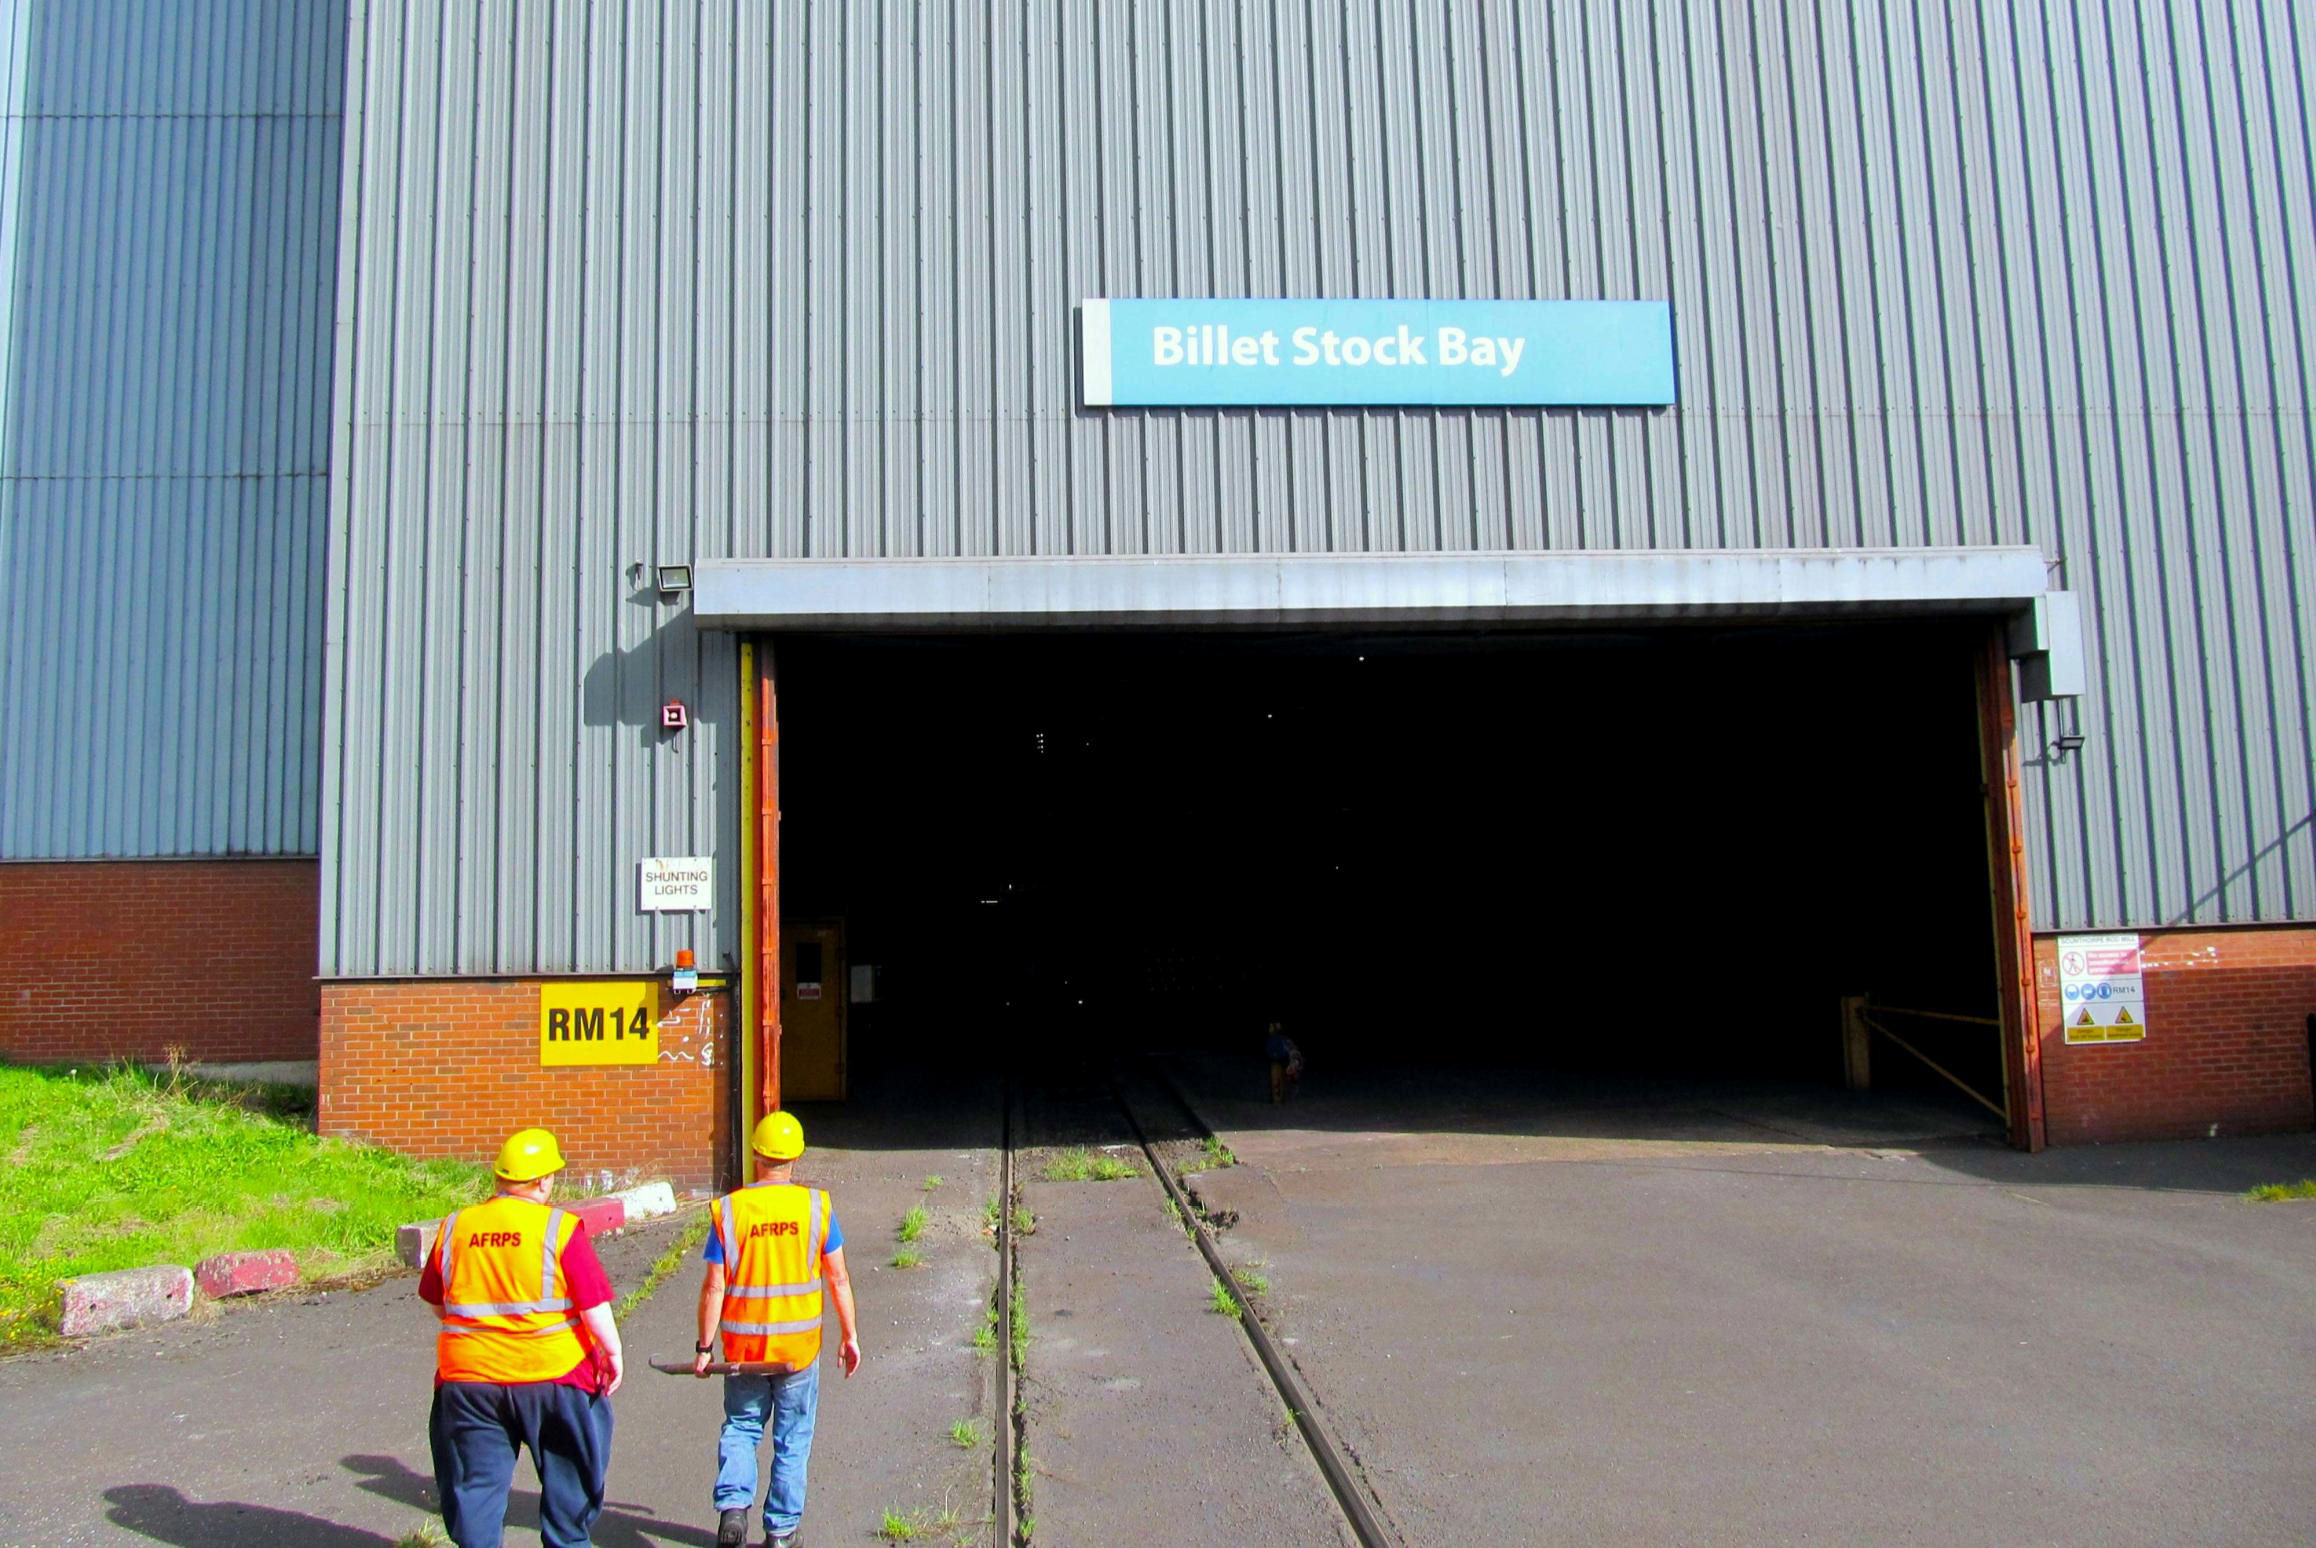
(The Billet Stock Bay is to the right.) The doors to the Rod Mill ahead are open - they are normally shut - but did we go in ... ?
[© Chris Lings 2023]
Inside the Rod Mill.
[© Chris Lings 2023]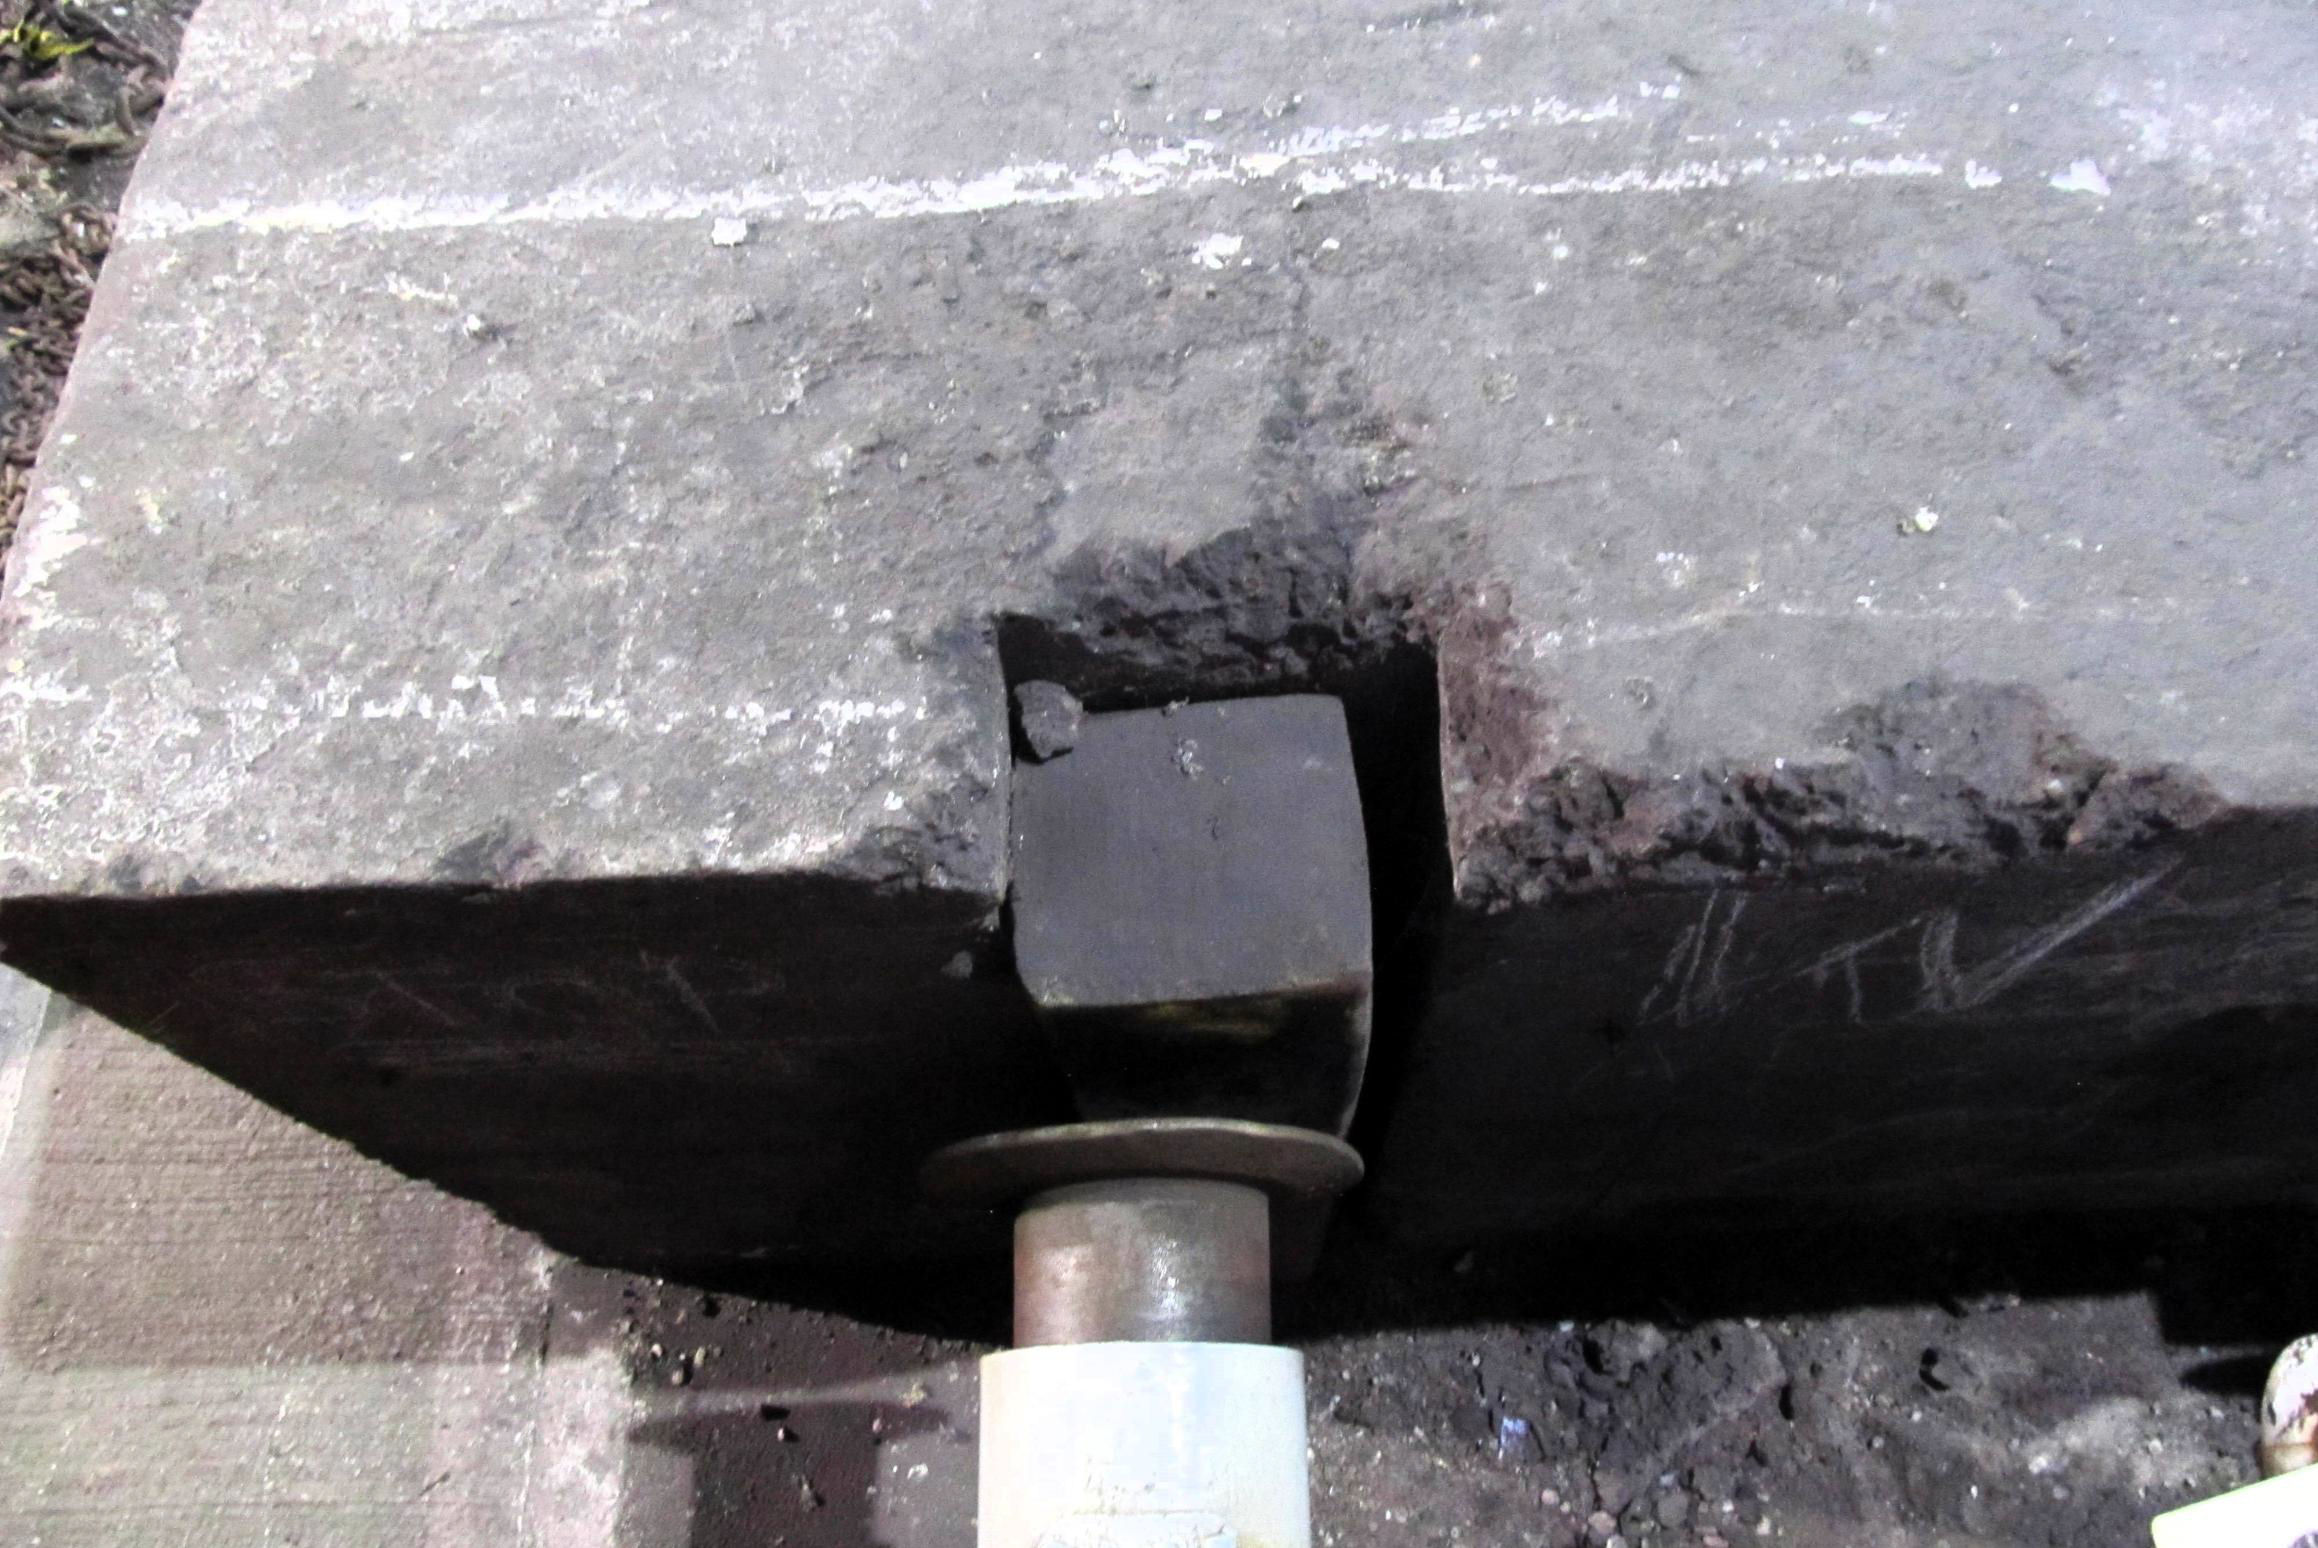
The unusual stop blocks at the Rod Mill end of line from the leading brakevan that was propelled in (this is actually a colour photo).
[© Chris Lings 2023]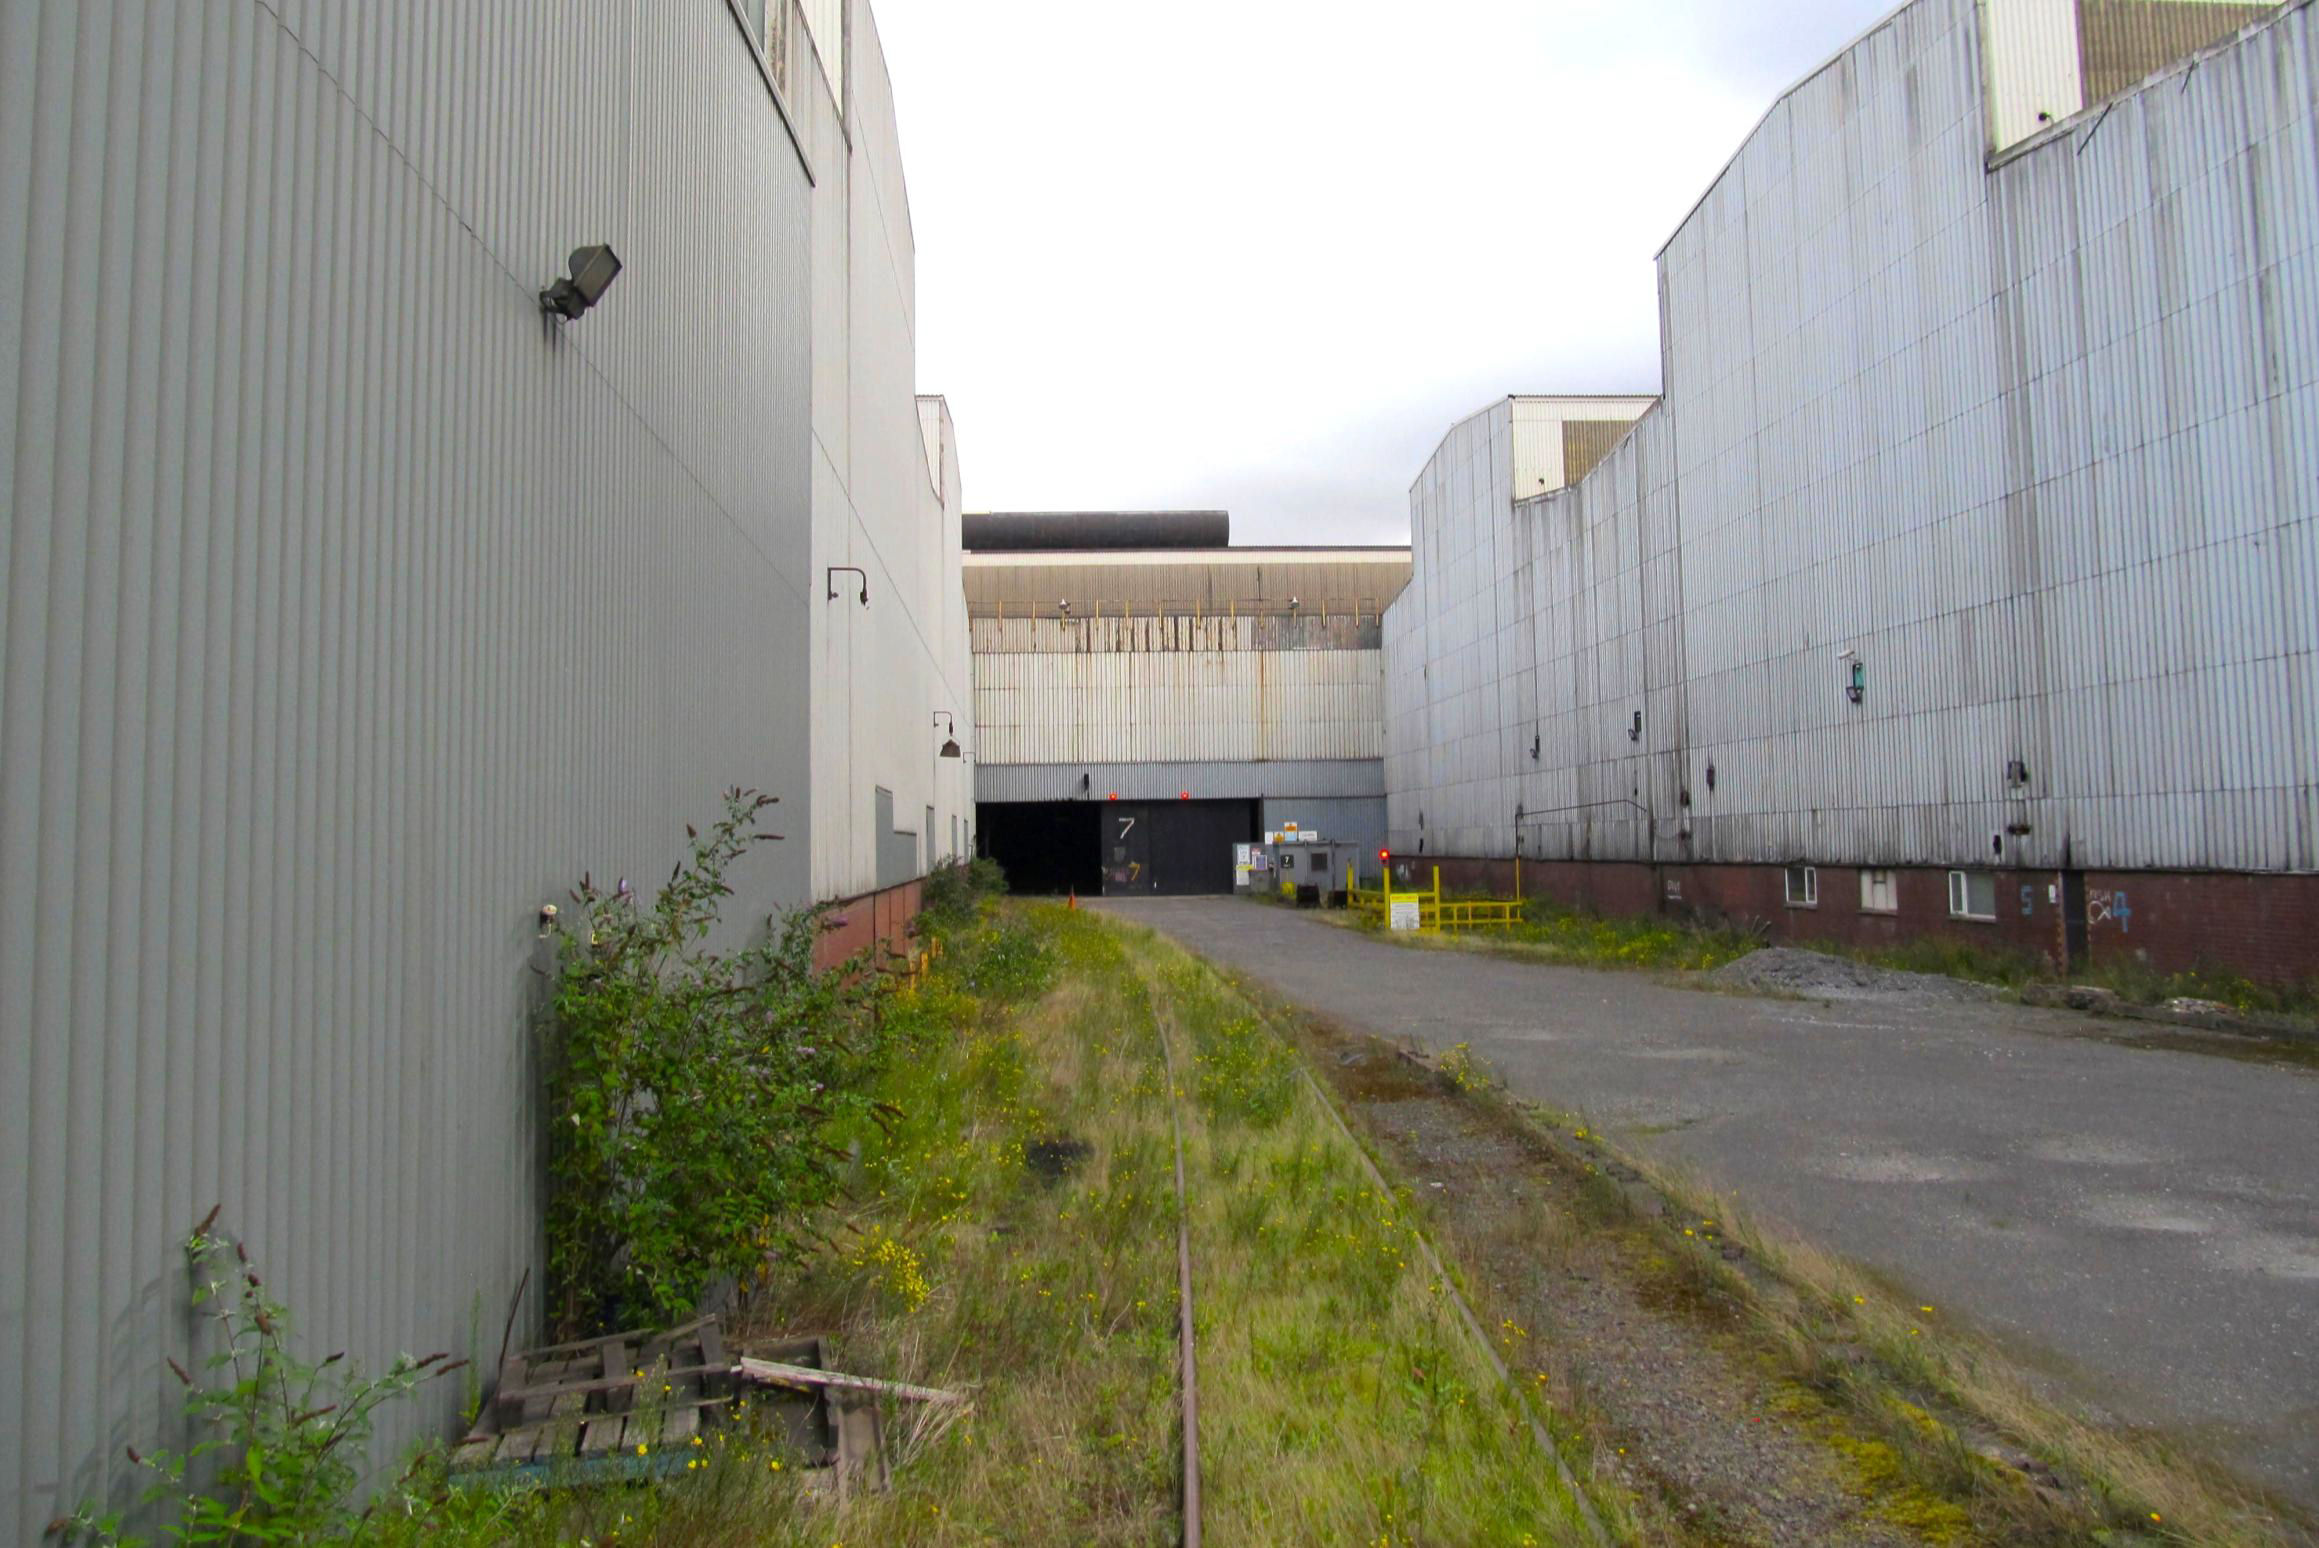
The Bar Mill, (right of the Rod Mill) and its now little used Caparo Gate 7
[© Chris Lings 2023]With a short detour to the adjacent Bar Mill entrance, (blocked by an immovable road cone) the next calling point was the Torpedo Repair Bay. It was notable that the South Melting Shop Running Road, covered by earlier tours, which gave a direct connection back towards the AFR shed from this area, appeared disused now. Several of the molten metal Torpedo wagons were in various stages of cleaning out, repair and relining, with flames coming from the insides of one to remove the residue.
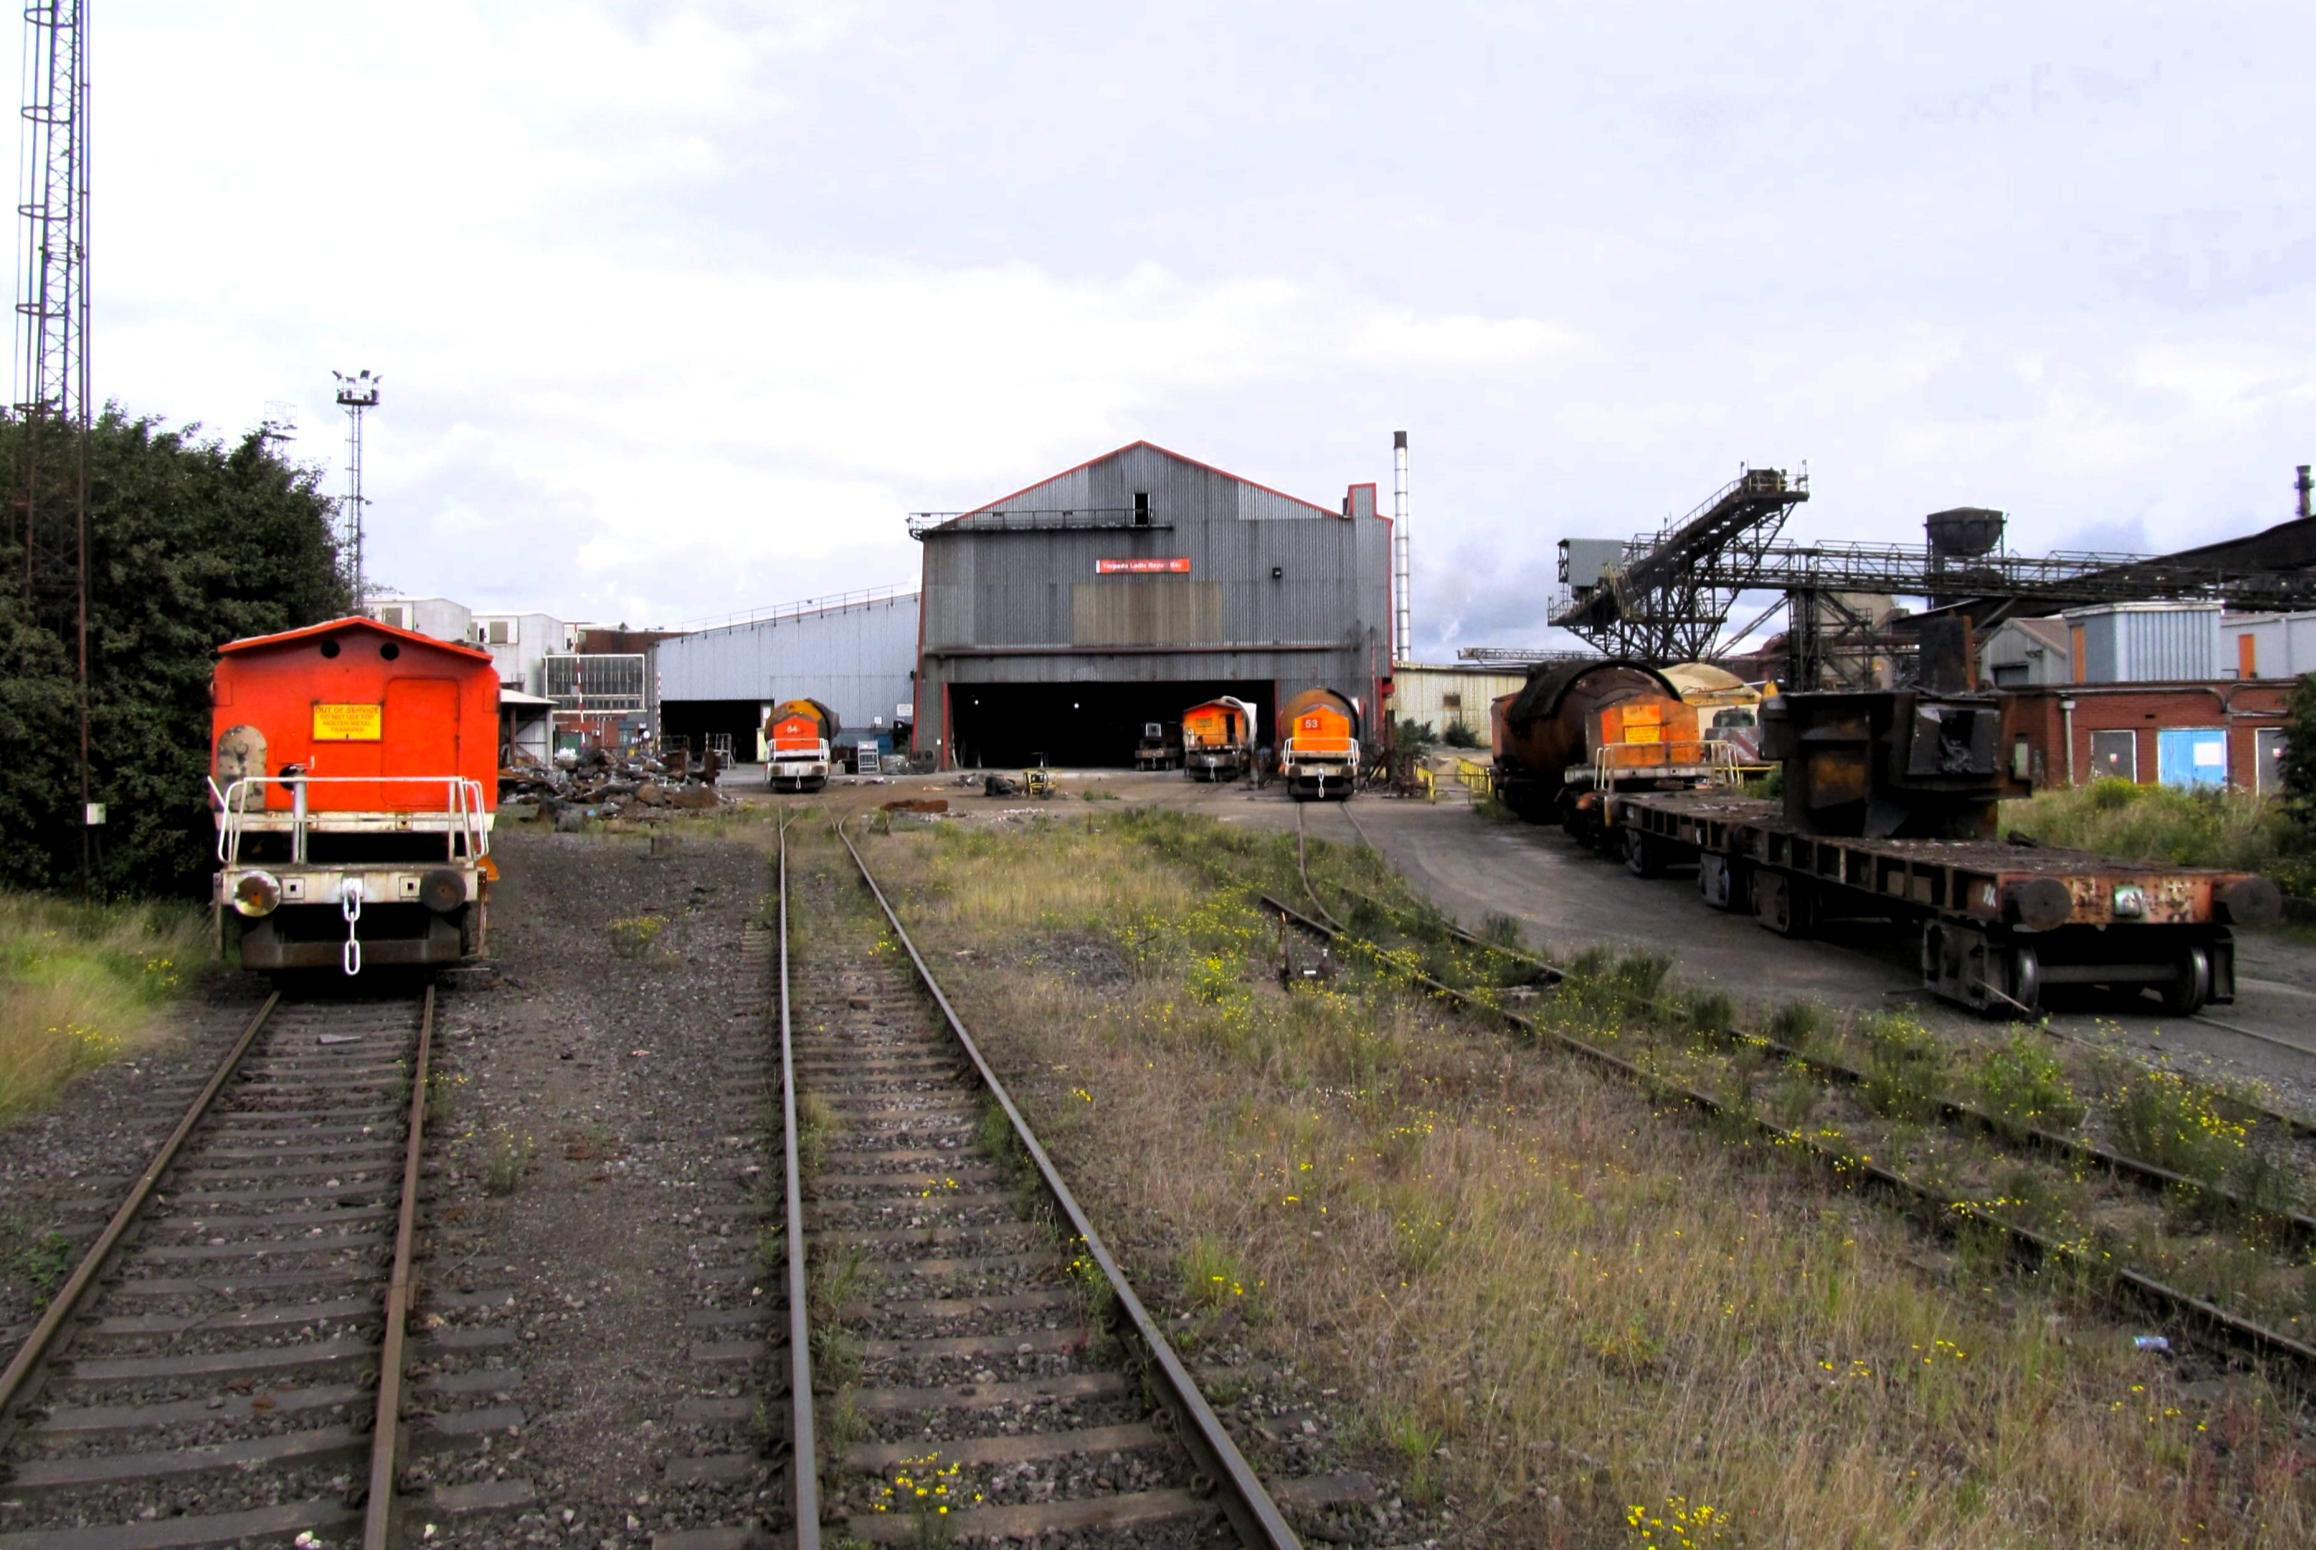
Approaching the Torpedo (Ladle) Repair Bay which will close with the blast furnaces.
[© Chris Lings 2023]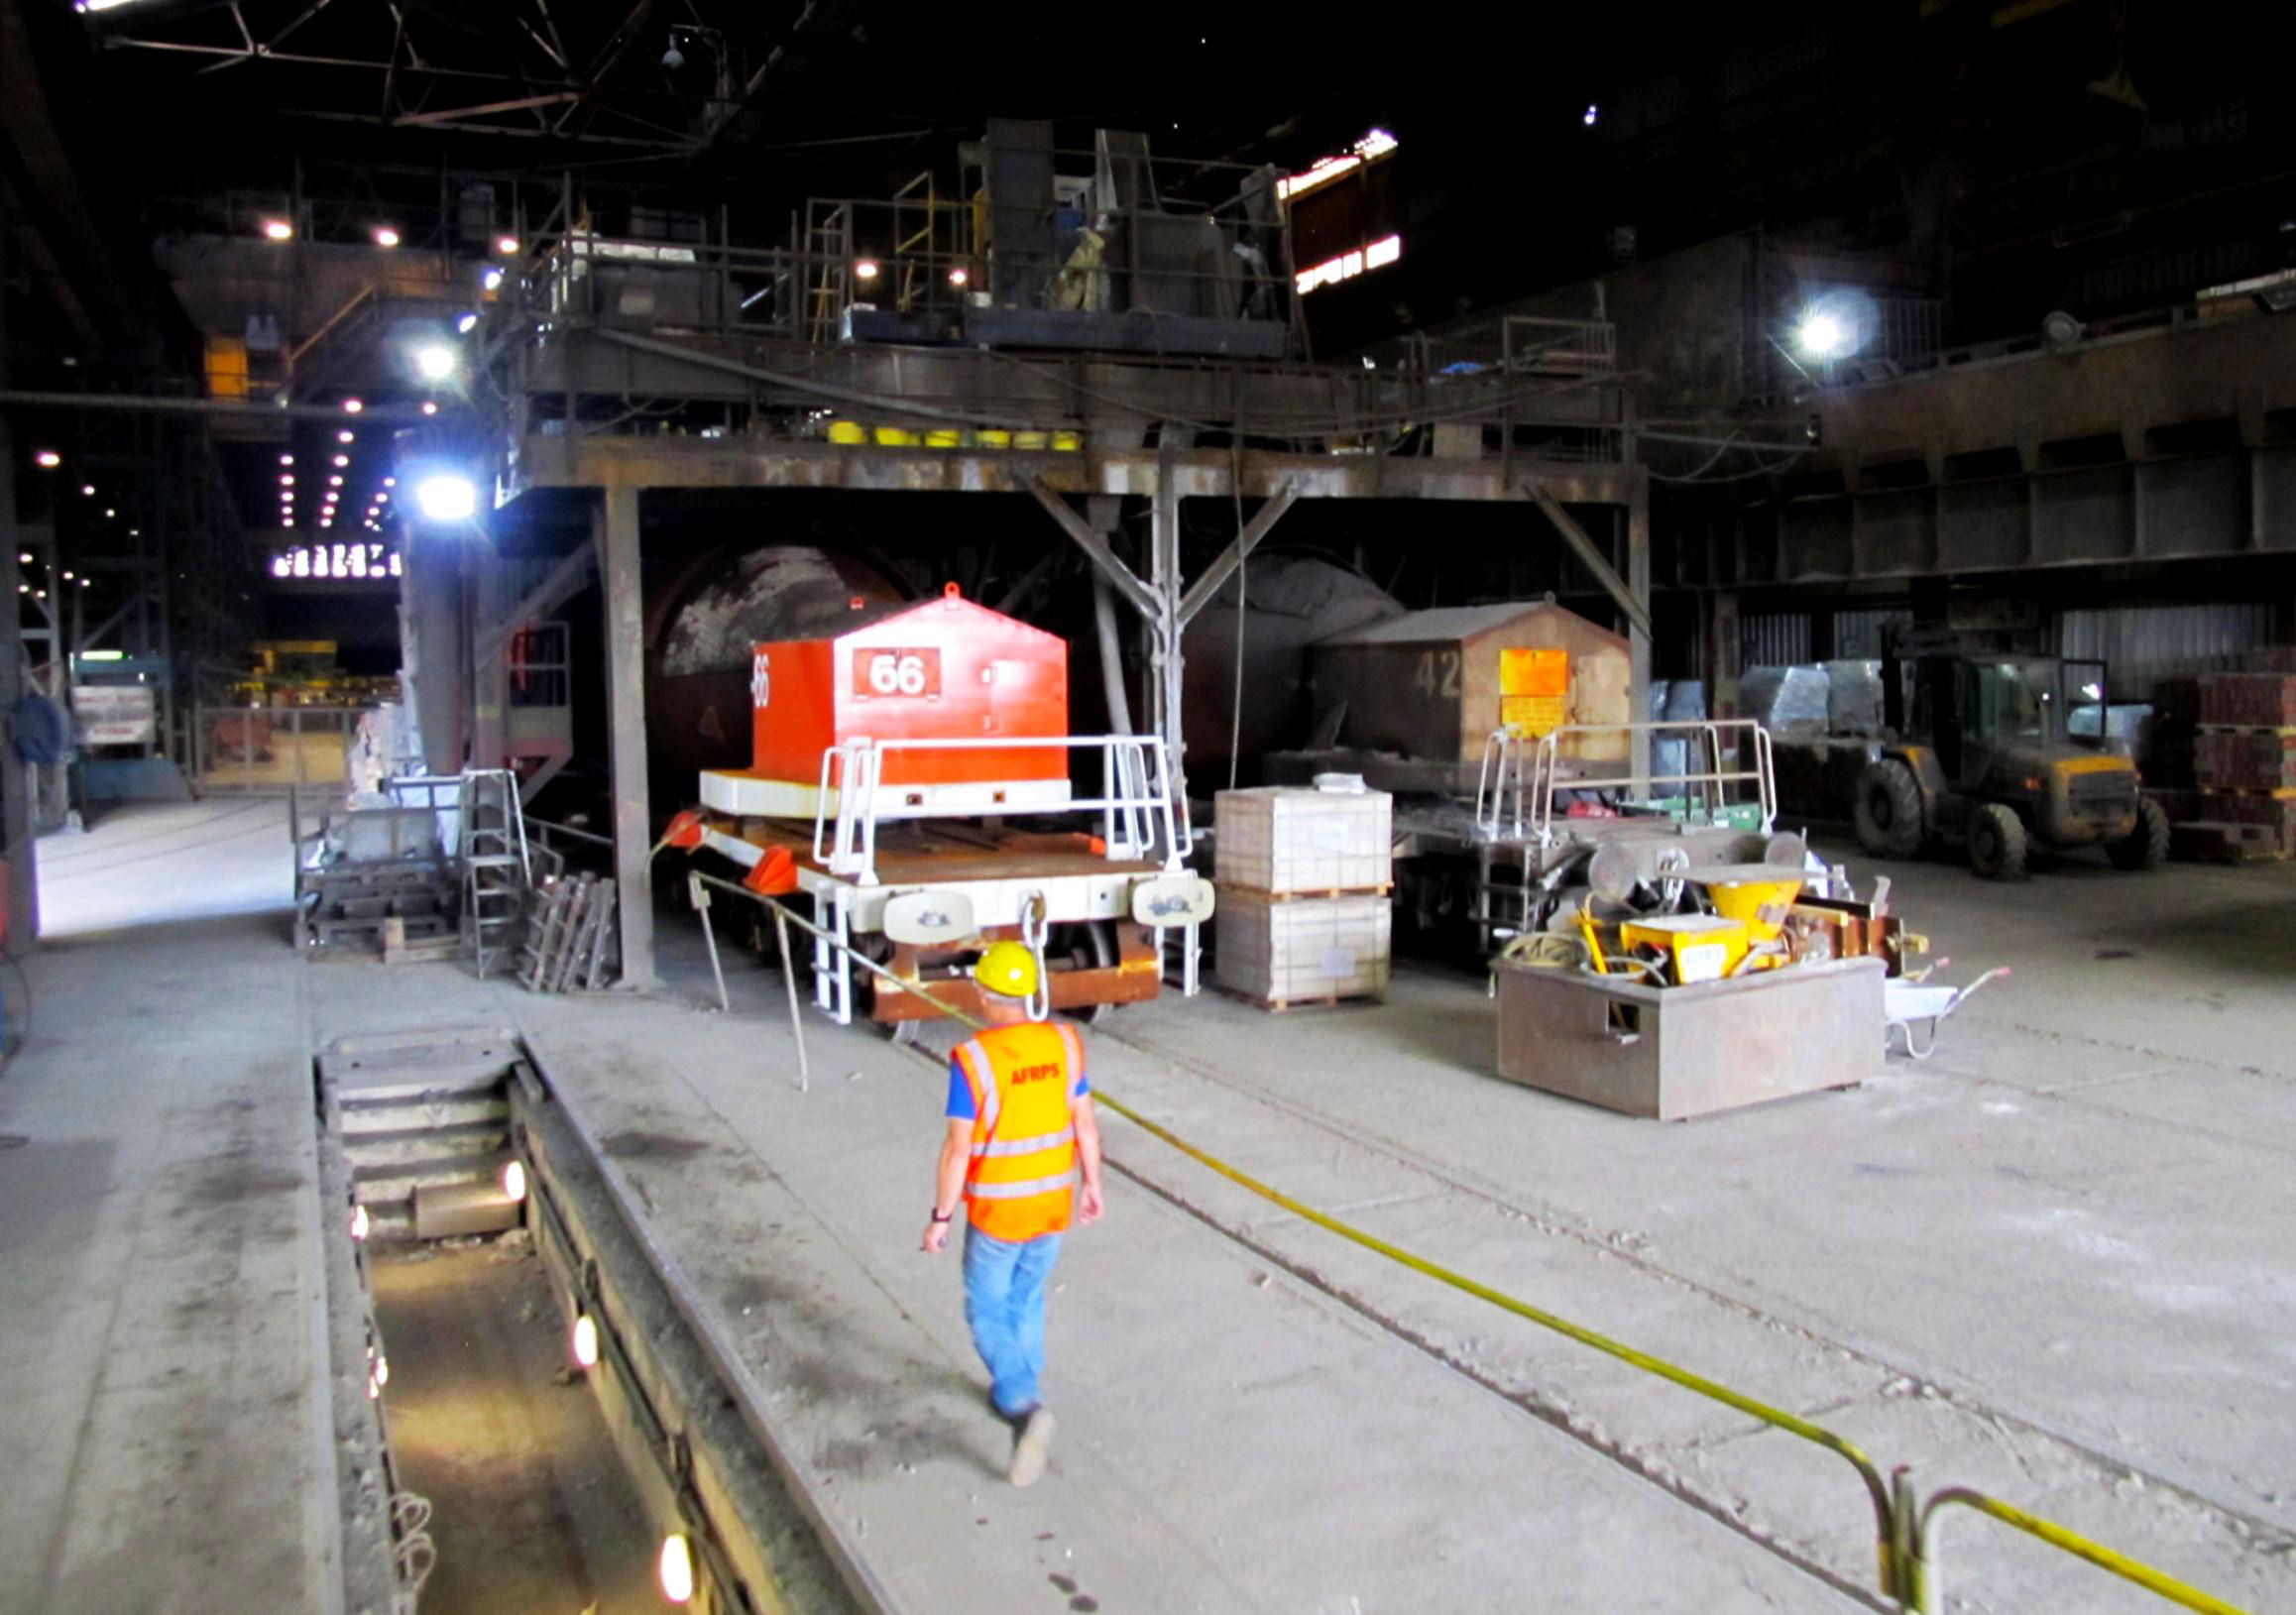
Inside the Torpedo (Ladle) Repair Bay.
[© Chris Lings 2023]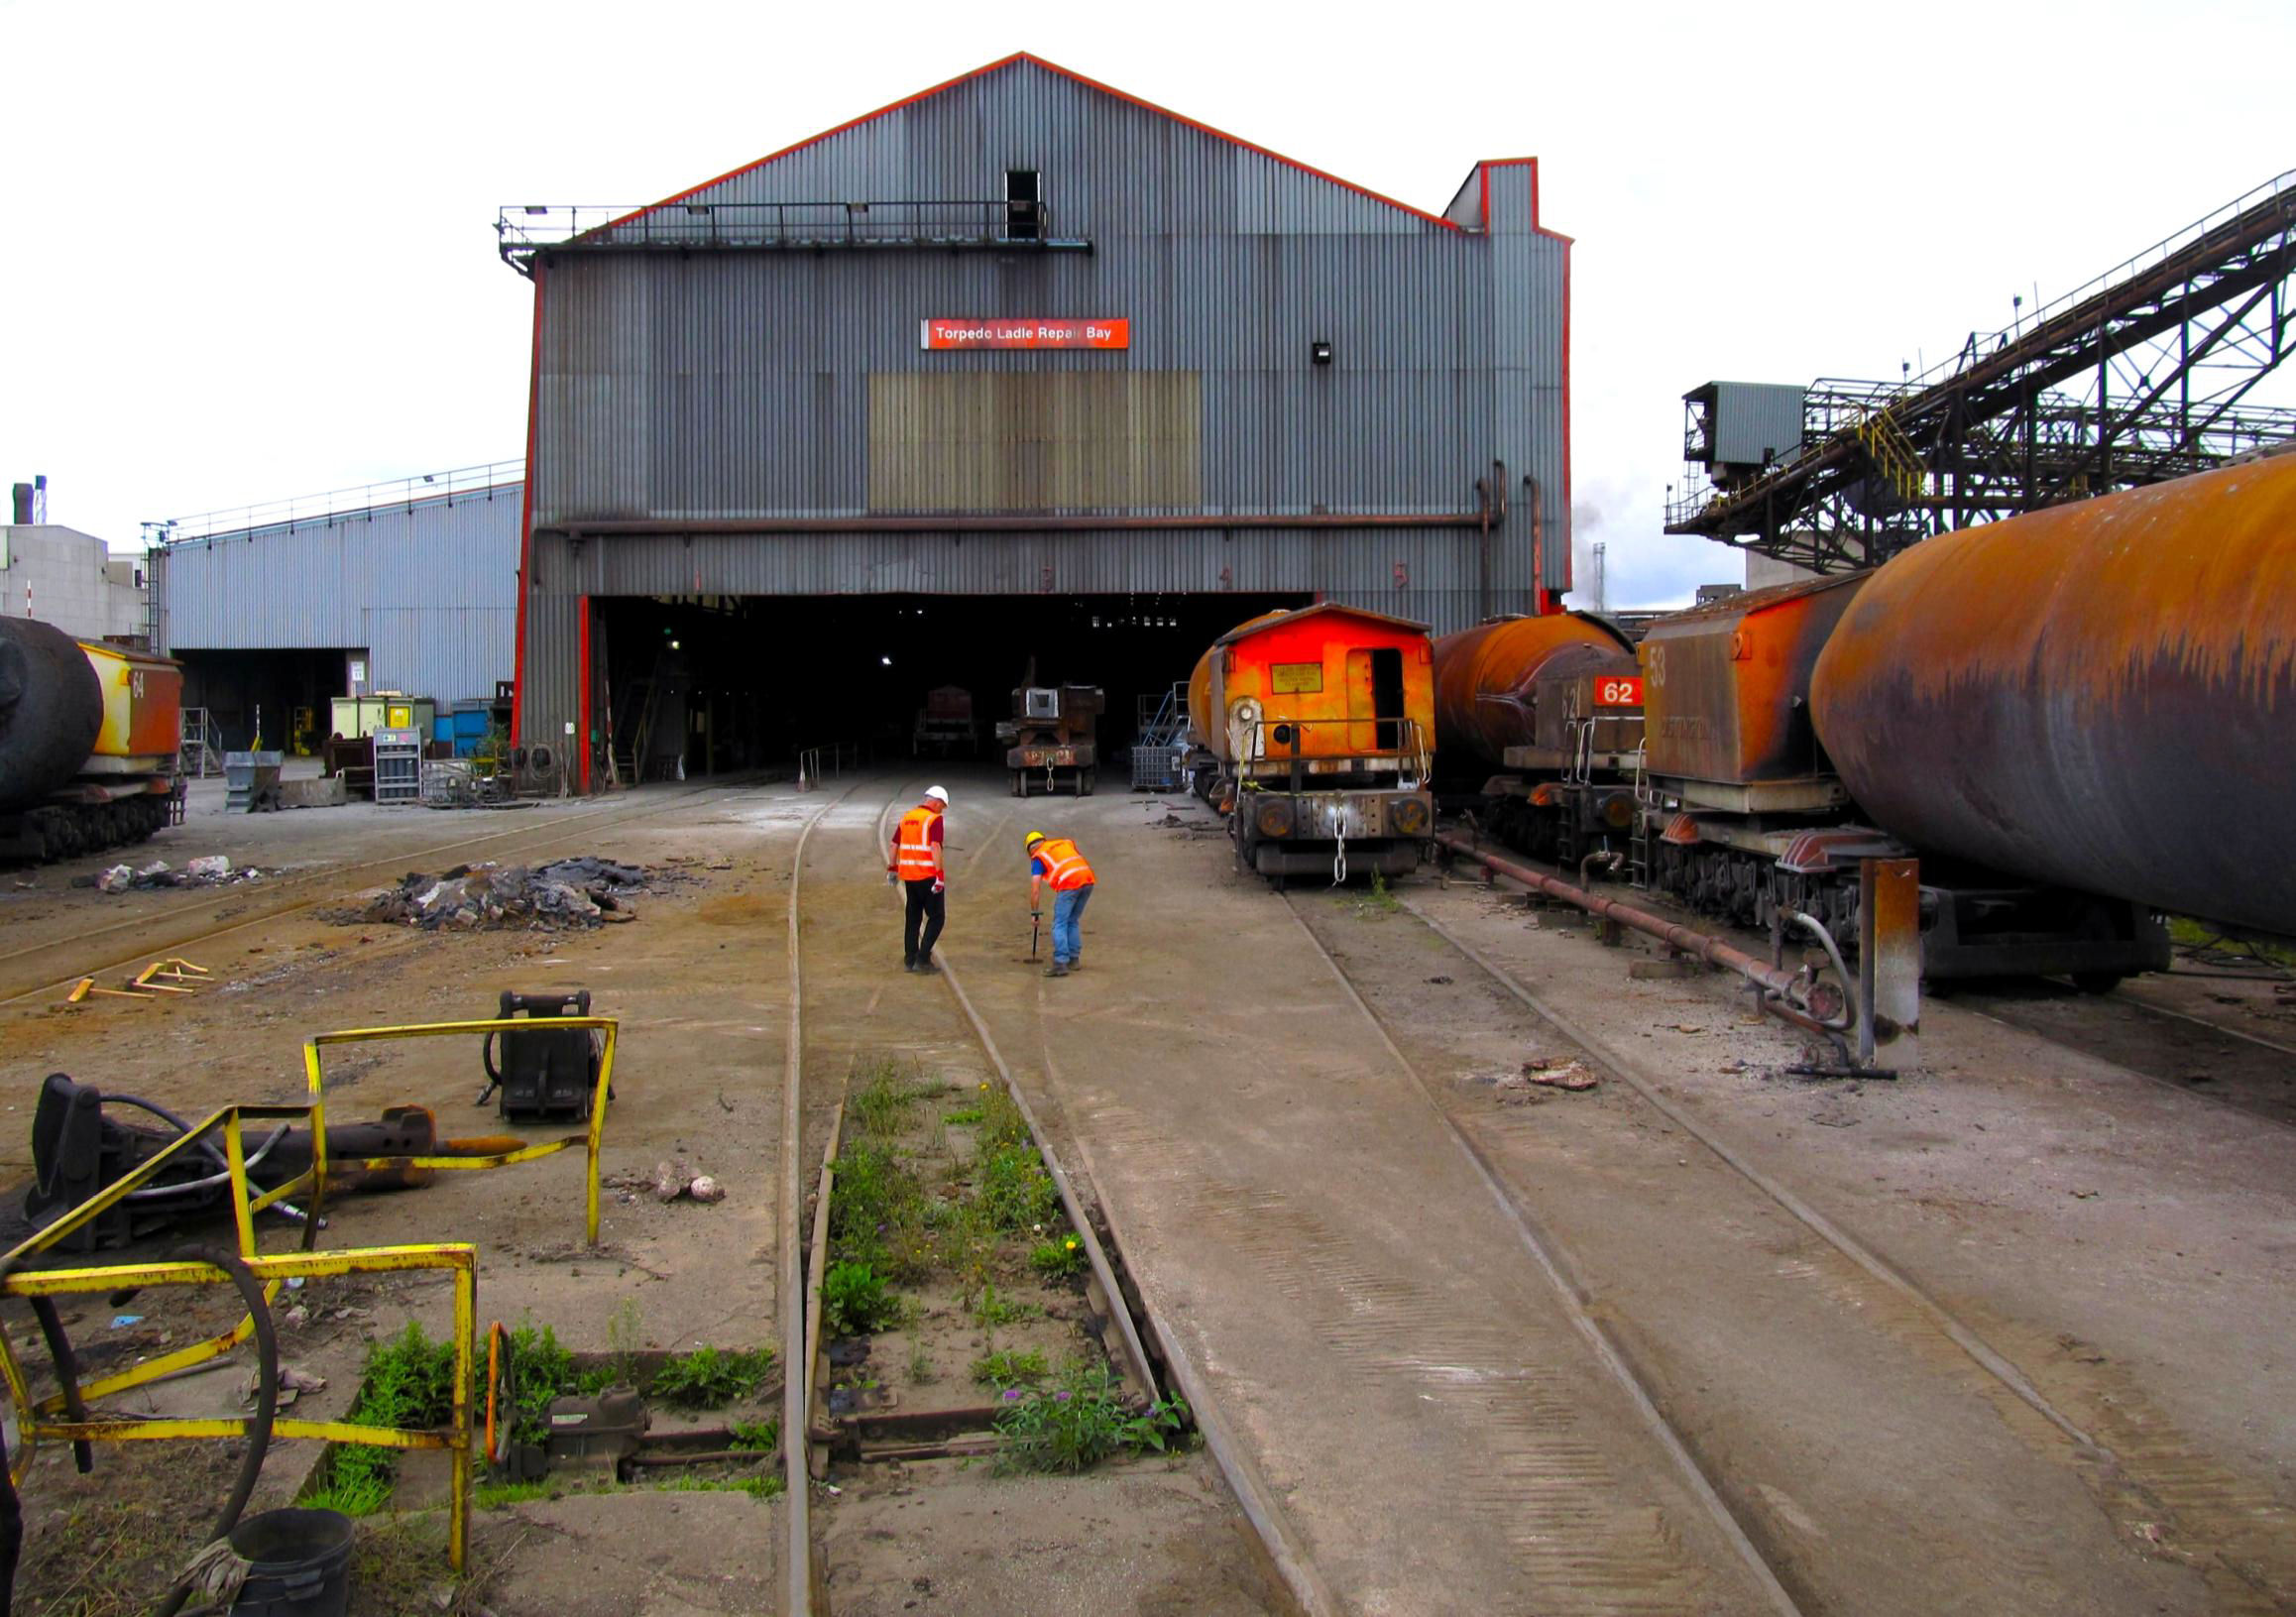
Clearing the track on the approach to the Torpedo (Ladle) Repair Bay.
[© Chris Lings 2023](I'd be interested to find out more about the processes needed to make the whole plant work and ultimately produce the finished products.*) With our shunting team clearing out the points and finding the rails under the dirt, we managed to cover Lines 1-5 either up to the wagons and, even better, right inside the building on 1 & 2. [*AFR Pacer tours include a commentary on steelmaking.]
After all that shuffling about, a swift run to the Scrap Bay at the southeast end of the site followed. We did both sides of the loop and each sharply curved siding up to the covered area with its cranes overhead. Showers of sparks from cutting torches also showed that we were again in a working area.
With a reversal, a run around the eastern side of the BOS (Basic Oxygen Steelmaking) Plant and Slab Yard to the Former* Bloom & Billet Mill (B&BM) ensued, using the very sharp reverse curve to enter the building on Furnace Road, then the line towards Mills Exchange Sidings. This has been regularly done but a very rare event was the shunting lights being switched on again for us to access B&BM4 and B&BM2 sidings inside the massive building. With the brakevans being propelled to the stops on the available track, we were joined by Martyn Brailsford, leaving the loco cab for a better view [any excuse]. After all that excitement he had to go and have a lie down on the grass during the reversal after leaving the building. [*Former as in used to be but no longer is; not forming blooms & billets etc.]
The fairly new line between Points 316 and 319.
[© Chris Lings 2023]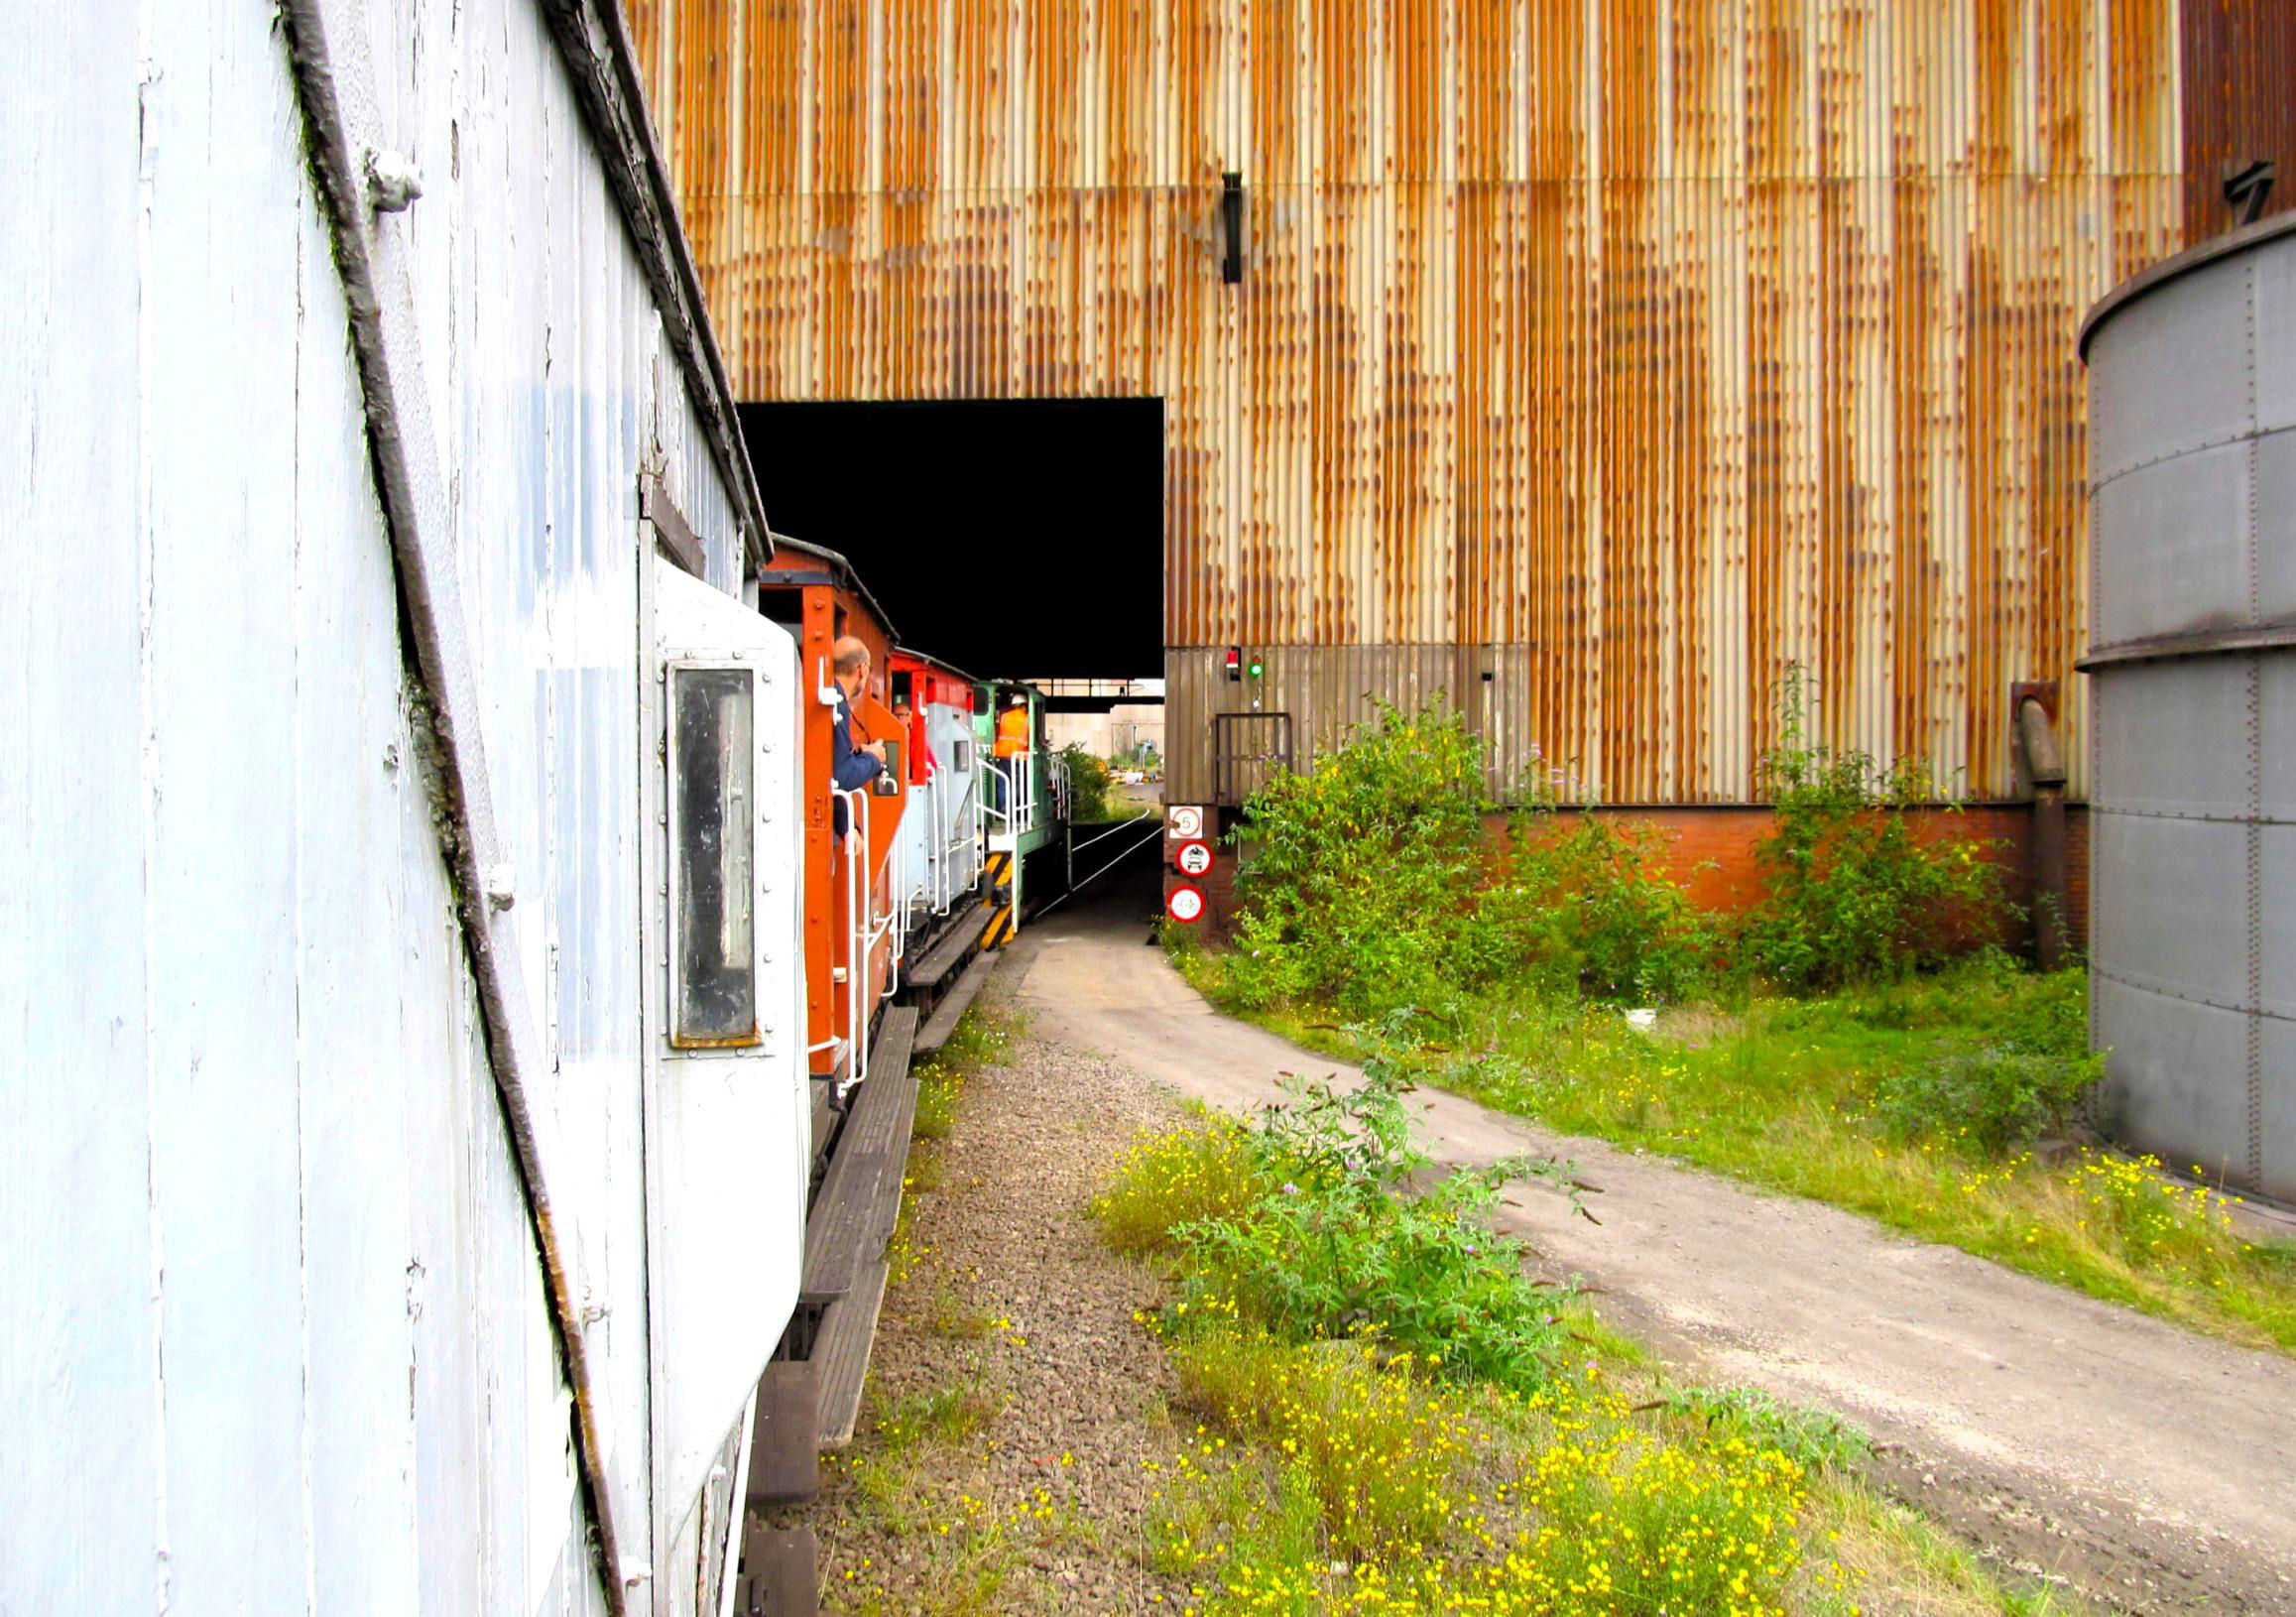
Furnace Road which passes through the former Bloom & Billet Mill, now used for stocking.
[© Chris Lings 2023]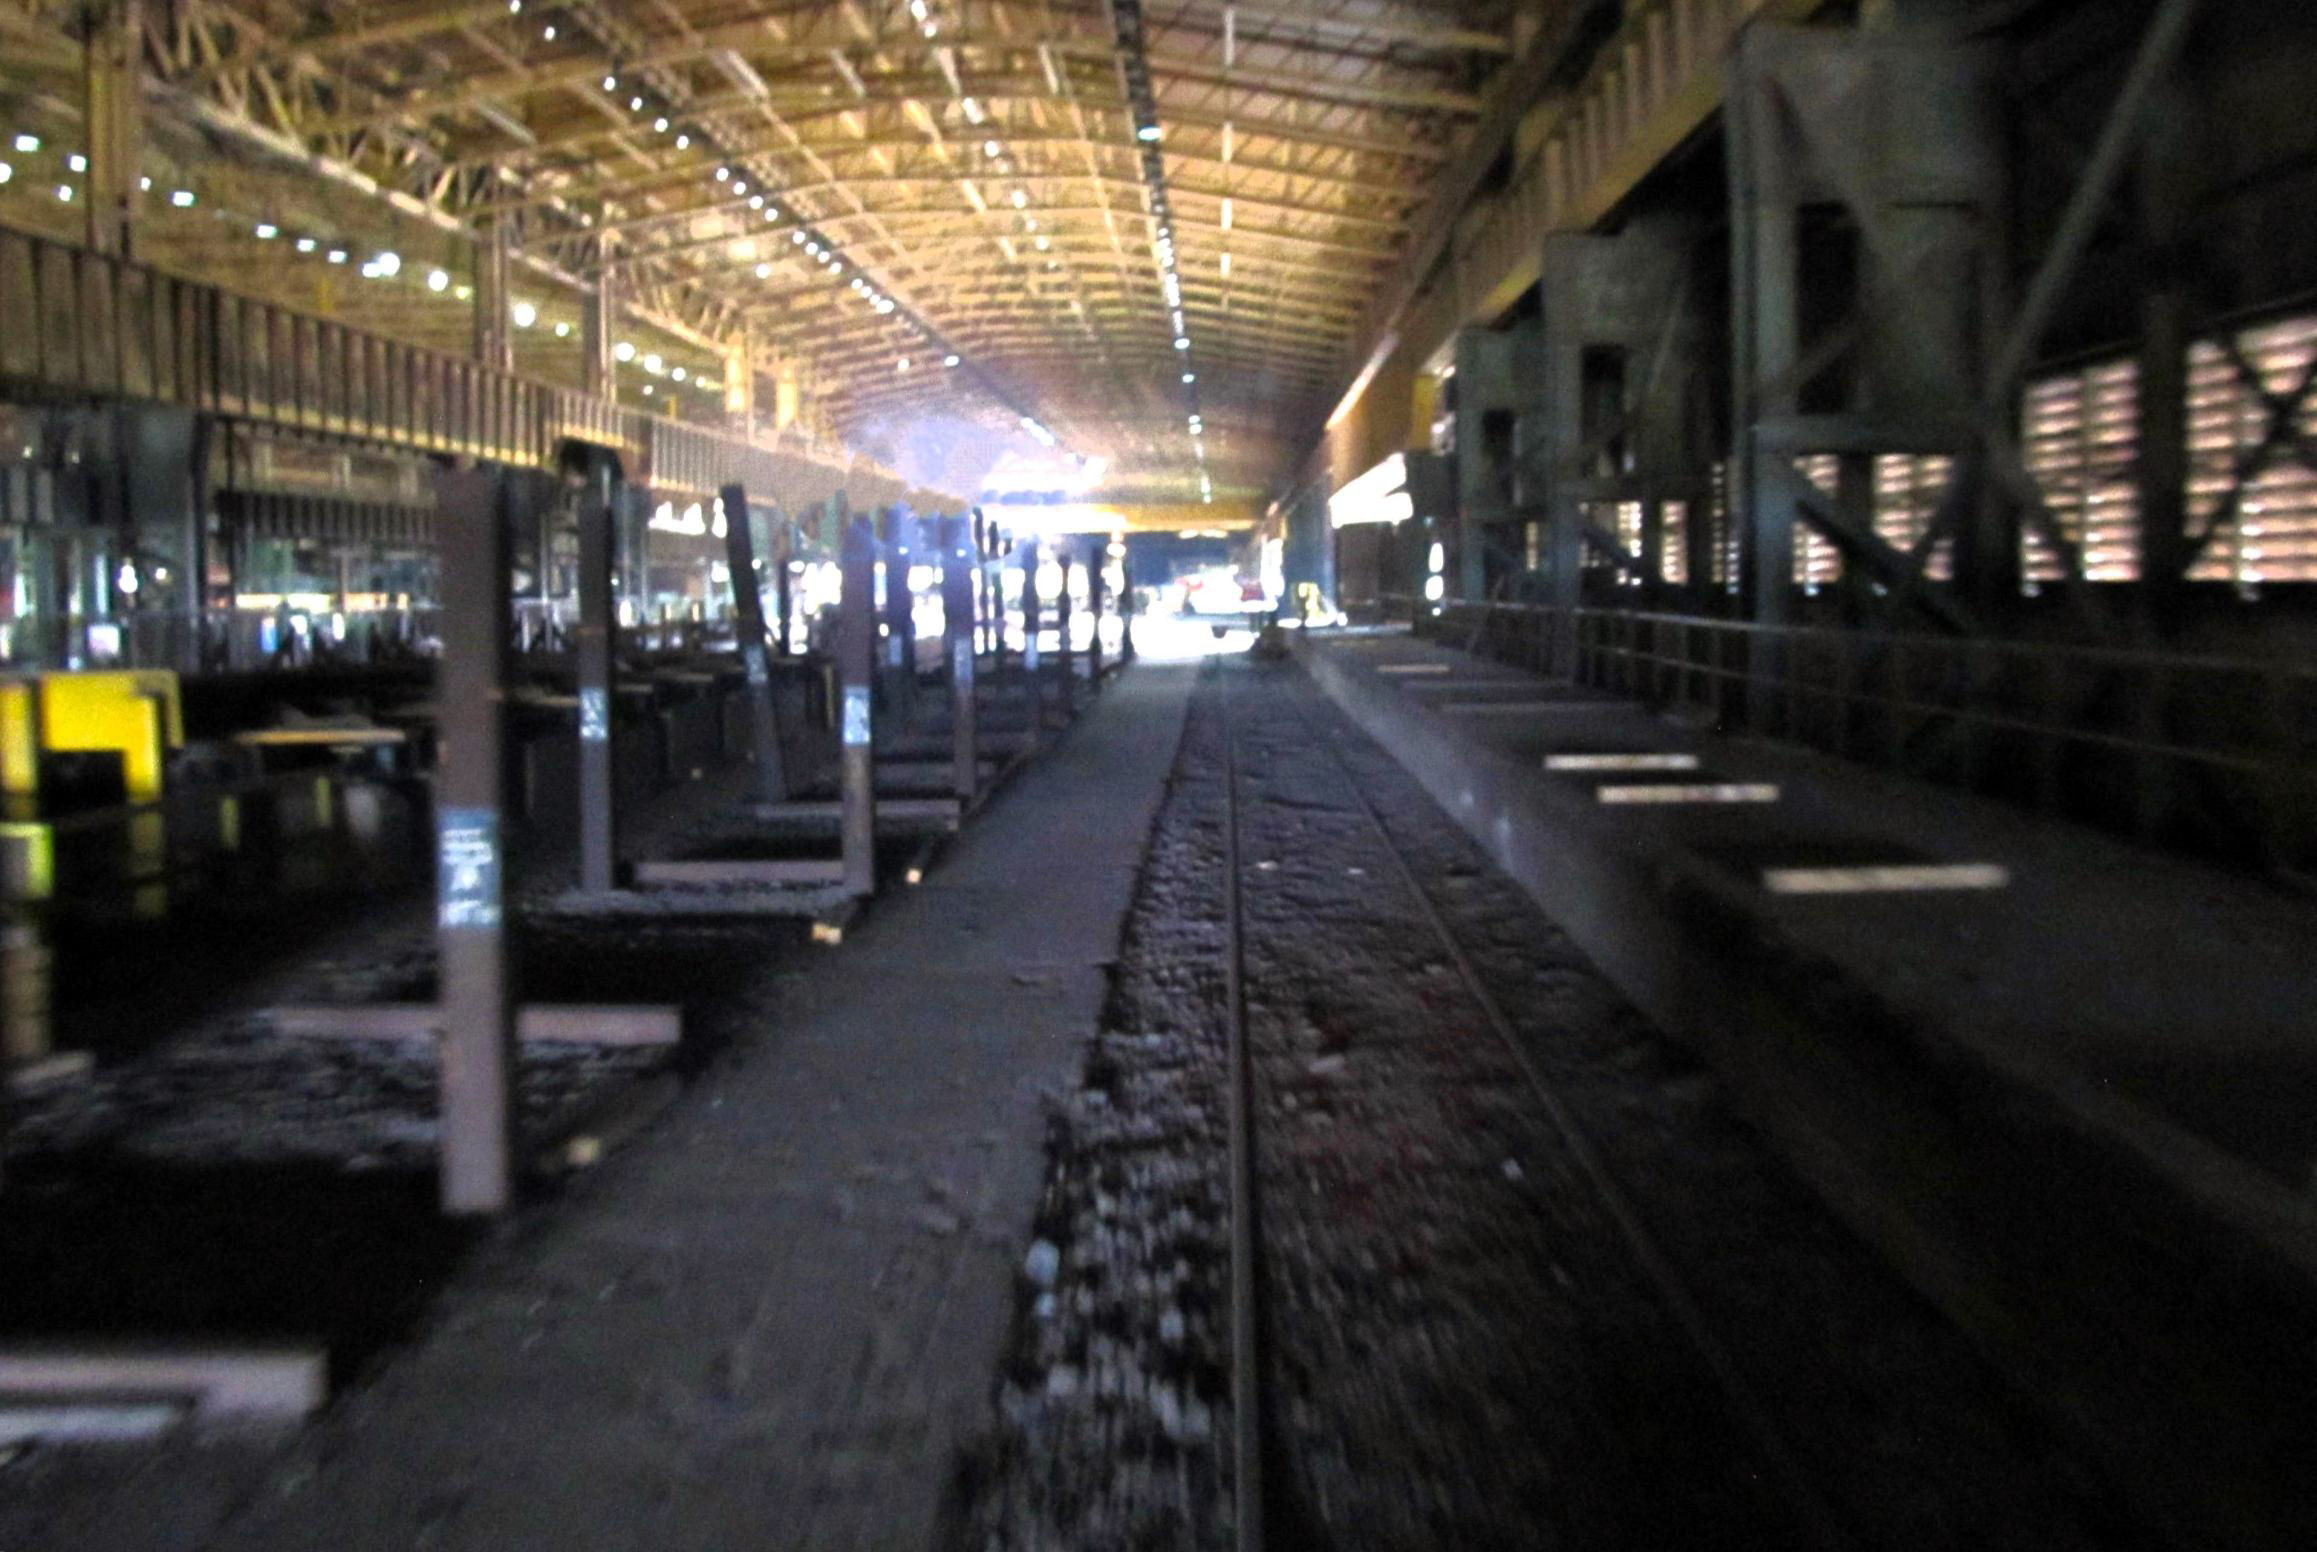
The former Bloom & Billet Mill, Entrance 6 West line (four lines like this were done here).
[© Chris Lings 2023]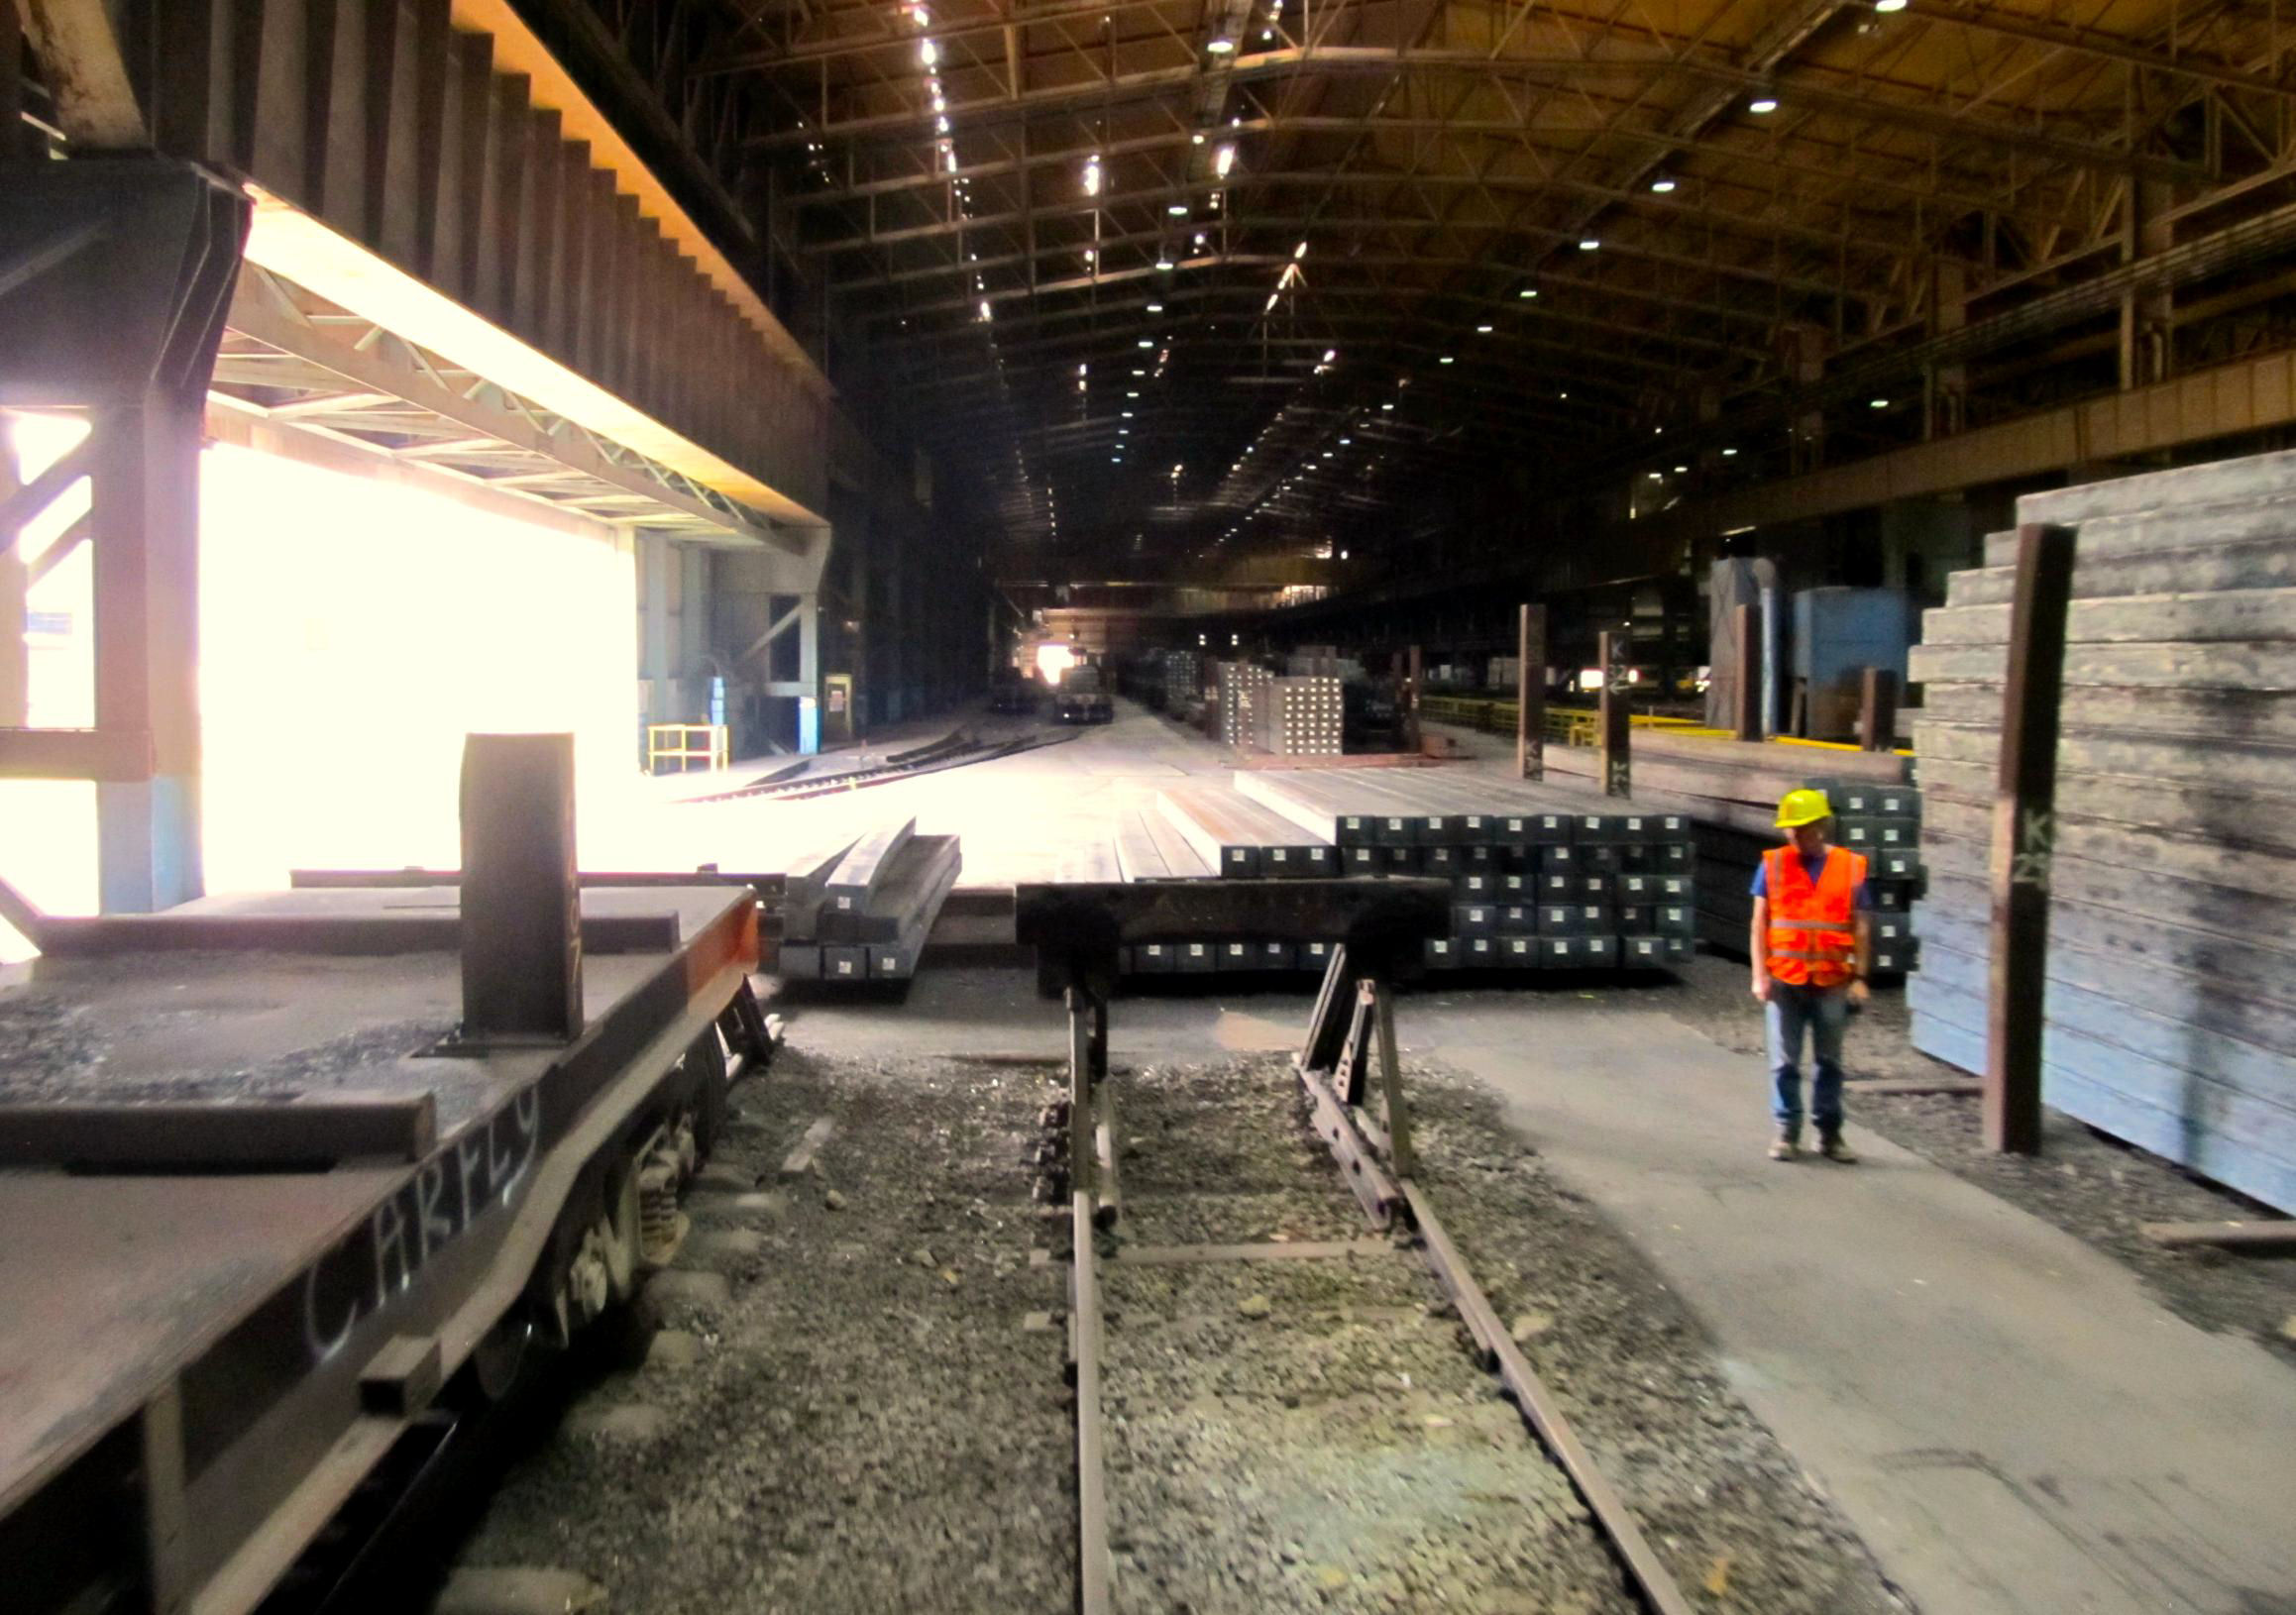
Entrance 4 (east side line); this structure is massive.
[© Chris Lings 2023]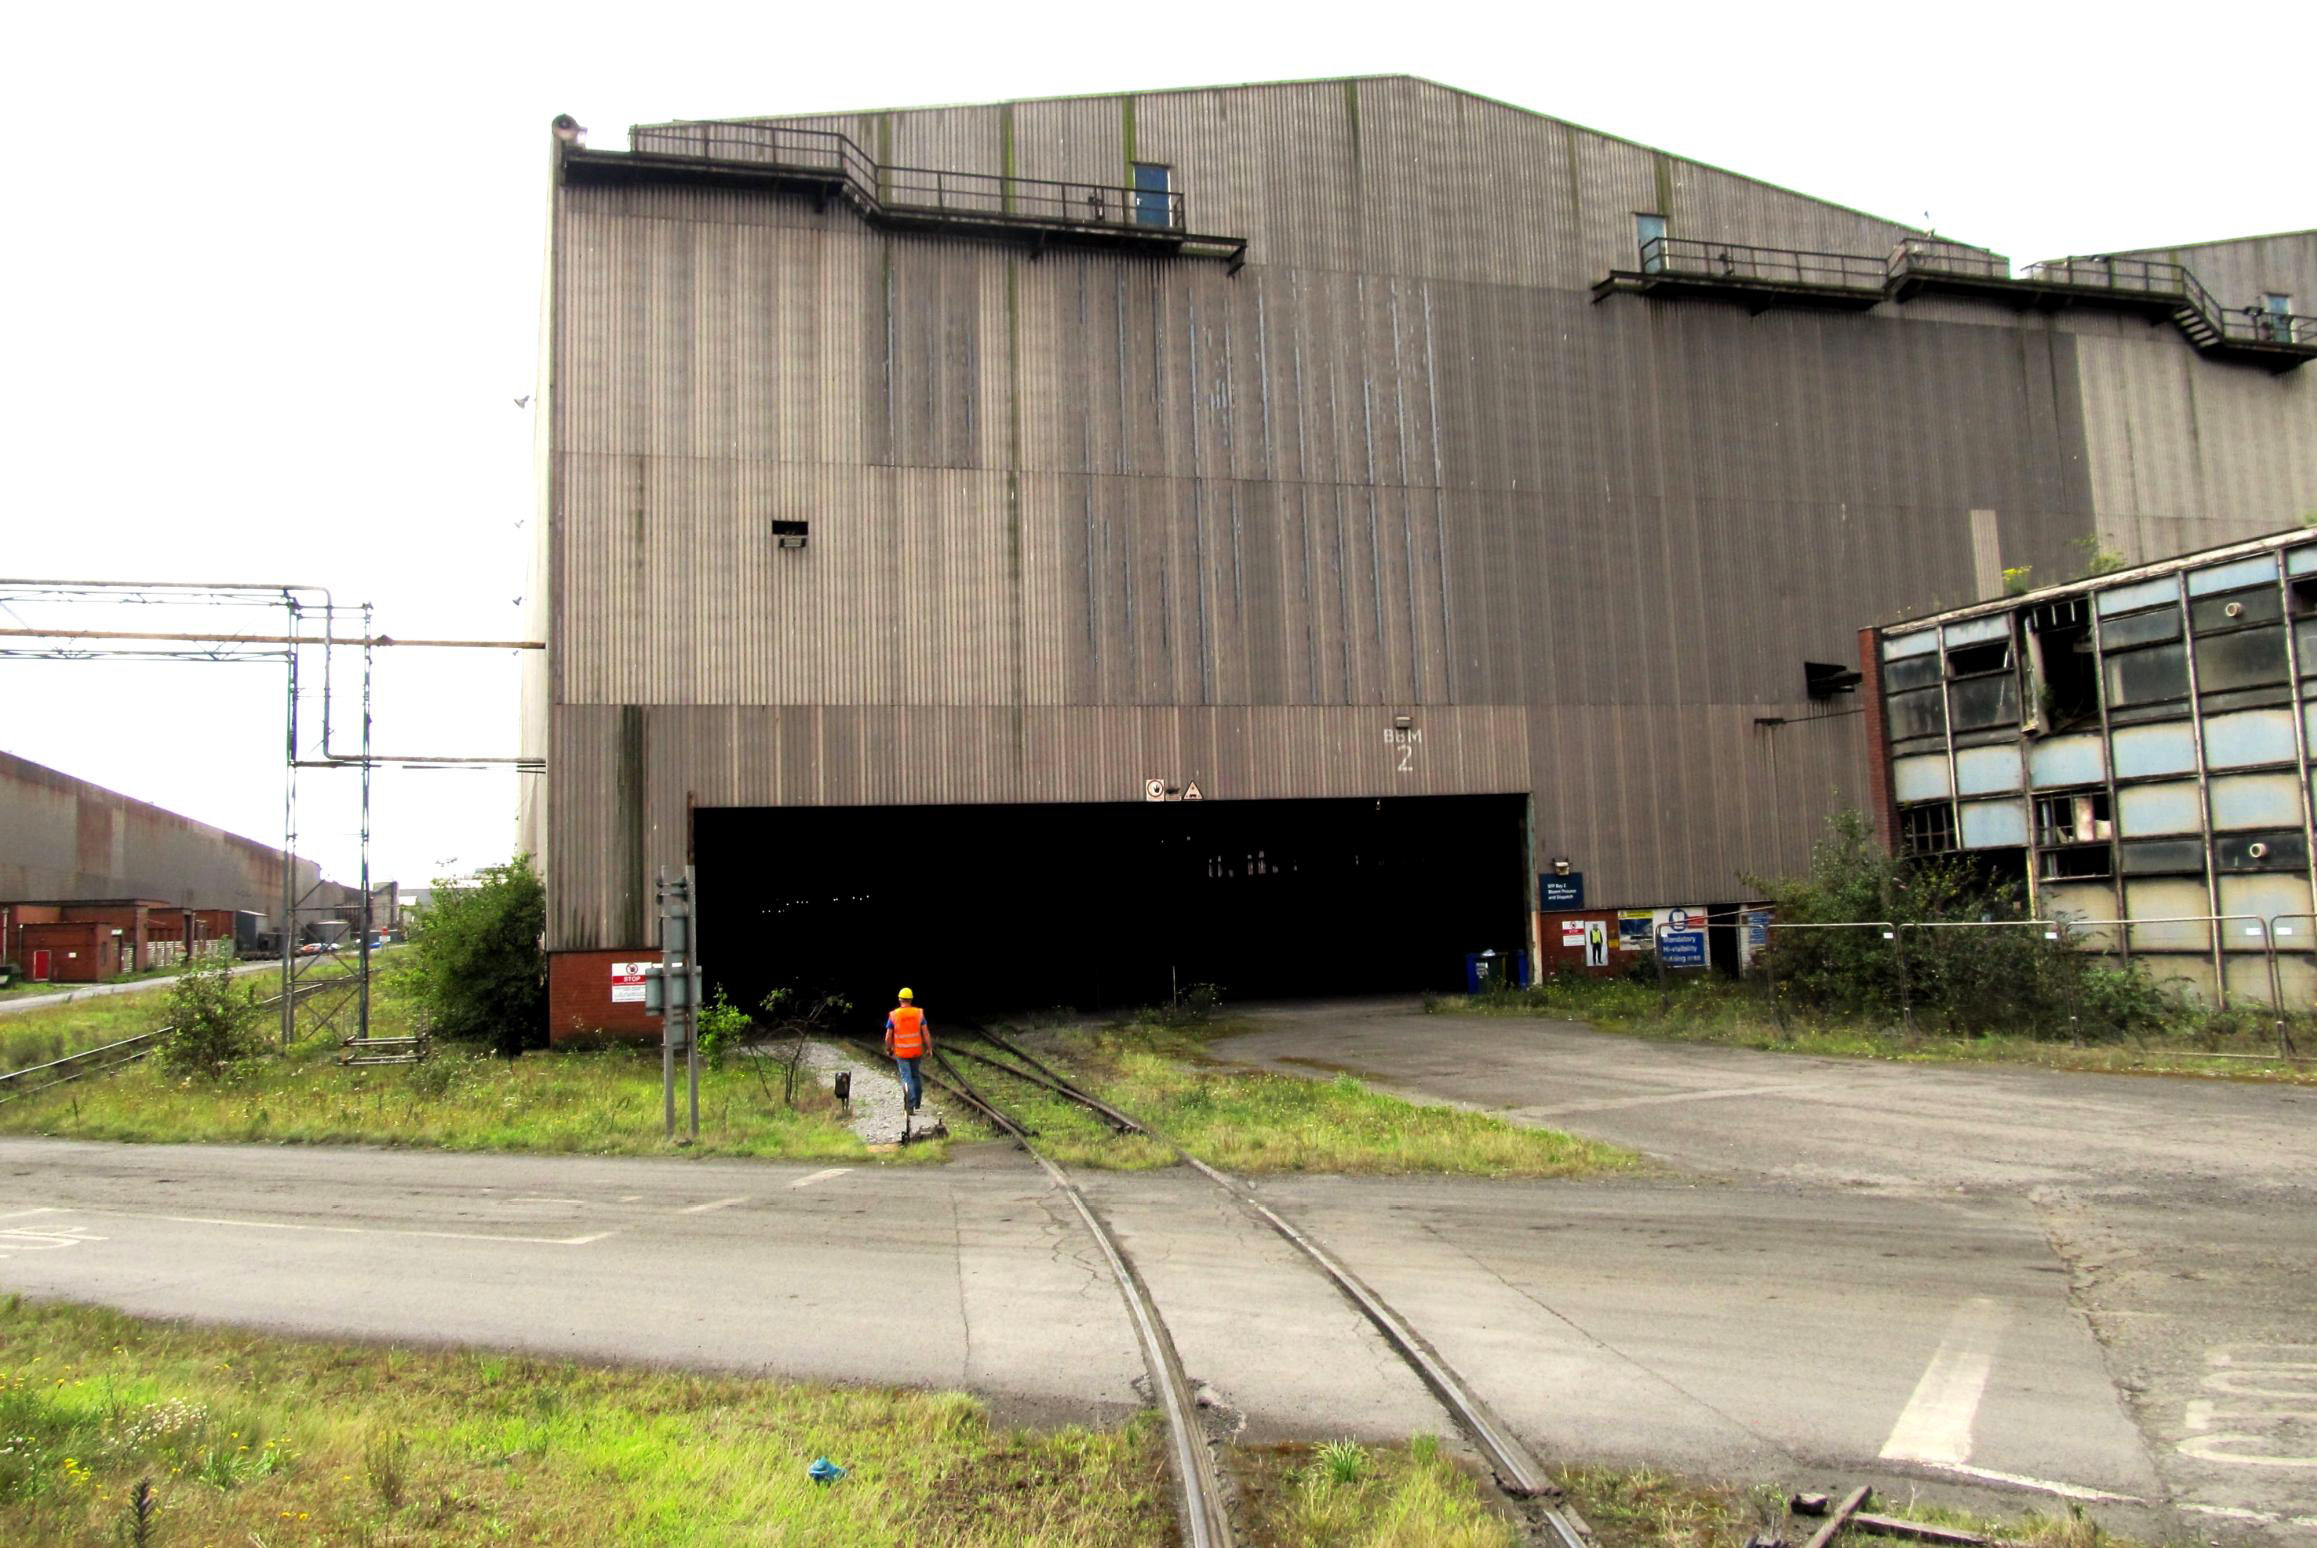
Former Bloom & Billet Mill Entrance 2 at the north end, the left hand line was covered to the end of line.
[© Chris Lings 2023]The inside jobs (in the we never thought we would ever do that category) still hadn't finished as we then ran to the ends of B&BM6 East and West lines, resulting in a lot of very happy track bashers.
Another decent run via Mills Exchange Siding 13, 'The Angle' and up the incline to the Rail Service Centre (RSC) allowed access along the RSC 6 Bay line up to the building. It was interesting to see very long lengths of new rail being lifted by the many synchronised gantries onto mainline wagons on one of the adjacent lines, controlled by just one operator with a portable control box, with a second one manually attaching the rail lifting clamps. As this area is higher than the rest of the works it gives a good view of some areas, including over Scunthorpe itself. Most noticeable this time, was the lack of smoke and periodic eruptions of steam from Appleby Coke Ovens. As reported in BLN, they closed in June with coke now imported from China (no carbon tax), with large stockpiles in several locations. Road transport is used as it is relatively light and friable. However, we did see a Class 66 hauled coal train being unloaded in the distance across the mainline as coal is still used in the steelmaking process.
Another new, to me, decent length of track was our next objective; 2 Bay on the north side of the RSC. It has always been occupied but permission had been obtained to cover it to the stops, within sight of our starting point. It required more shunting, thanks to Glenn and pole, to remove a wagon in the way.
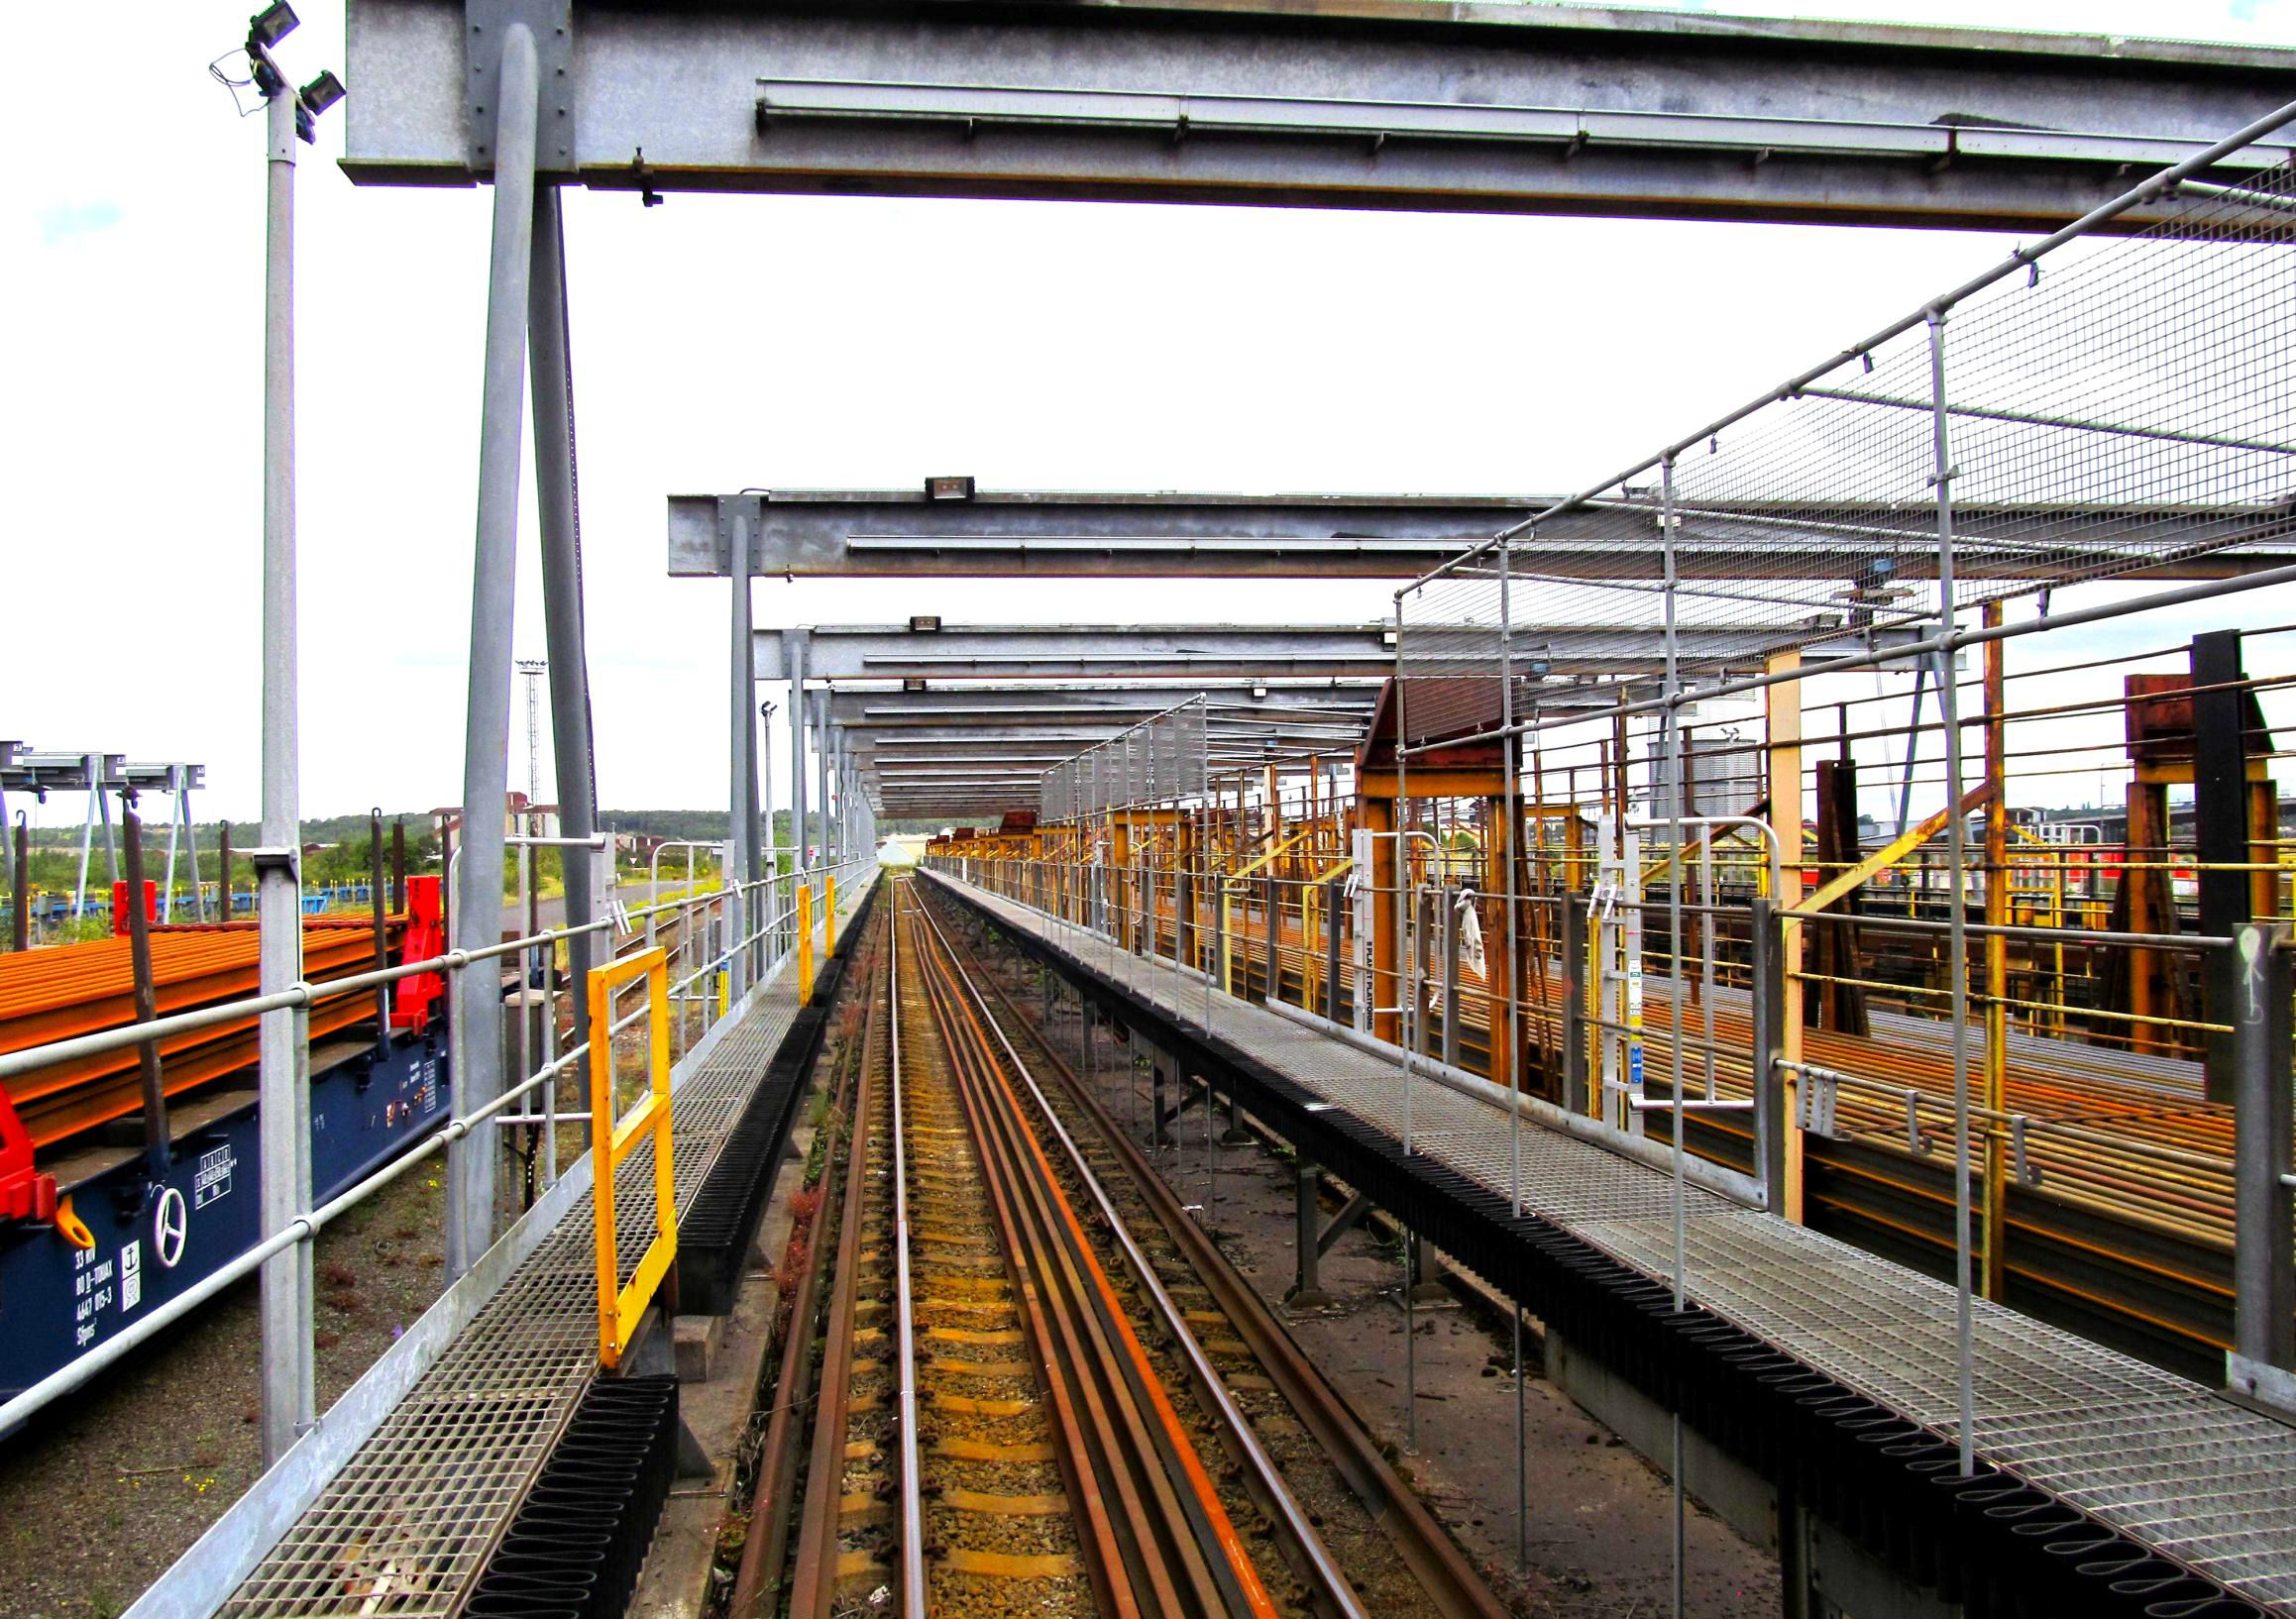
Rail Service Centre, 6 Bay East was clear for once so covered.
[© Chris Lings 2023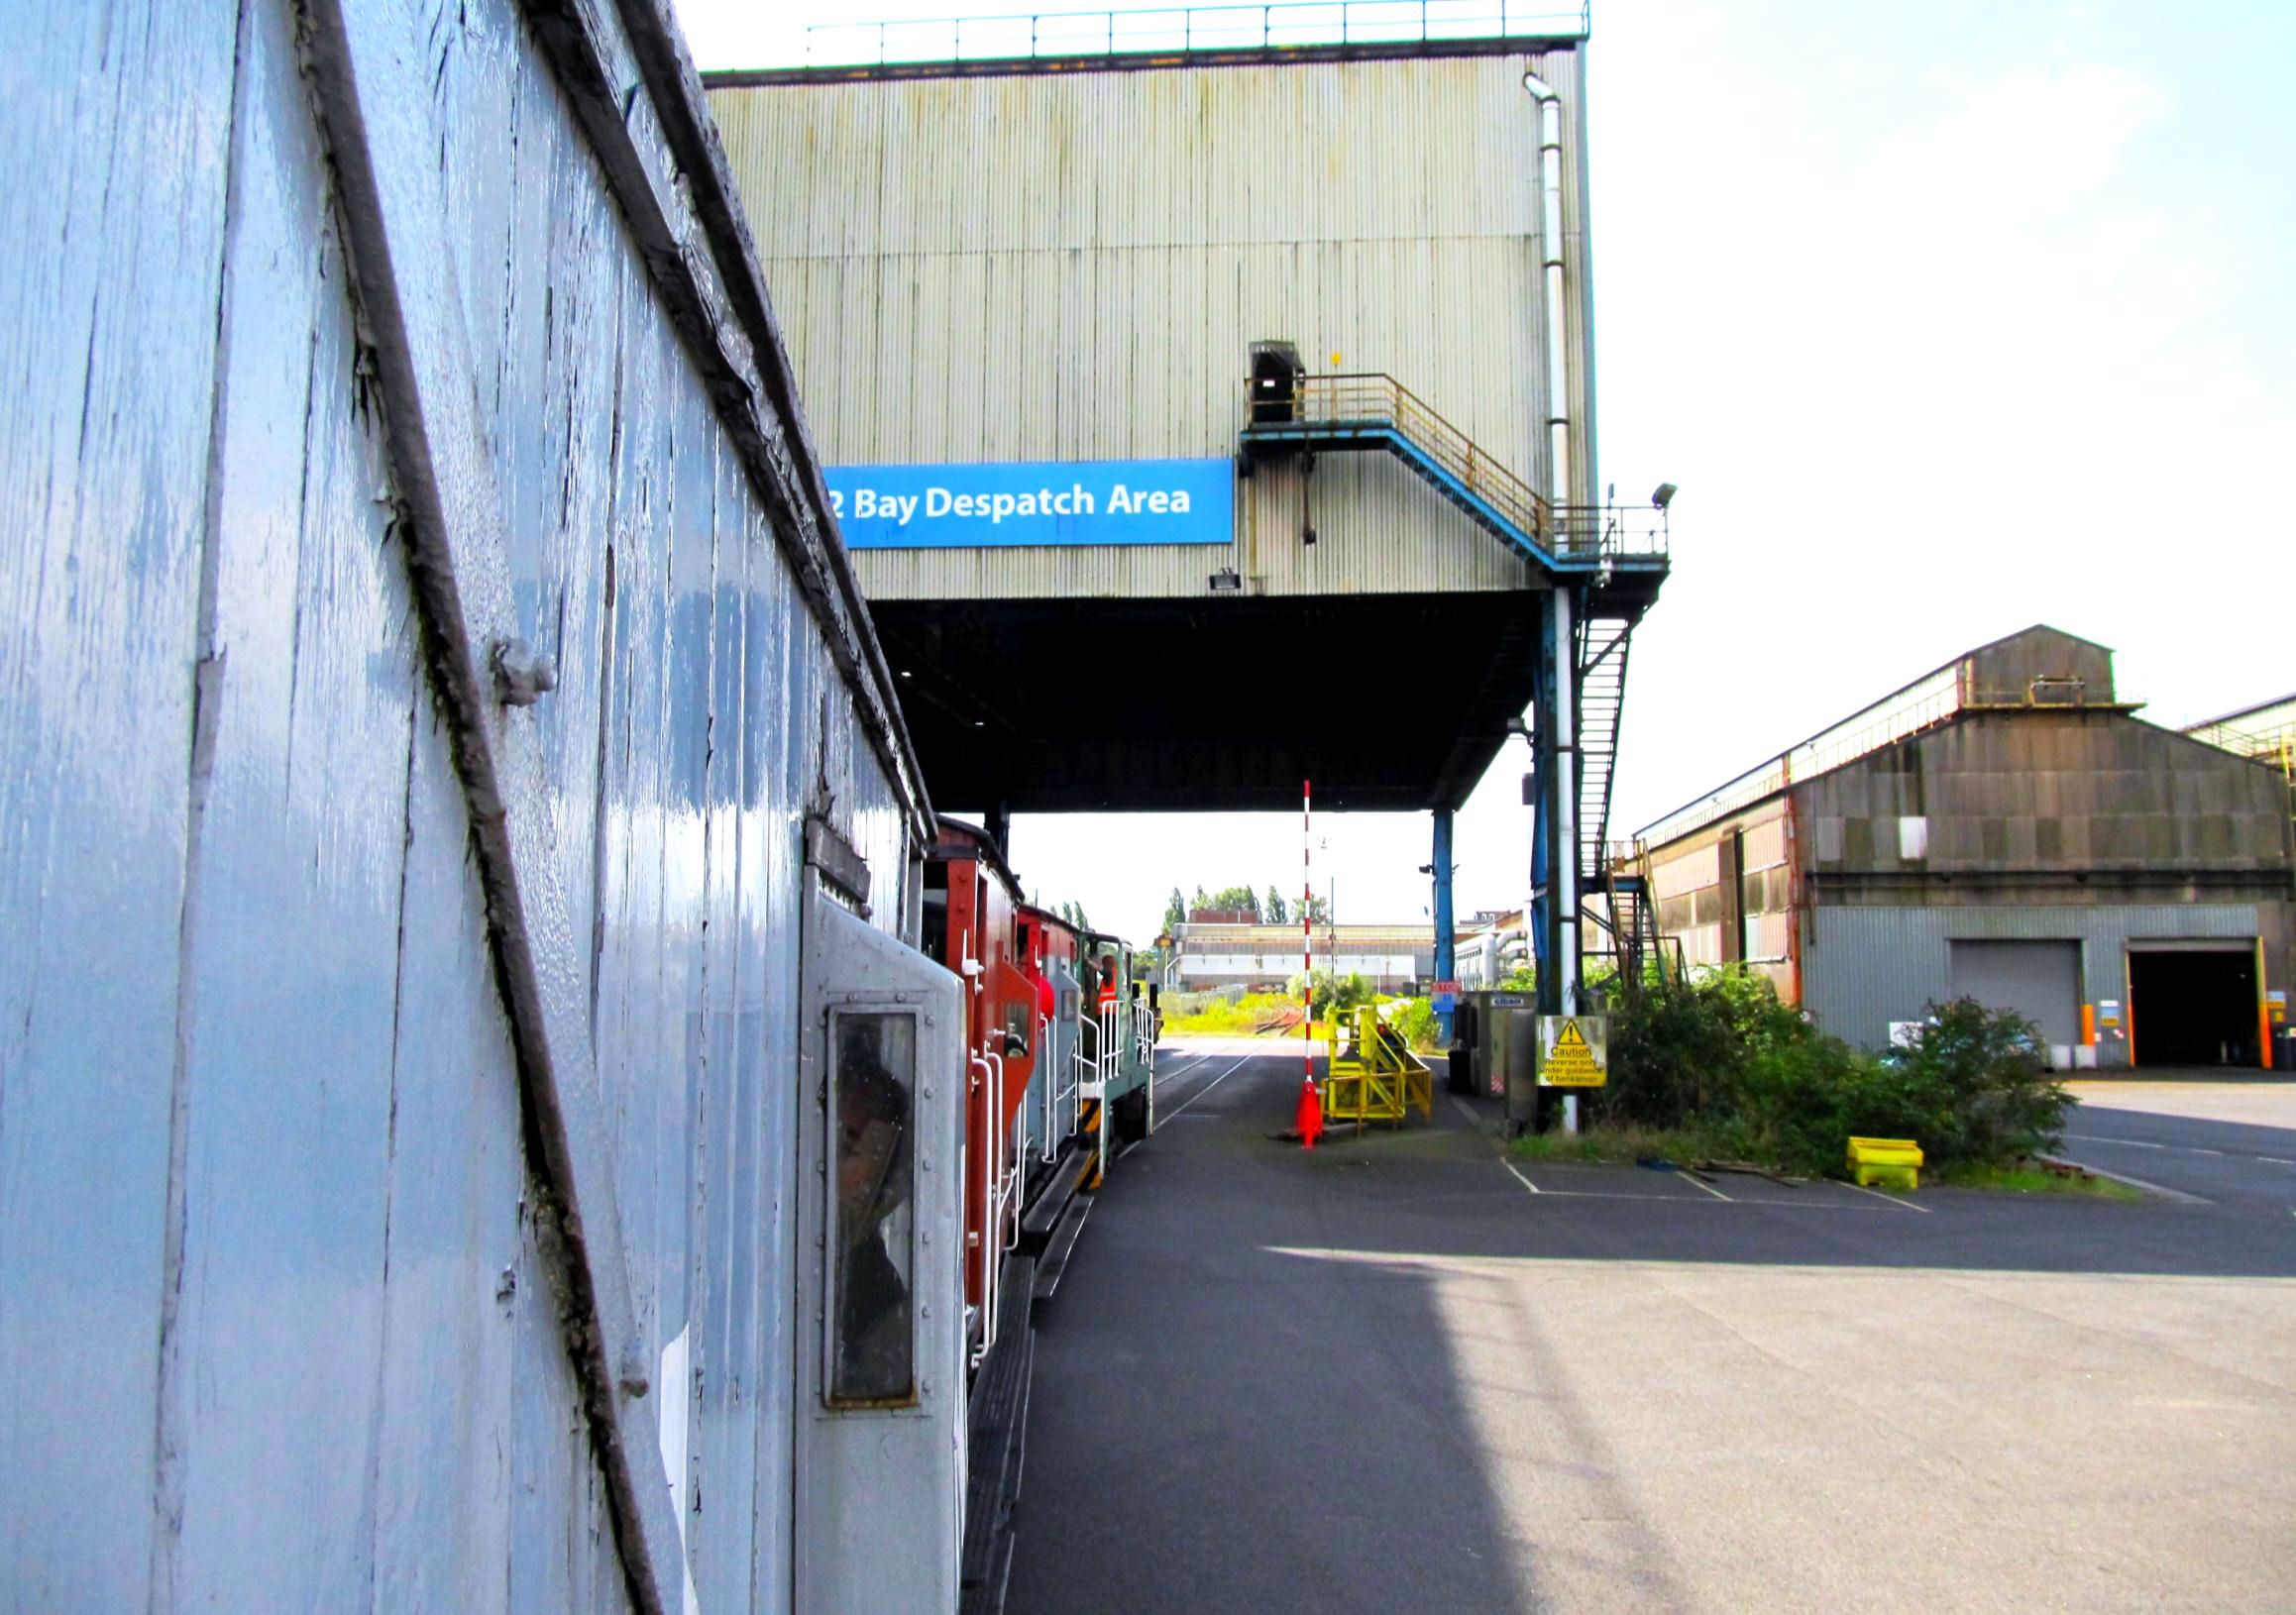
Approaching 2 Bay Despatch Area.
[© Chris Lings 2023]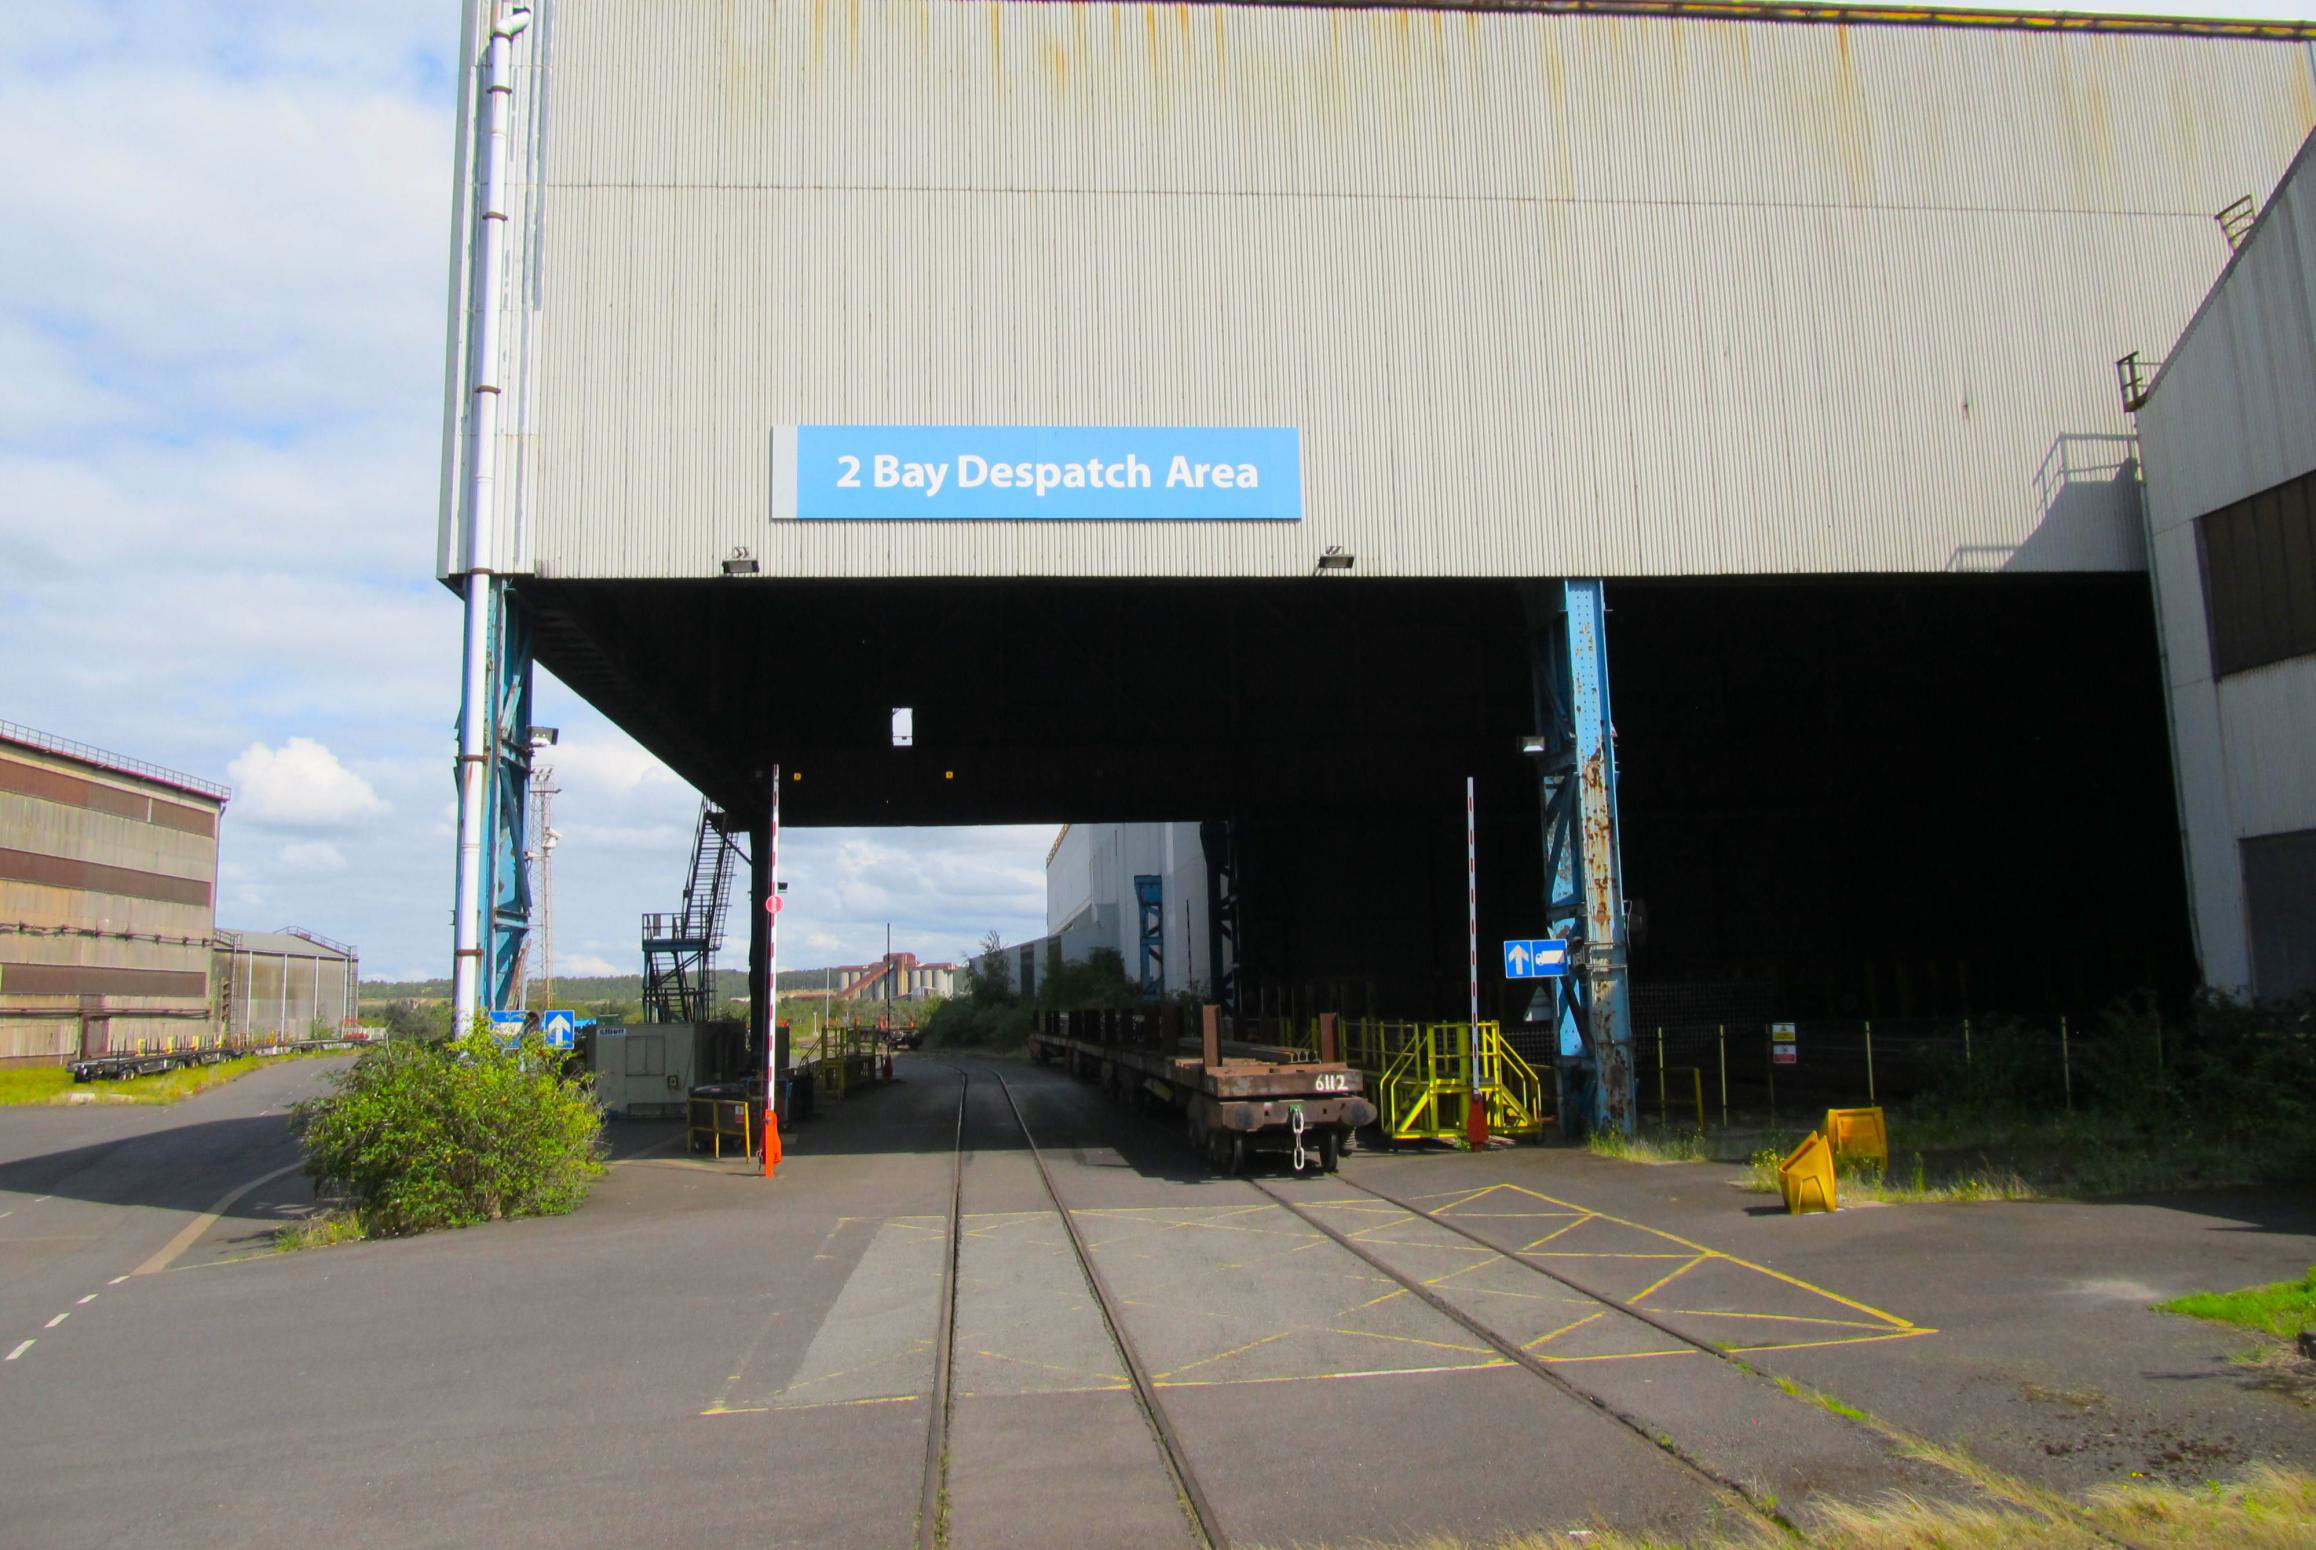
]Looking back at it from the other side, the end of line was reached which is most unusual here.
[© Chris Lings 2023]Lunch beckoned, so, after descending back to Dawes Lane bridge and waiting for a Di8 to propel its train into Redbourne Sidings, we could reverse past Winns Sidings, still with its long term resident moribund Class 20, to the AFR loco shed. Their girls and boys put on an excellent buffet with the warm sun making it comfortable to sit inside their Mk1 coach or around the outside tables, which most did.
Back on the move and after a shed shuffle to cover the two northernmost shed lines (5 & 6 Roads), it was over to the Heavy Repair Bay, eastern side. As the lines this end were almost empty and a set of buffer stops between 7 and 6 Roads had been moved, it was possible to cover every siding outside to the point of obstruction (per marked up plan), including that reopened link between 7 and 6 Roads.
At the AFR-S shed, propelling along the road, left of their shed, up to that stabled van ahead.
[© Chris Lings 2023]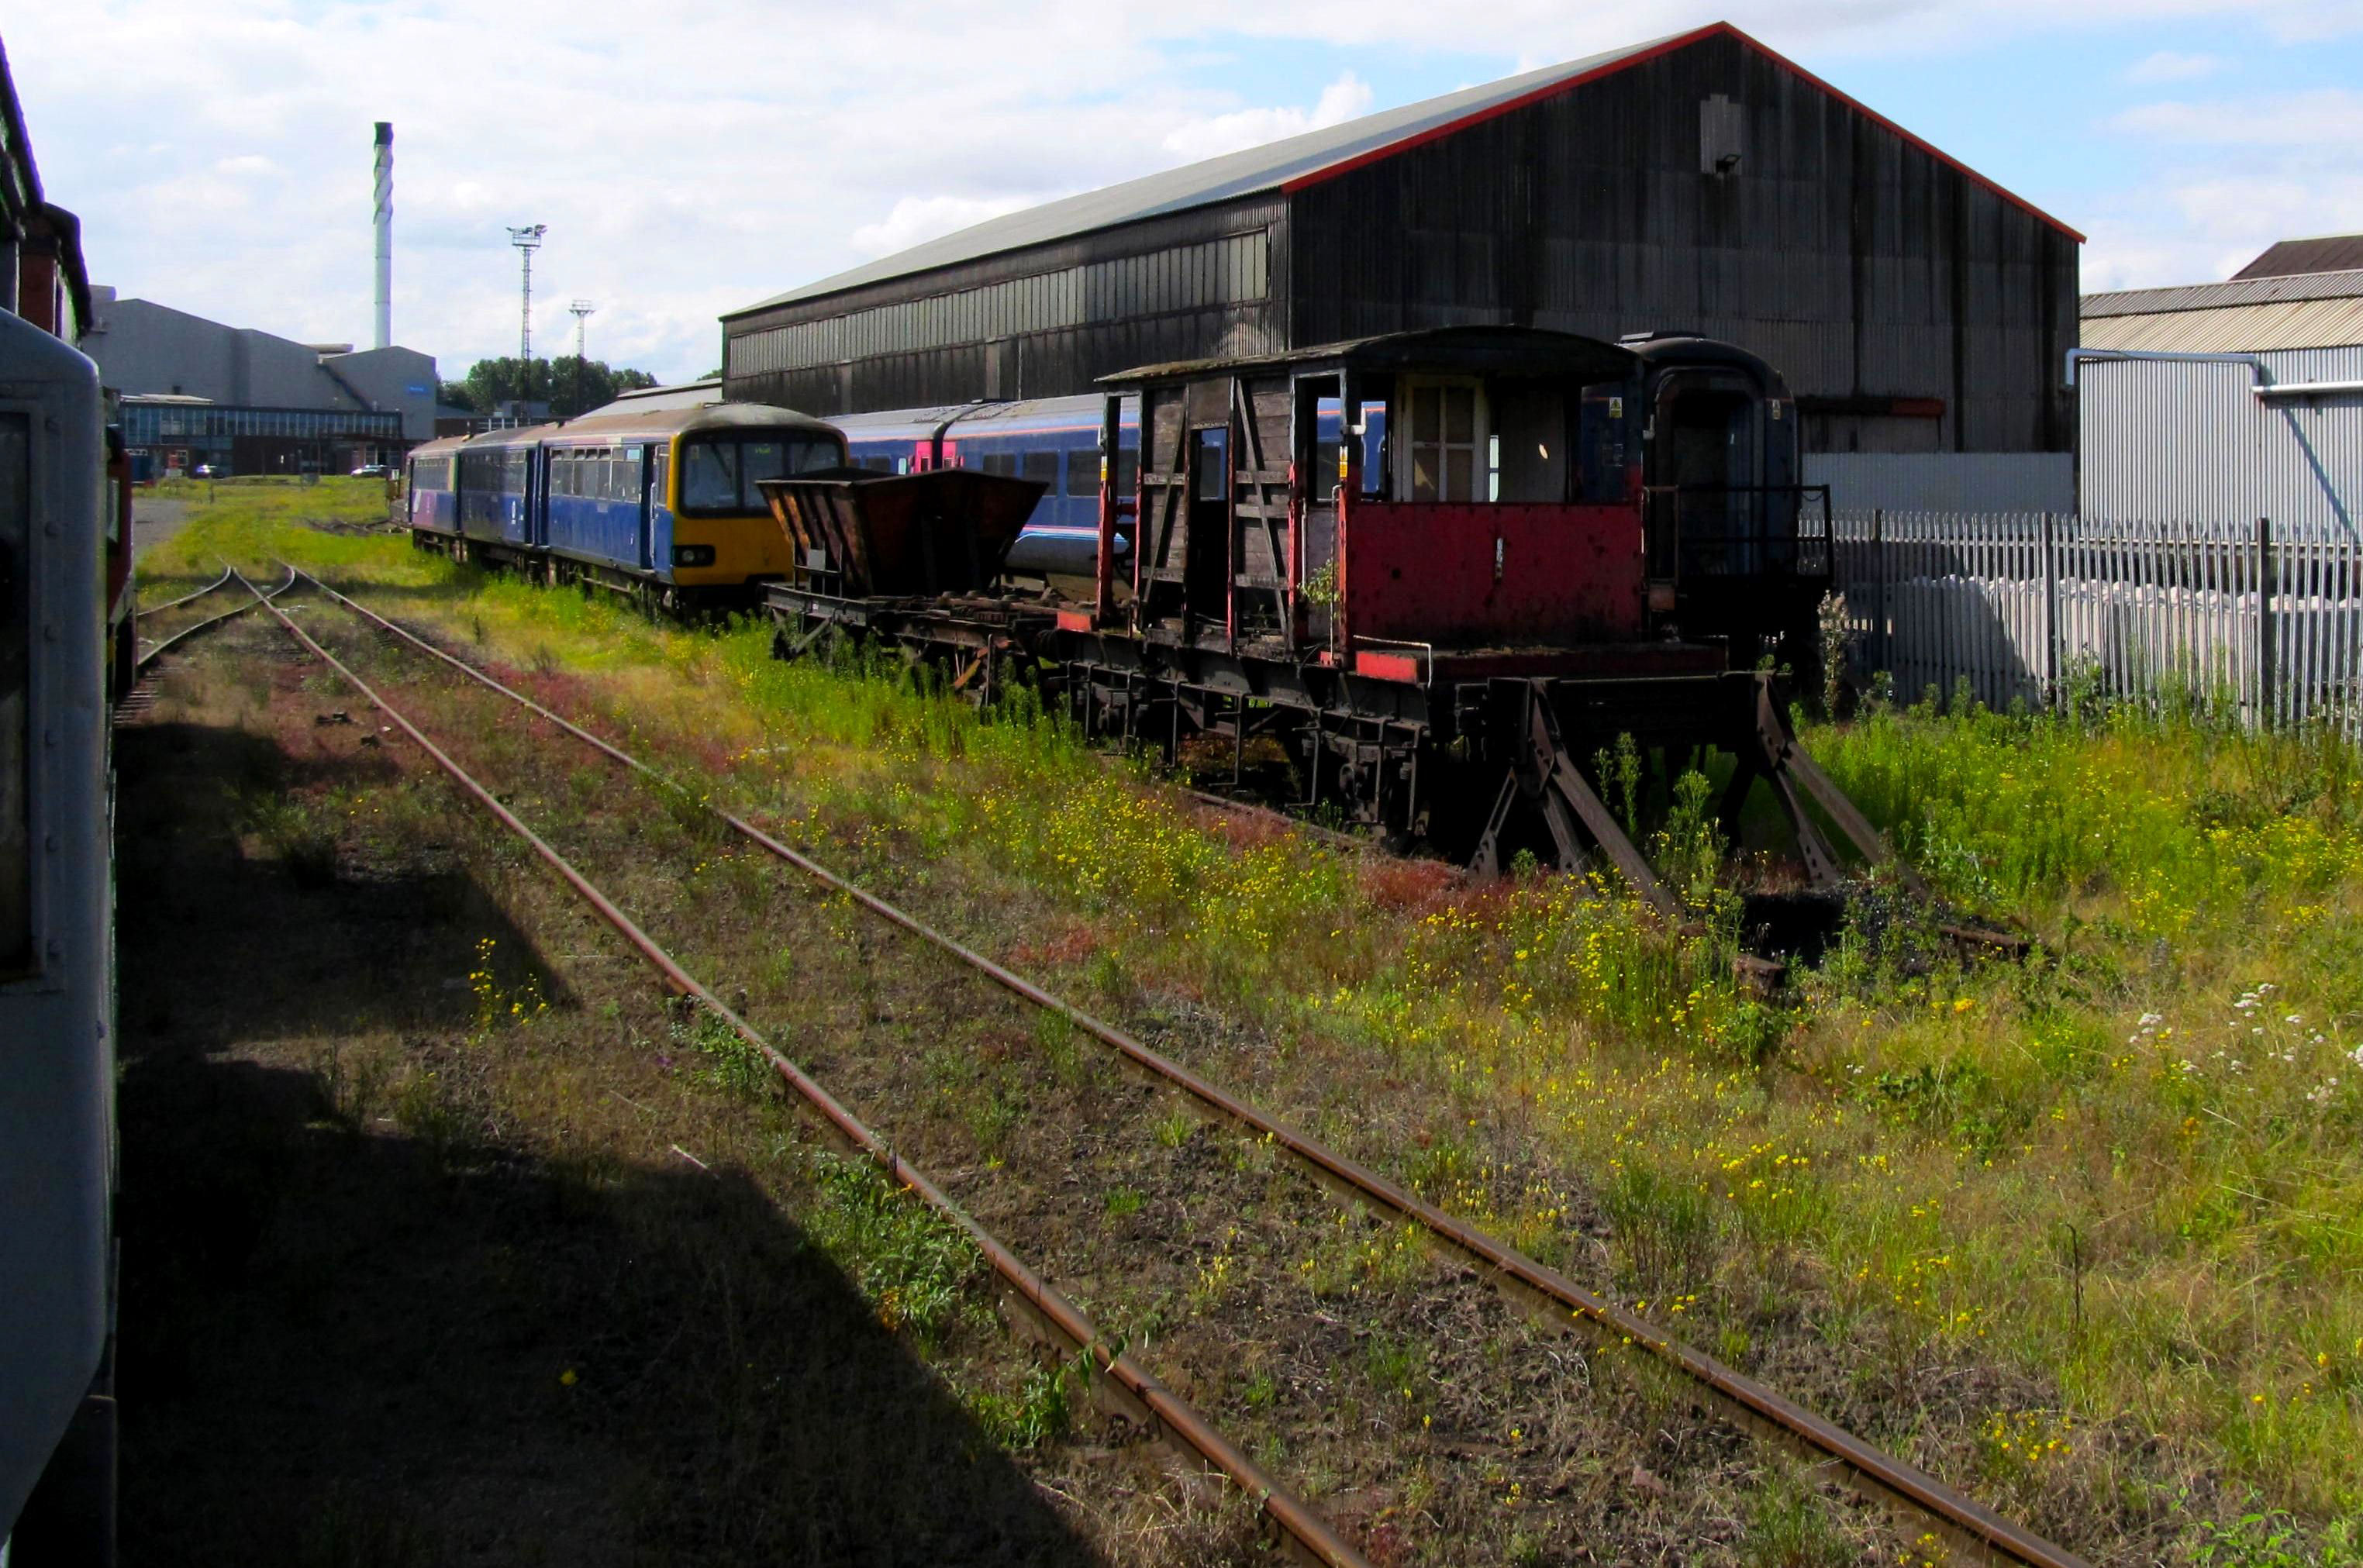
The AFR-S Pacer taken from 227 Loop, their shed is the lower smaller one, roof just visible behind, and to the left of, the much larger building ahead.
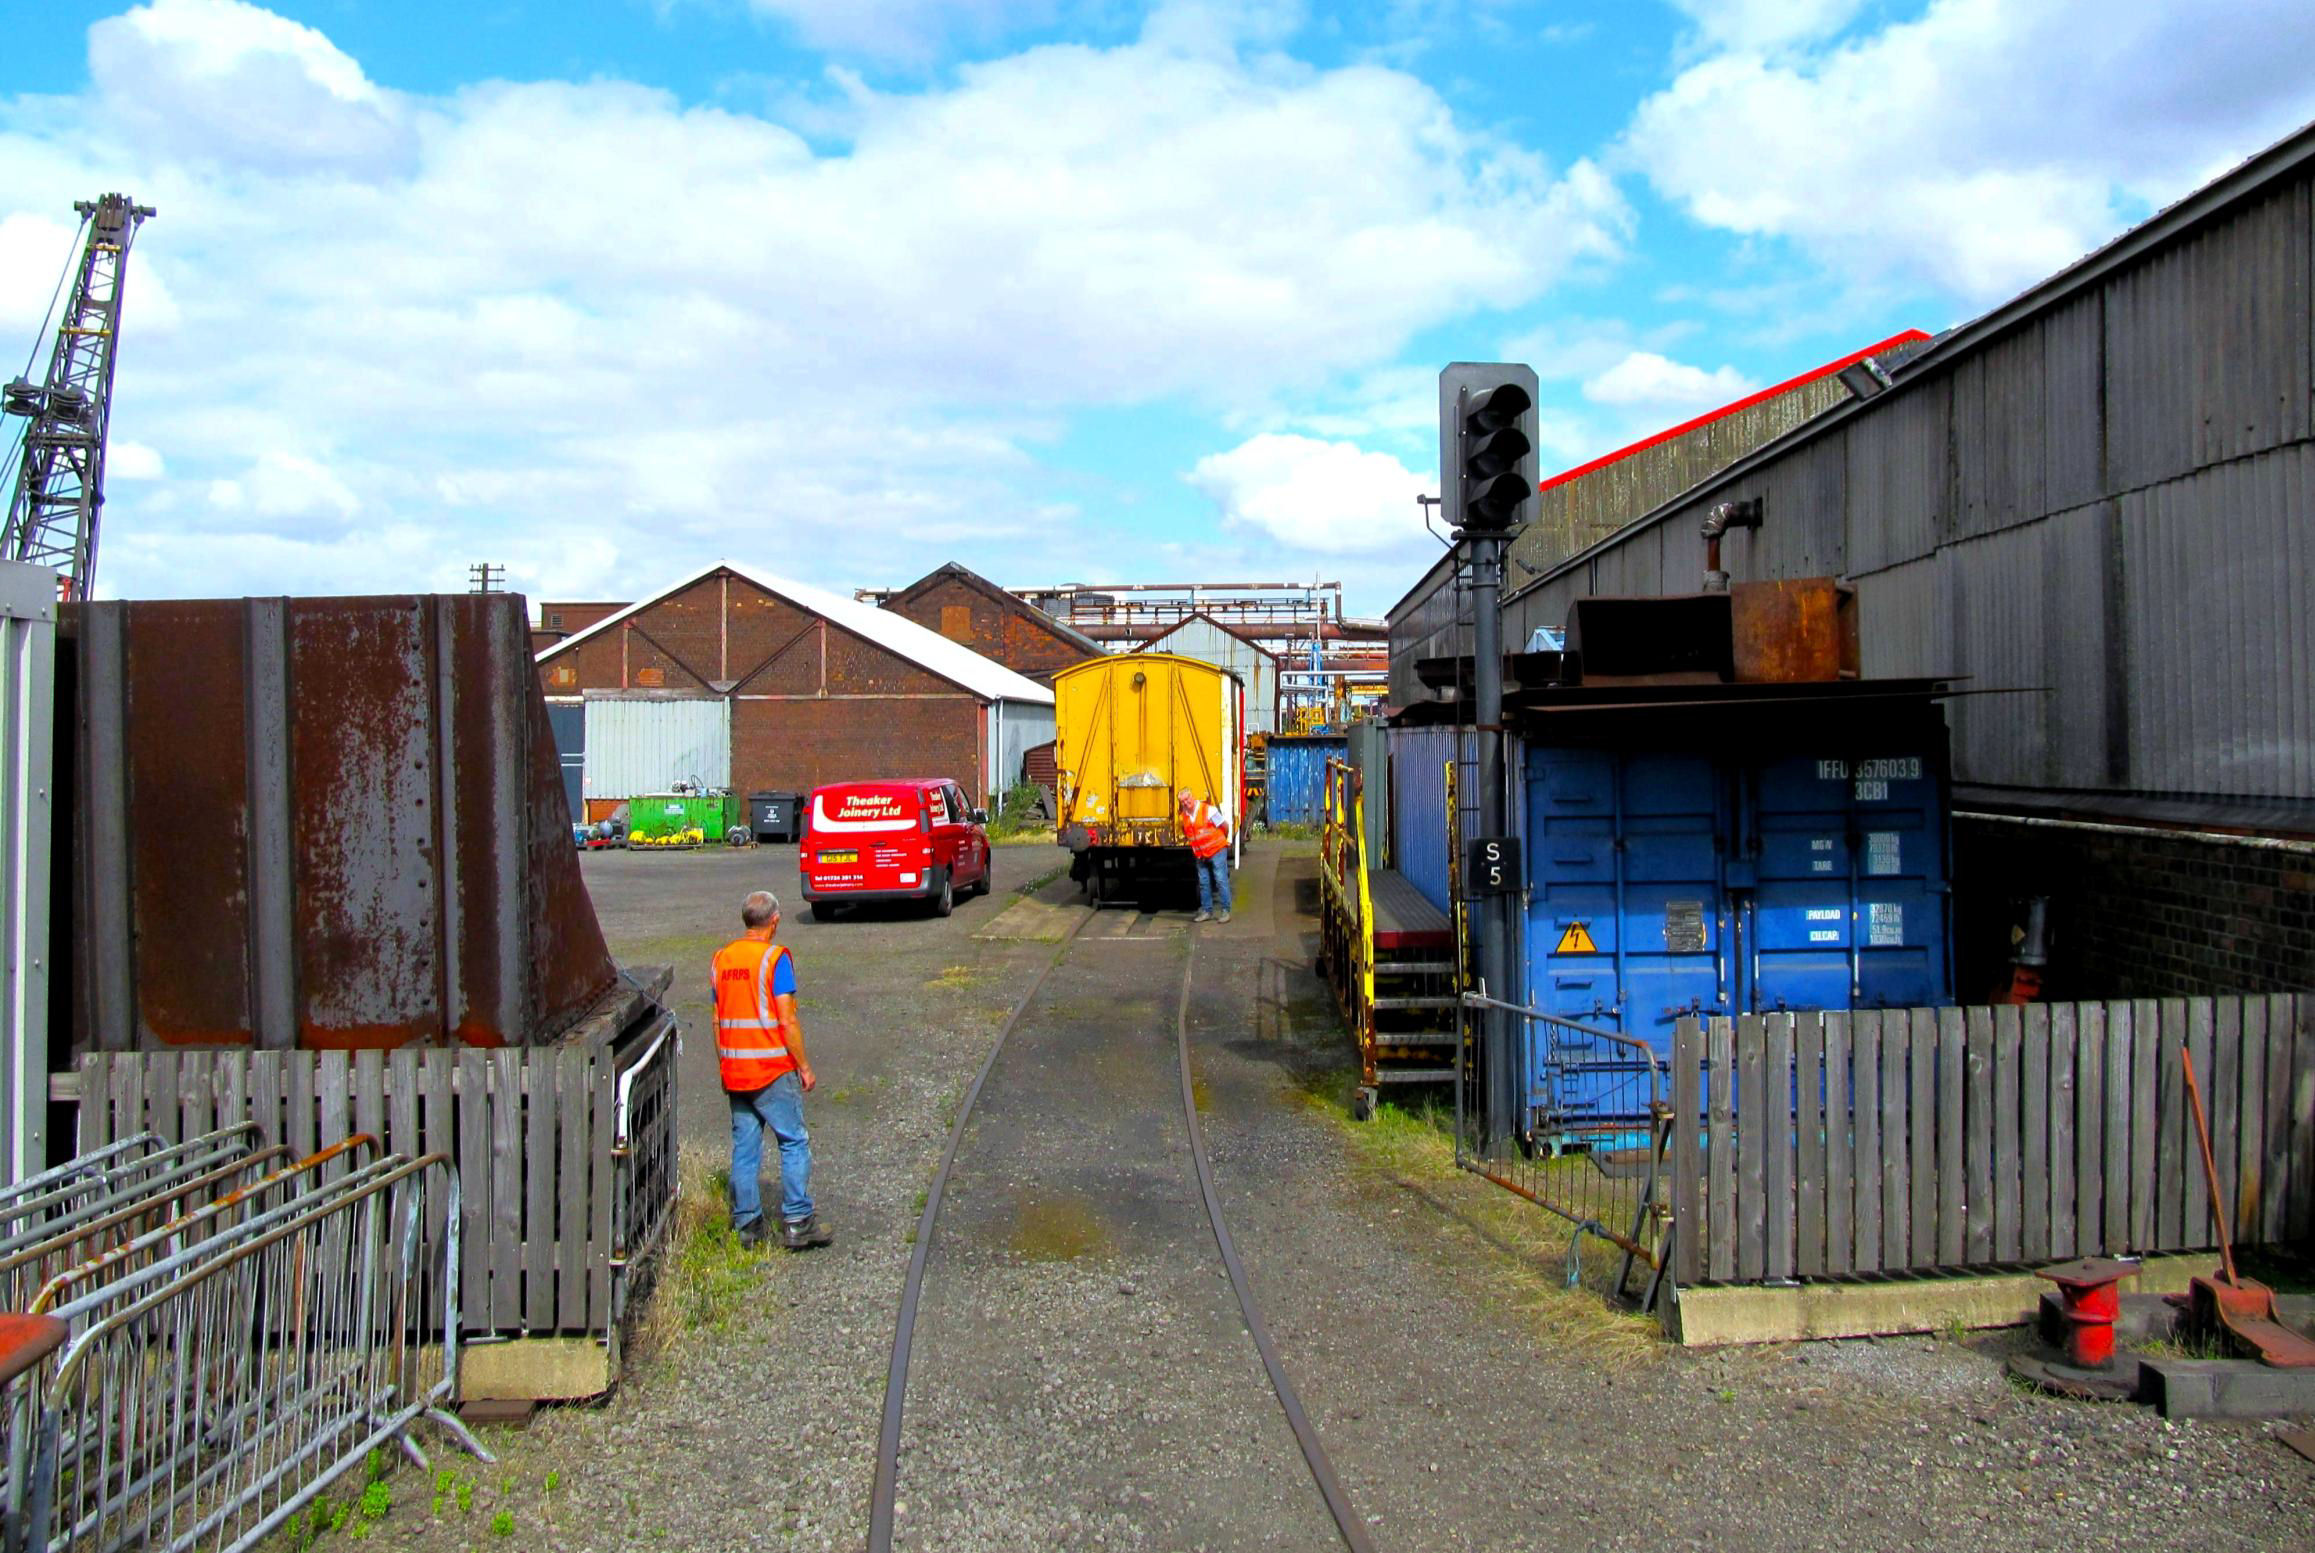
[© Chris Lings 2023]Mission accomplished, we were inclined to go back up to the Corus Rail Sidings (all together now...!). Being a Bank Holiday, they were unusually empty, with only a few wagons, so it was possible to cover most except Lines 4 and 7. Crashing through the Buddleia on Line 1, we reached a couple of wagon lengths from the buffers. A lack of wheels under a stored wagon there prevented further progress.
Yet another plan then seemed to have been hatched, as the shunting pole was out again and our loco ran round. The Muck Bank turned out to be the next goal, specifically the West Loop. (It must have been required by someone with some influence on the tour!) I thought we did exceedingly well on the previous tour to reach the end of line after much 'gardening' after previous failed attempts. However, I had forgotten about the loop. It turned out to be an epic battle. The loop was occupied by about seven open wagons, then two sets of very solid looking weighty internal user bogie flats. The first attempt to move them failed due to weeds on the lines causing wheelspin. As we were about to obstruct another Di8 hauled train passing through Mills Exchange Sidings, a retreat was made to cover a dead end road.
With battle recommencing and a small conference going on in the distance from the vans, another go was had. This time our loco and crew succeeded in moving the seven four-wheelers and one 'set' out and propelled onto the exchange sidings. They then managed, with much effort, to move the other 'set' onto the eastern loop, leaving the way sort of clear to do the required track. That's assuming anyone could actually make out where it was. It just appeared to be a couple of grooves in muck and vegetation, hence the reason the loco had to lead and force a way through, which it did up to the roadway - well after the far end loop points giving participants overlap on what had been done before. With the rails completely buried under the mud across the haul road (as usual), that was as far as we could go without major excavations, so it was just the small matter of putting everything back again.
Next our tour was off south again, to the Caster 5 Loop dead ends, via two reversals, to the Furnace Road again and Subway Loop. New track for me again, as these lines are in constant use by internal trains from the Concast plant. Usually it's one train out, then next one in, so the chance was taken to do them while they were briefly clear. An empty train was waiting to go in as we moved out.
Stores Road between Points 118 and 164 which passes beneath the High Lines.
[© Chris Lings 2023]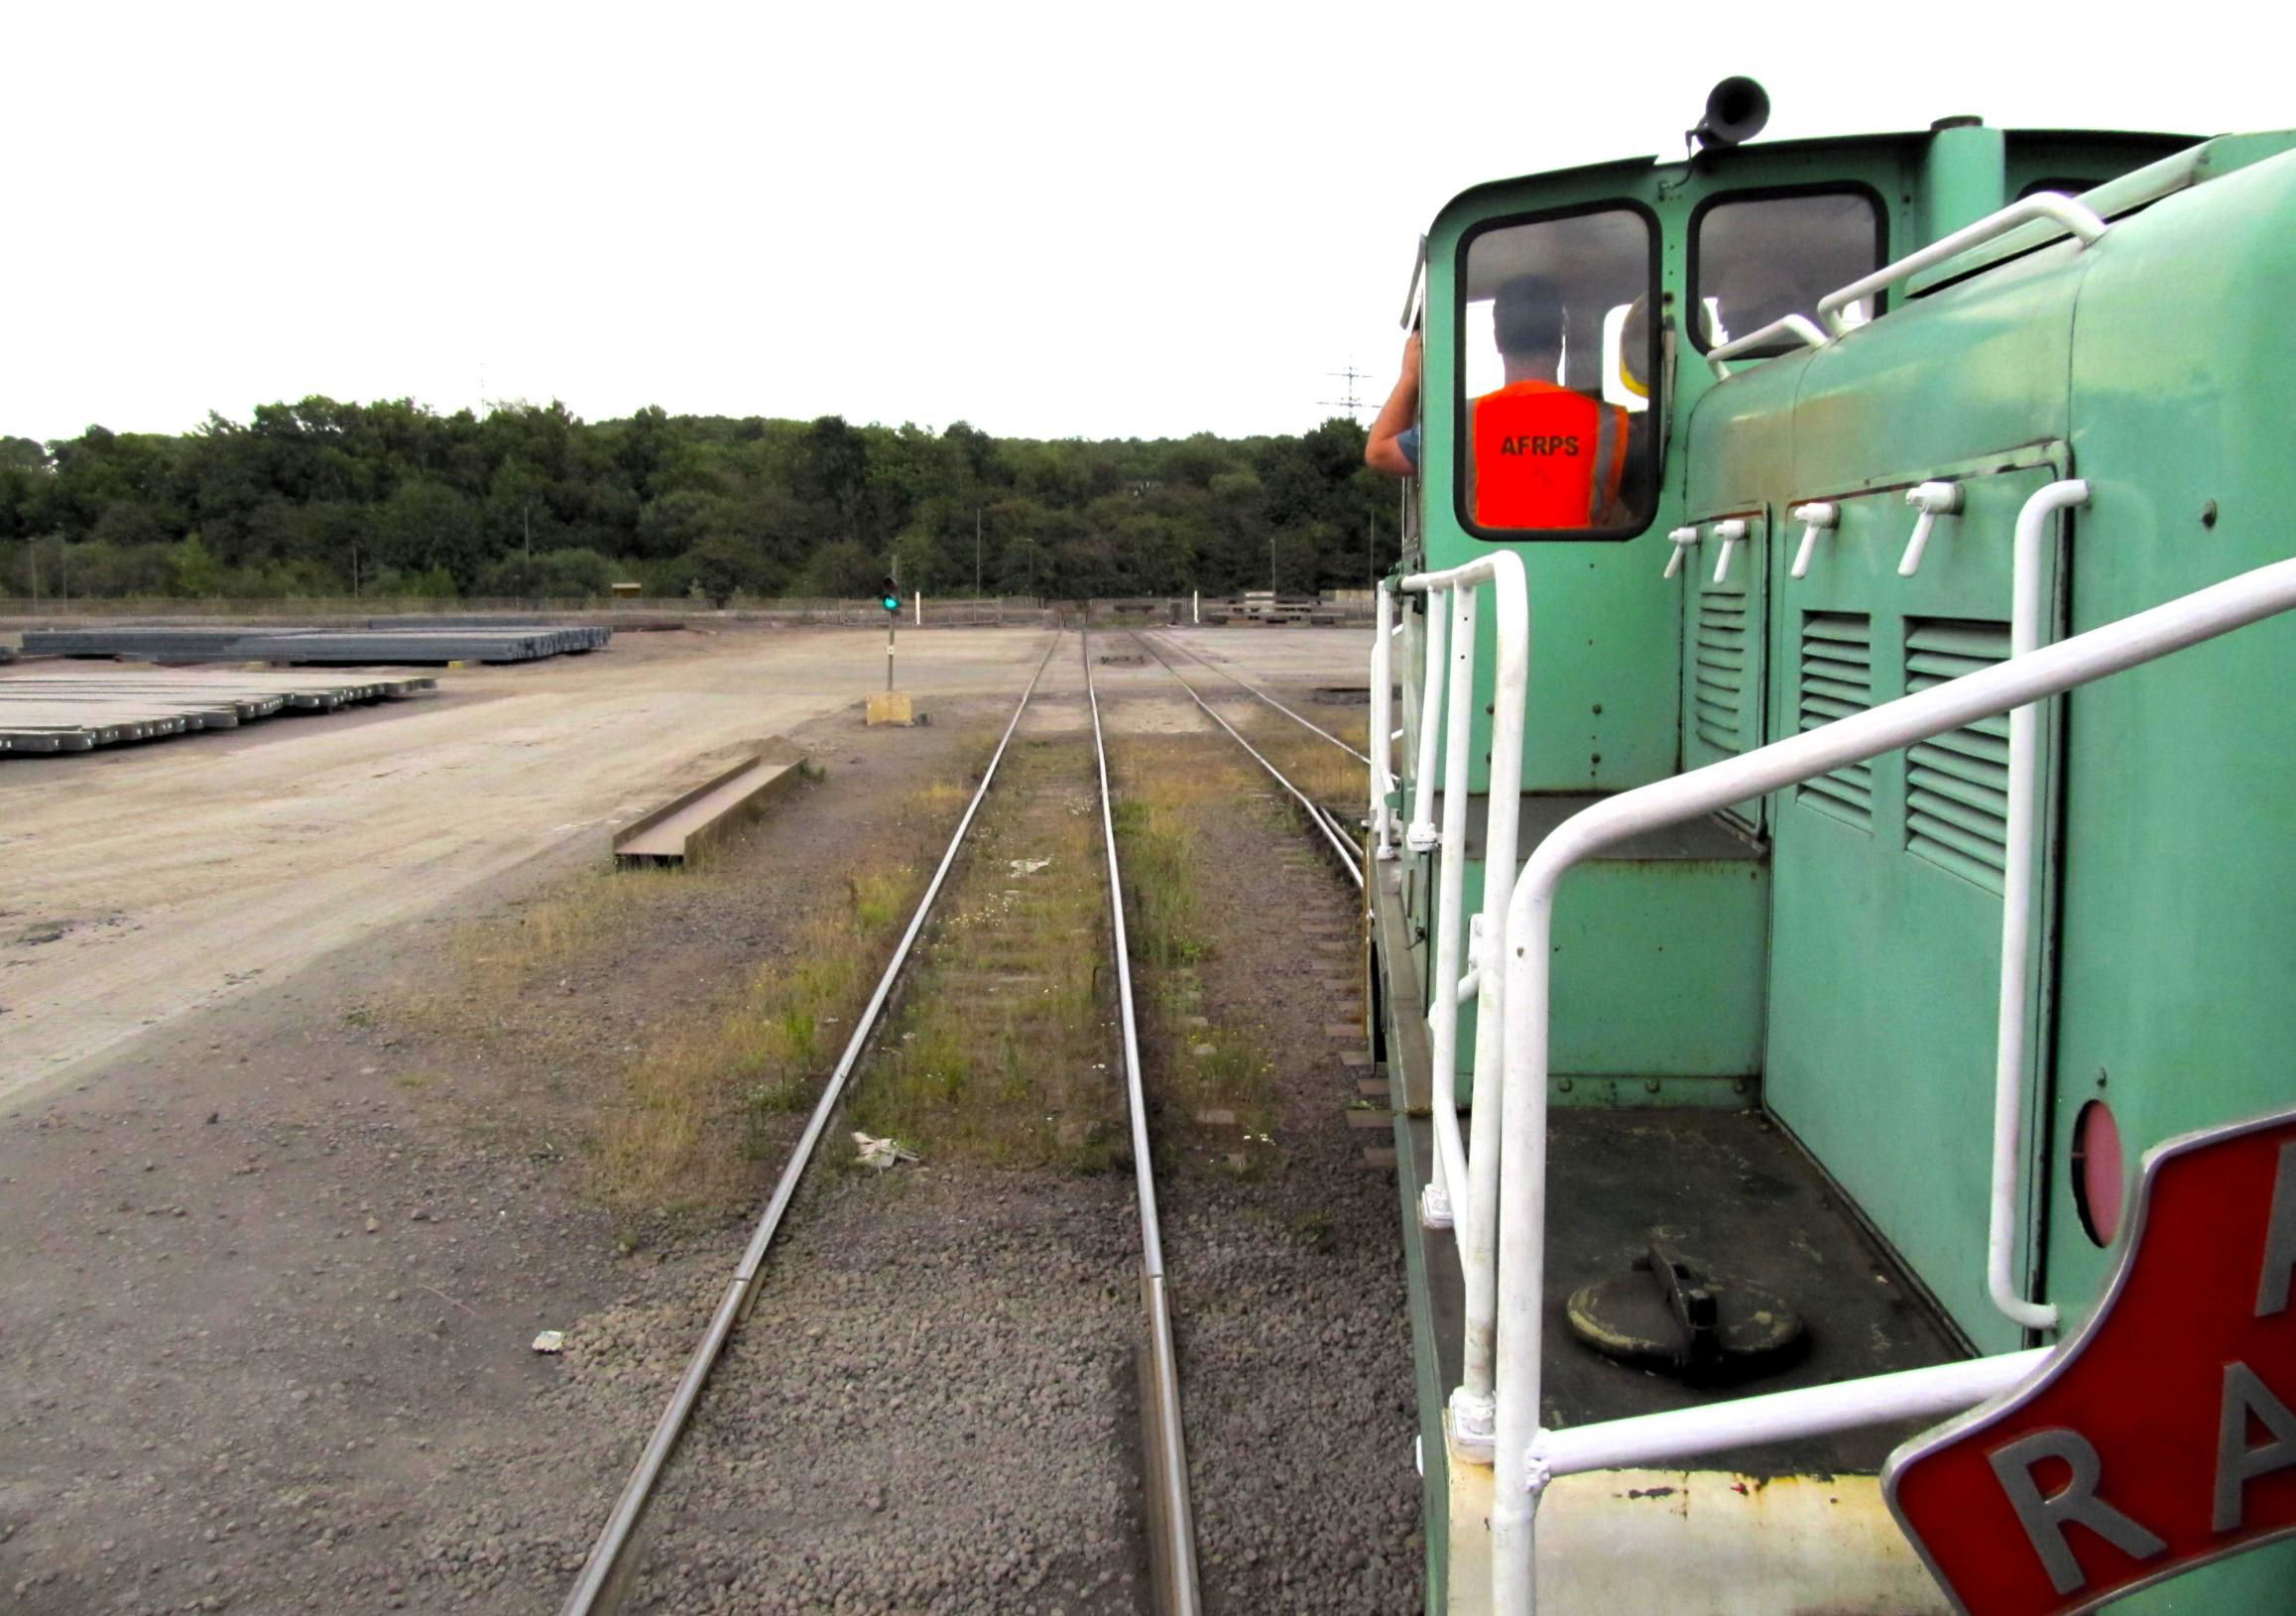
The ends of lines beyond Concast are only transiently clear - you have to jump in quickly - and we did… Both were covered as was Castor 5 Loop.
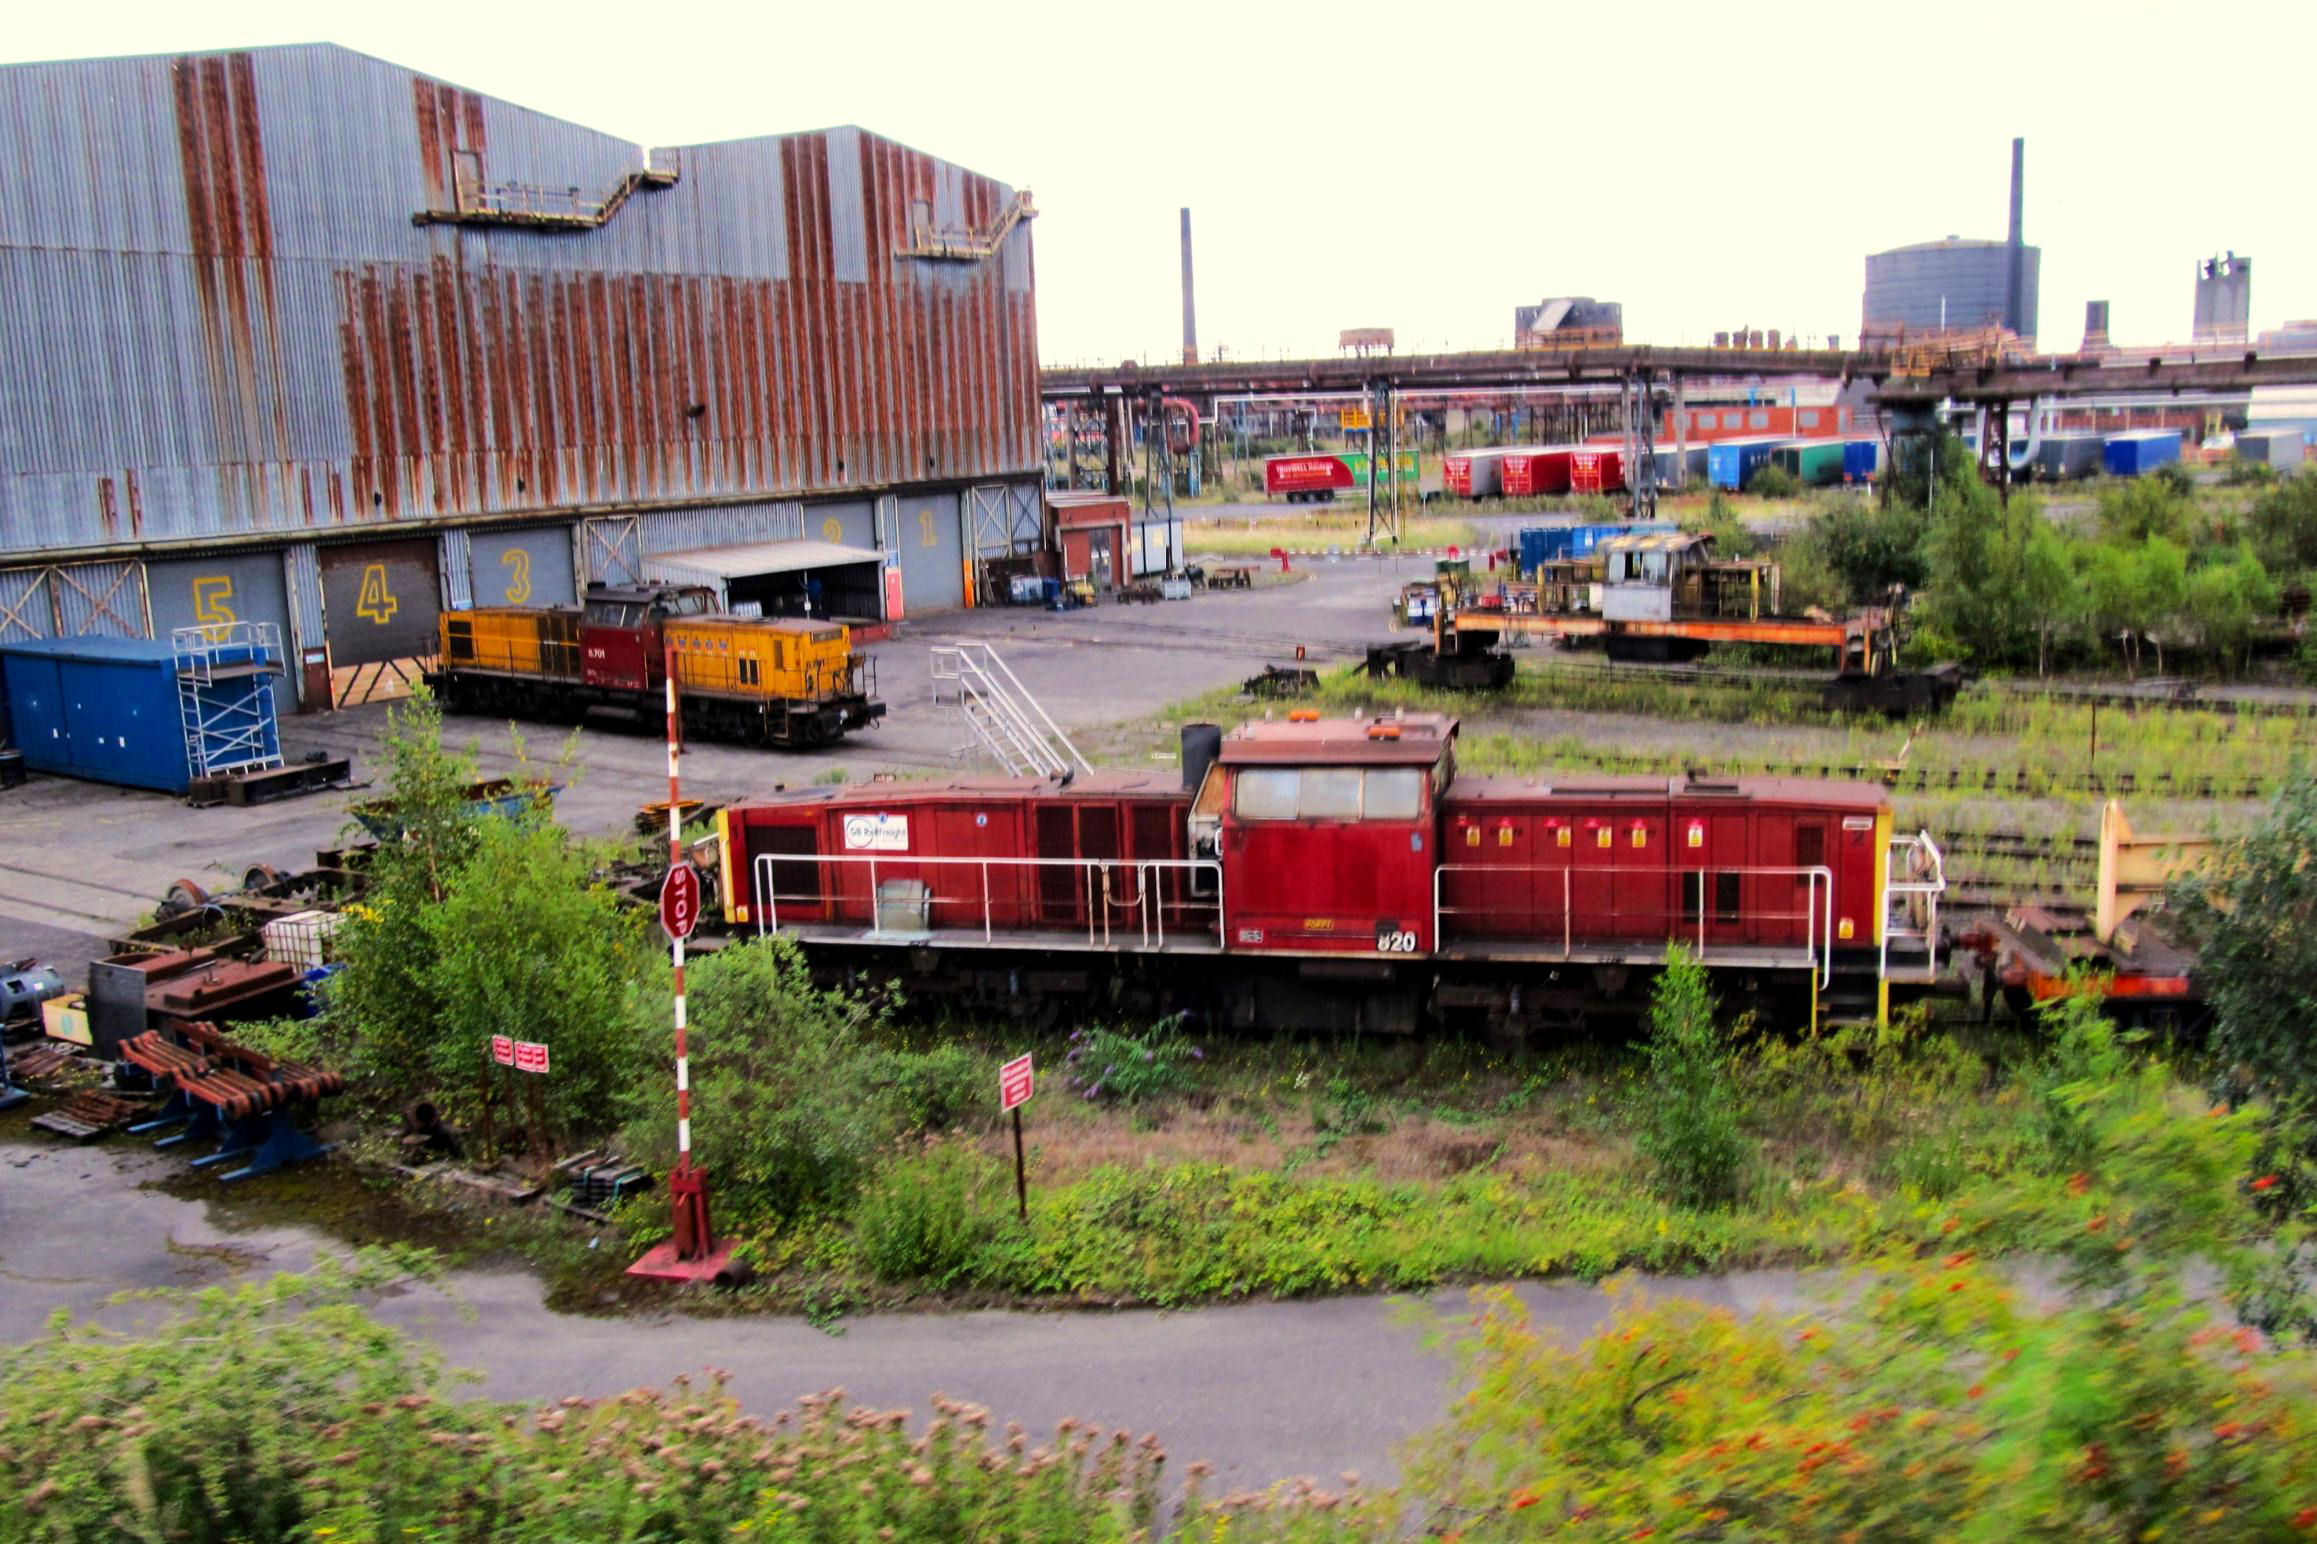
[© Chris Lings 2023]Passing the Former Mould Shop (again, as in used to be) and over Northants Bridge, we returned to the points at Dawes Lane, passing more piles of imported coke, the line of dead locos and the recently closed Coke Ovens. Some mention was made to the chance of 'doing' the coke oven track but this had been ruled out as, on falling out of use and cooling down, the lining brickwork had started to collapse, making it unsafe to go in. In any case, the approach track was obstructed by heavy equipment.
I hope no one was rushing for a train back. My phone said 17.58 as we passed the AFR shed again but we were not quite finished, as another couple of reversals enabled us to cover the Central Engineering Workshop Dock branch, with elevated views of the locos under repair outside the Heavy Repair Bay.
The other end of the Heavy Repair Bay (Lines 5 & 6 run through the building), taken from the incline up to the Central Engineering Workshops Dock.
[© Chris Lings 2023]With a return to the platform, so ended another highly interesting and successful railtour, actually slightly earlier than our booked (summer) arrival of 18.30. I hope they can continue and thanks once again to Alan, Martha, Neil (for the printed full colour A3 sized track plan provided to every participant on the day), Glenn, the loco crew, catering volunteers and everyone who enables these to happen.
[One thing we learnt with the necessary change of date to avoid clashing with our tours, is that the Monday is the best day to go over Aug Bank Holiday. Why not join us for our next trip on Sat 6 Jan, particularly if you have never been before? Details and bookings via our website or BLN 1433.2188.]