Cork Kent station at 8 O'clock on a bright sunny Sunday morning was surprisingly busy with local trains (26xx units) for Cobh and Midleton; the first express to Dublin powered by '220' and other push - pull sets with '217' and '218' stabled. Gradually familiar faces began to appear and 41 participants soon stood eagerly at the barrier for the 08.25 to Dublin to leave so that our tour train could come in.
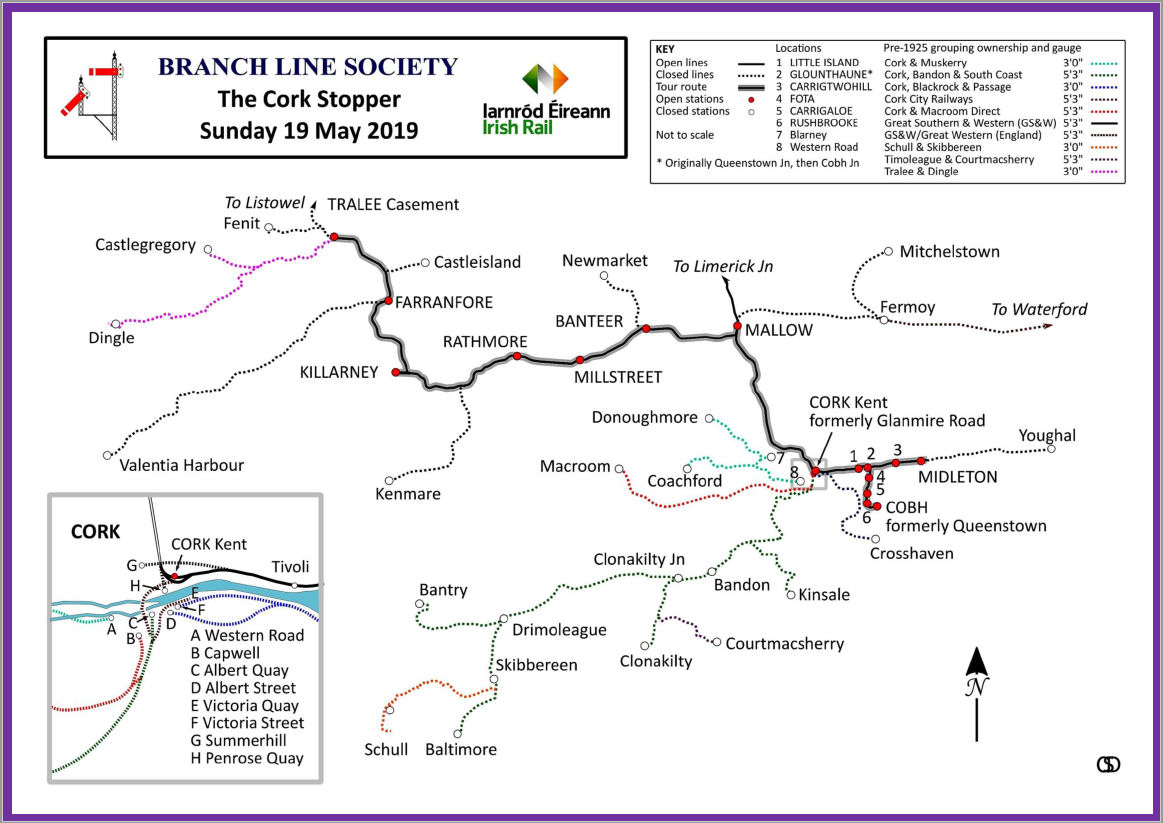
Historical map
[© Dave Cromarty 2019]This unit 2605+2616 was in spotless condition with the added bonus of a window in the cab doors allowing a view ahead and we needed every window open as the heating would not turn off! From P4 it was off to Cobh Jn and the Midleton branch, crossing a service train at Carrigtwohill and then into the rare Midleton P2. At this point our enthusiastic train crew deserves a mention; Driver Ken Fox and Neil Dinnen whom also provided occasional commentary and historical notes - used in this report, aided by Kieran Marshall from Irish Rail on the tour during the day which made it outstandingly enjoyable.
We then set back and ran into the usual Midleton P1 where locals were keen to board, thinking it was a Cork service (due in 30 minutes), and watched open mouthed as we ran eastwards a further 16ch to the very end of the line (6m 45ch) towards Youghal! This was, of course, new track for those who had never been to Youghal, but also for those who had, as the long headshunt deviates southeast off the original line. We were the first passenger carrying train to do it too, a great highlight of the tour.
Returning speedily to Cork P3 this time it was off to the end of line at Cobh where a two coach length of platform edge is fenced off towards the buffers but on reaching them we could exit by the rearmost door. Next was the station siding, once part of the run-round loop before a photo stop at Carrigaloe then the highlight for many, the Cork Loop outside the train shed, joining the Up line at Cork Tunnel.
According to our knowledgeable Cork driver, Ken Fox, this was only the second passenger train over it, the previous one was the Irish Traction Group (ITG) 14 Oct 2006 'Supertrain' railtour. A speedy run then took us to Mallow, reversing in P1 before joining the Tralee line to the first station of Banteer (10m 58ch), where the siding at the east end of P1 was fully griced, followed by the the seldom - used P2 loop. We then passed Millstreet (18m 78ch) where the bidirectional station loop (no platform) is fairly new; in 2004 there was just an Up siding facing Tralee. However the bidirectional loop has been out of use since 19 Feb 2018 due to a signalling issue. It was last used by the 'Emerald Isle Explorer' run by Railtours Ireland on Wed 1 Oct 2014 in the Down direction. With 084 + GSV + 4 Cravens coaches, that ran as 10.00 Cobh to Killarney crossing the 11.05 Tralee to Mallow service train here.
At Rathmore (25m 34ch) the Down Siding was done behind P1 after reversing in said P1 (required by the signalling), then it was a shunt to P2 to cross the longer 7-car well filled 11.50 Tralee to Dublin before continuing to Tralee Jn, otherwise known as Killarney Check (39m 55ch). Our tour took the facing points and climbed, passing Killarney terminal station below us, through Farranfore (50m 42ch) to Tralee terminus (61m 35ch) and the rare bay P2 with the 13.45 to Dublin in P1 - which some participants made a dash for. It's a good job that Paul and Tim had already sold the well travelled raffle tickets [there is no escape... even in ireland]. The main P1 is now truncated short of the trainshed.
During our lunch break the unit shunted to P1 so the 14.23 arrival from Cork used P2 and we could do both platforms. Returning to Killarney Check the tour ran to the very end (39m 26ch) of the reversing siding, long enough to stable the Grand Hibernian Luxury Train, (seen in Belfast the day before). The Cork Stopper then set back into the rare Killarney P2, Rathmore saw us through the Down Loop (both lines and platforms covered) but at Banteer it was P2 again. At Mallow reversal was in P3, followed by a return to Cork crossing right to and through P5 westwards and reversing to terminate in the rarer bay P3 at 16.47. After a most enjoyable trip of over 204 miles our reporter was back at Birmingham Airport (via Dublin) by 23.30 - remarkable. Thanks are due to Kev, Irish Rail and all the Crew and another sometime one please! Almost €4,000 was raised for Railway Children by this charity tour.
To follow a few pictures taken during our 18 May 2019 'Cork Stopper' railtour all by Neil Dinnen.
https://thewandererphotos.smugmug.com/ is Neil's website, a massive collection, mostly Ireland. All pictures were taken by fully qualified and authorised staff with permission.
The Youghal (east) end of Midleton station, the branch is actually signalled from Cork.
[© Neil Dinnen 2019]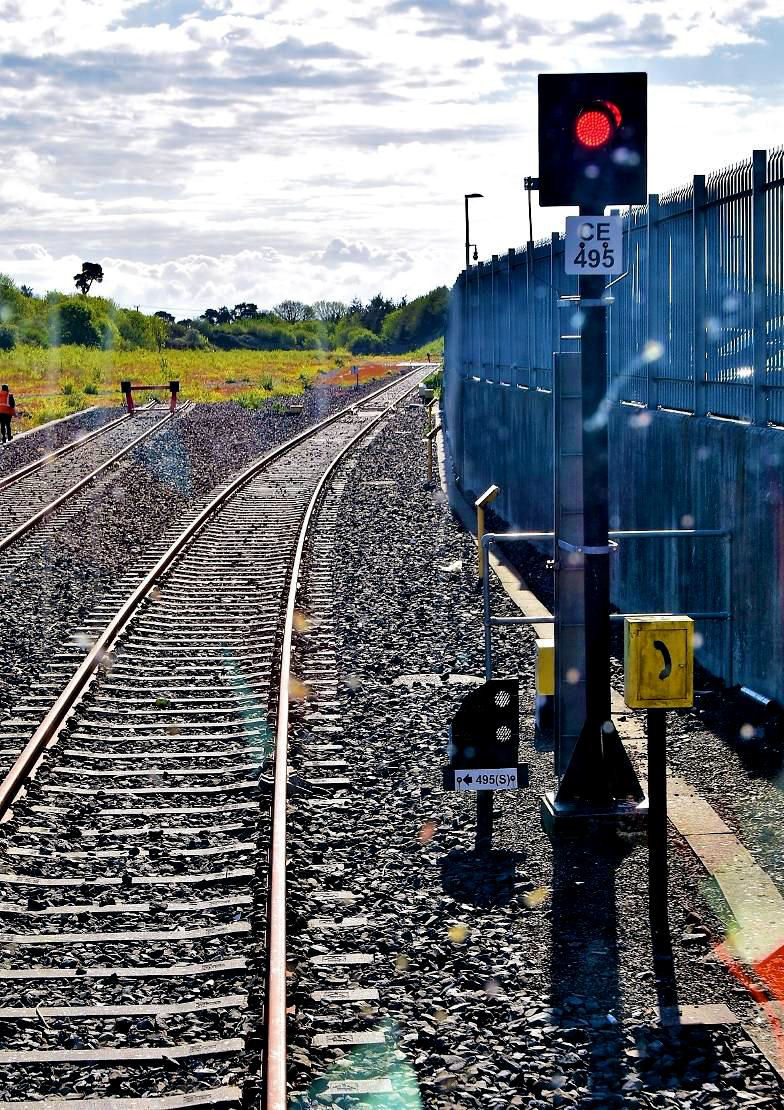
Taken through the unit's windscreen. The rarest track of the tour; the east (Youghal) end continuation beyond Midleton P1 which deviates right. The main signal is a fixed red but the Ground Position Signal is set for the tour to proceed, which it did. The 5' 3" broader standard gauge is evident.
[© Neil Dinnen 2019]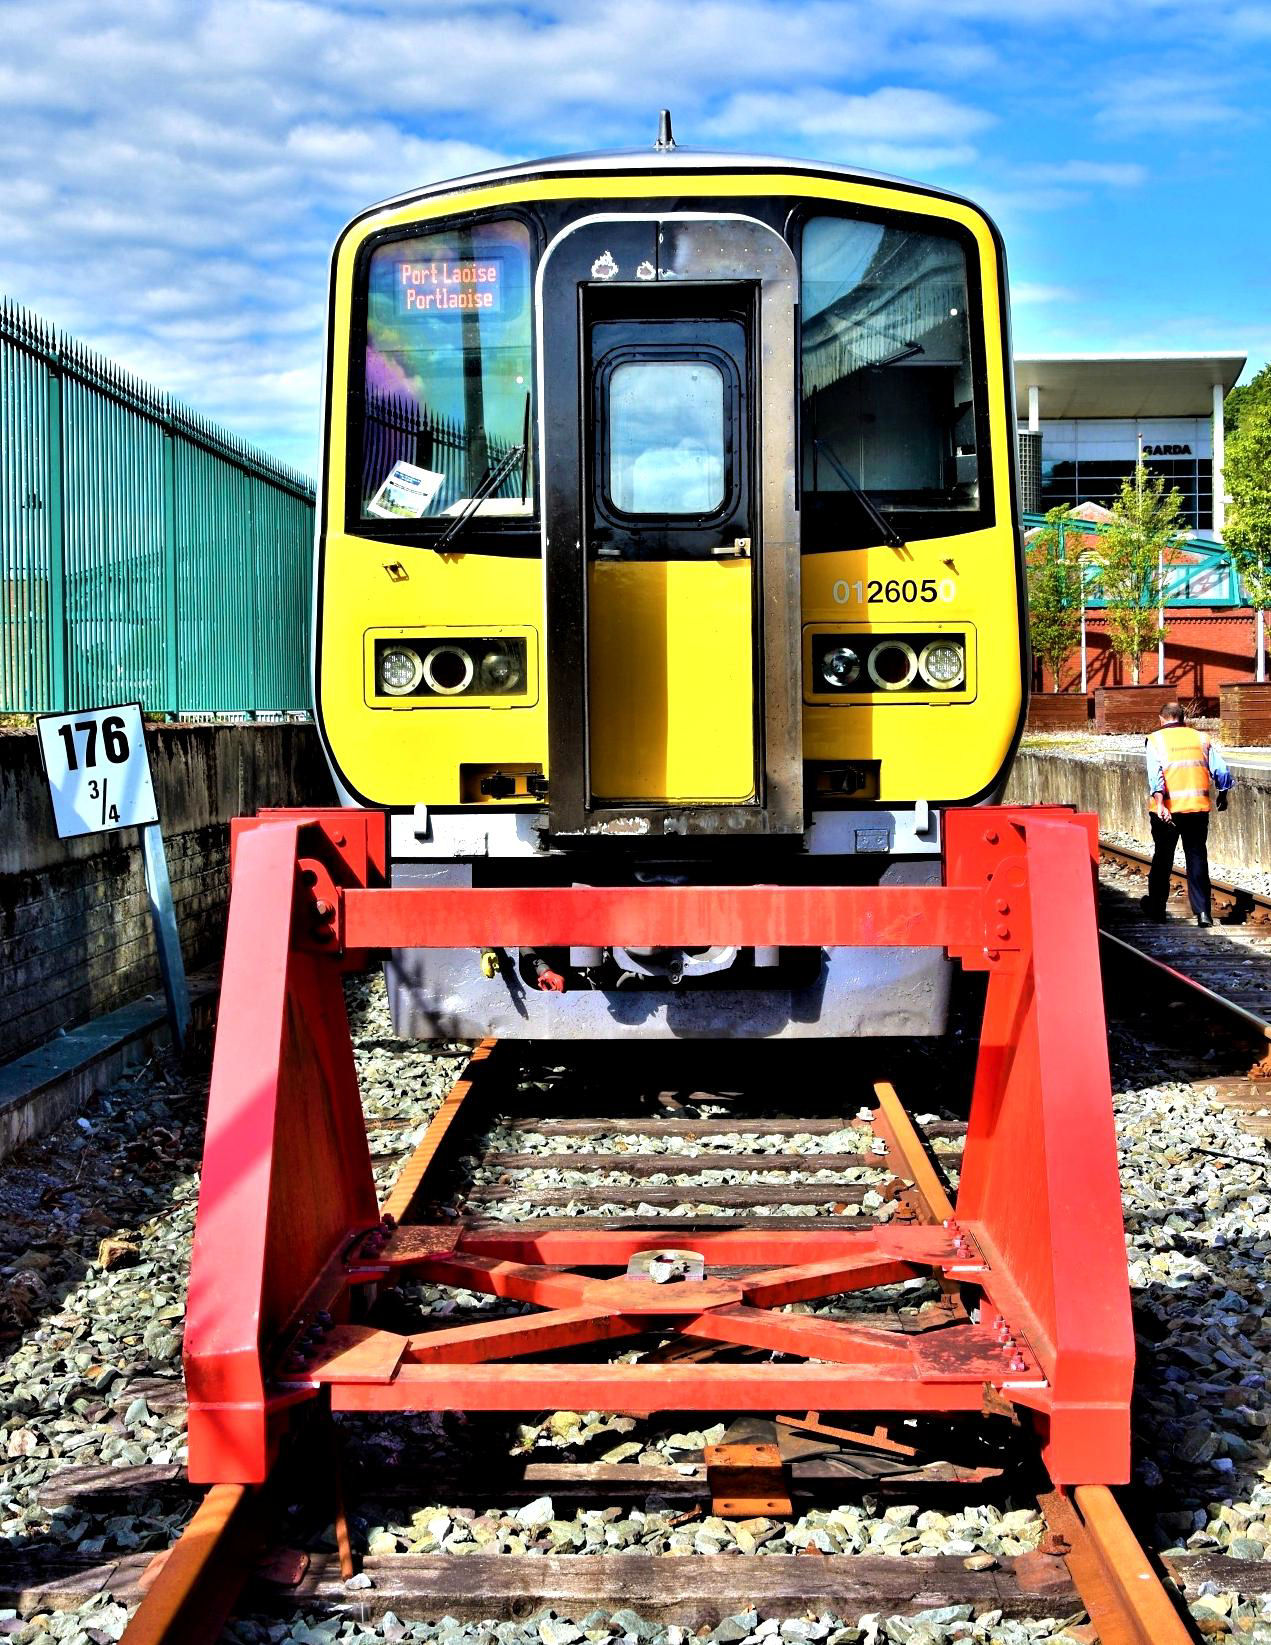
In the station siding at Cobh (once part of the run round loop in loco hauled days). Does anyone know how far this is from Dublin Heuston by any chance?
[© Neil Dinnen 2019]
is this the train for Barking? An extra passenger joined as a guest for part of the tour...
[© Neil Dinnen 2019]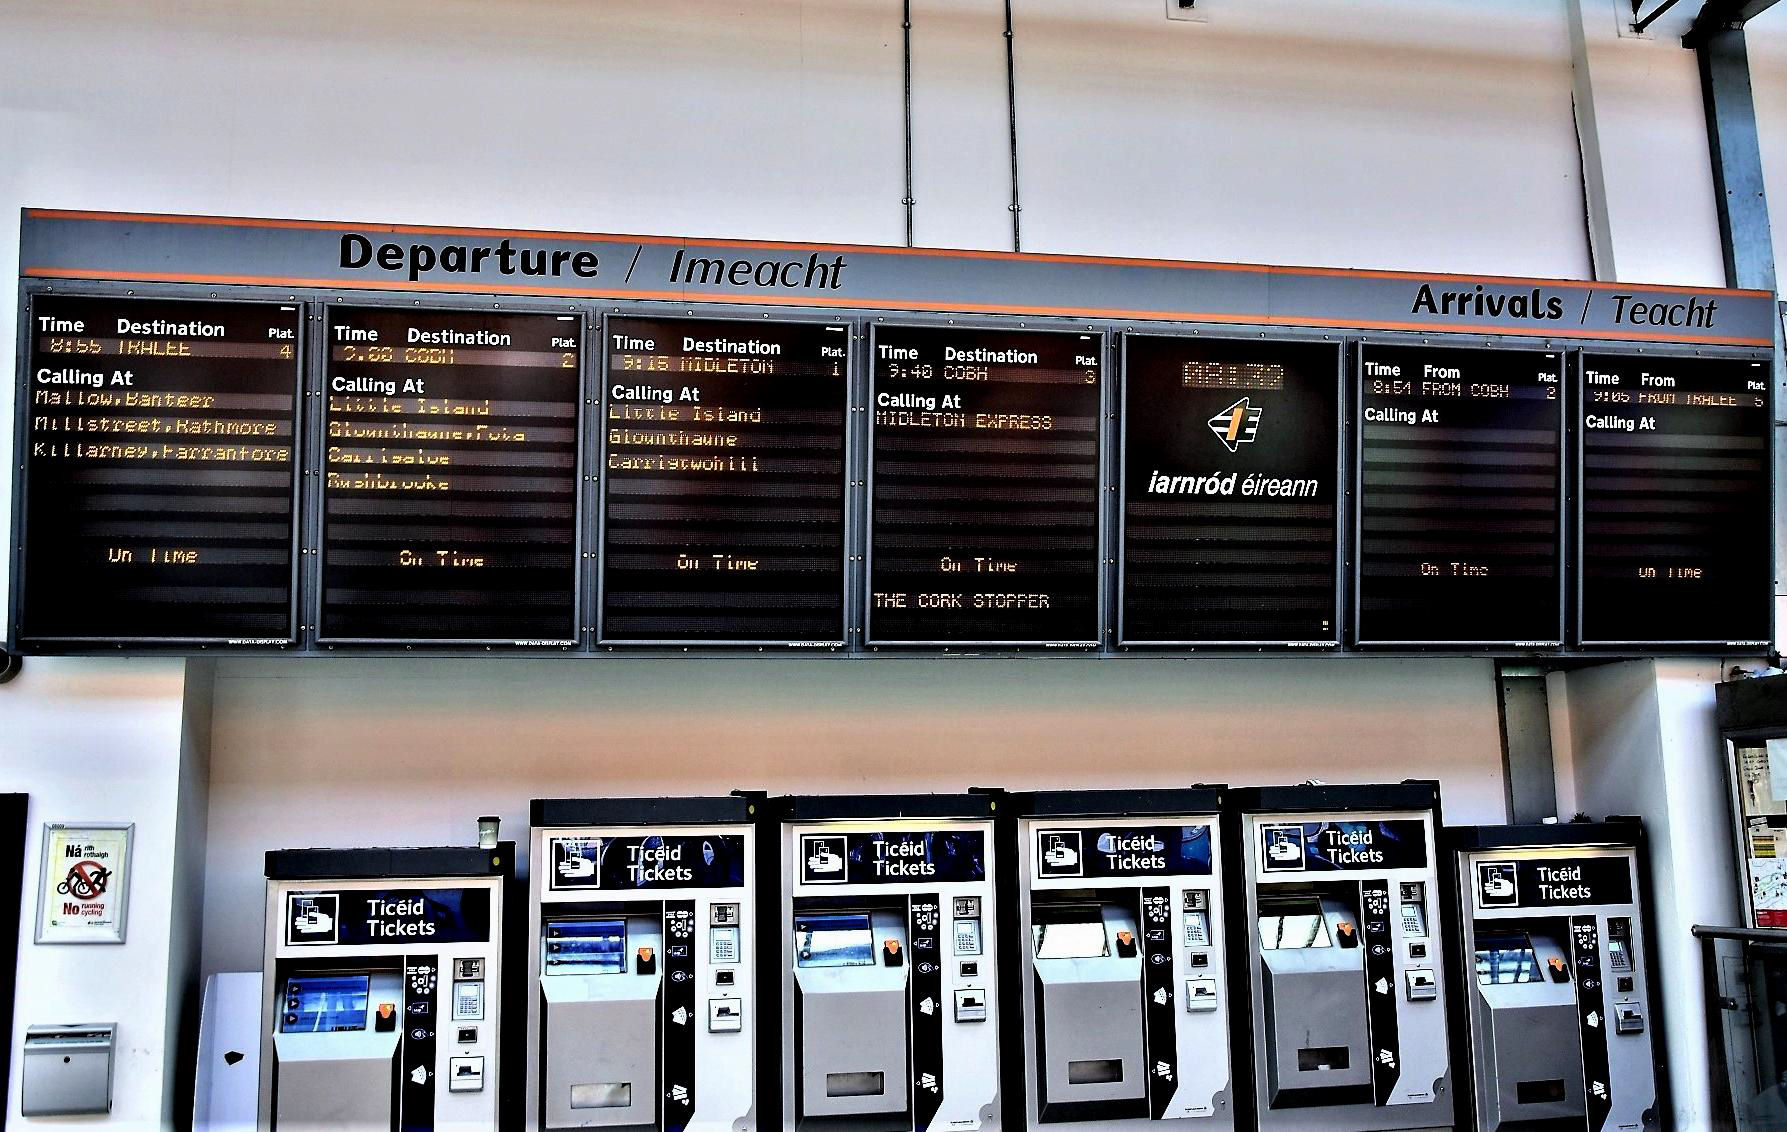
Something a bit different at Cork station (middle screen); an 09.40 to Cobh calling at 'Midleton Express' which was 'The Cork Stopper'...
[© Neil Dinnen 2019]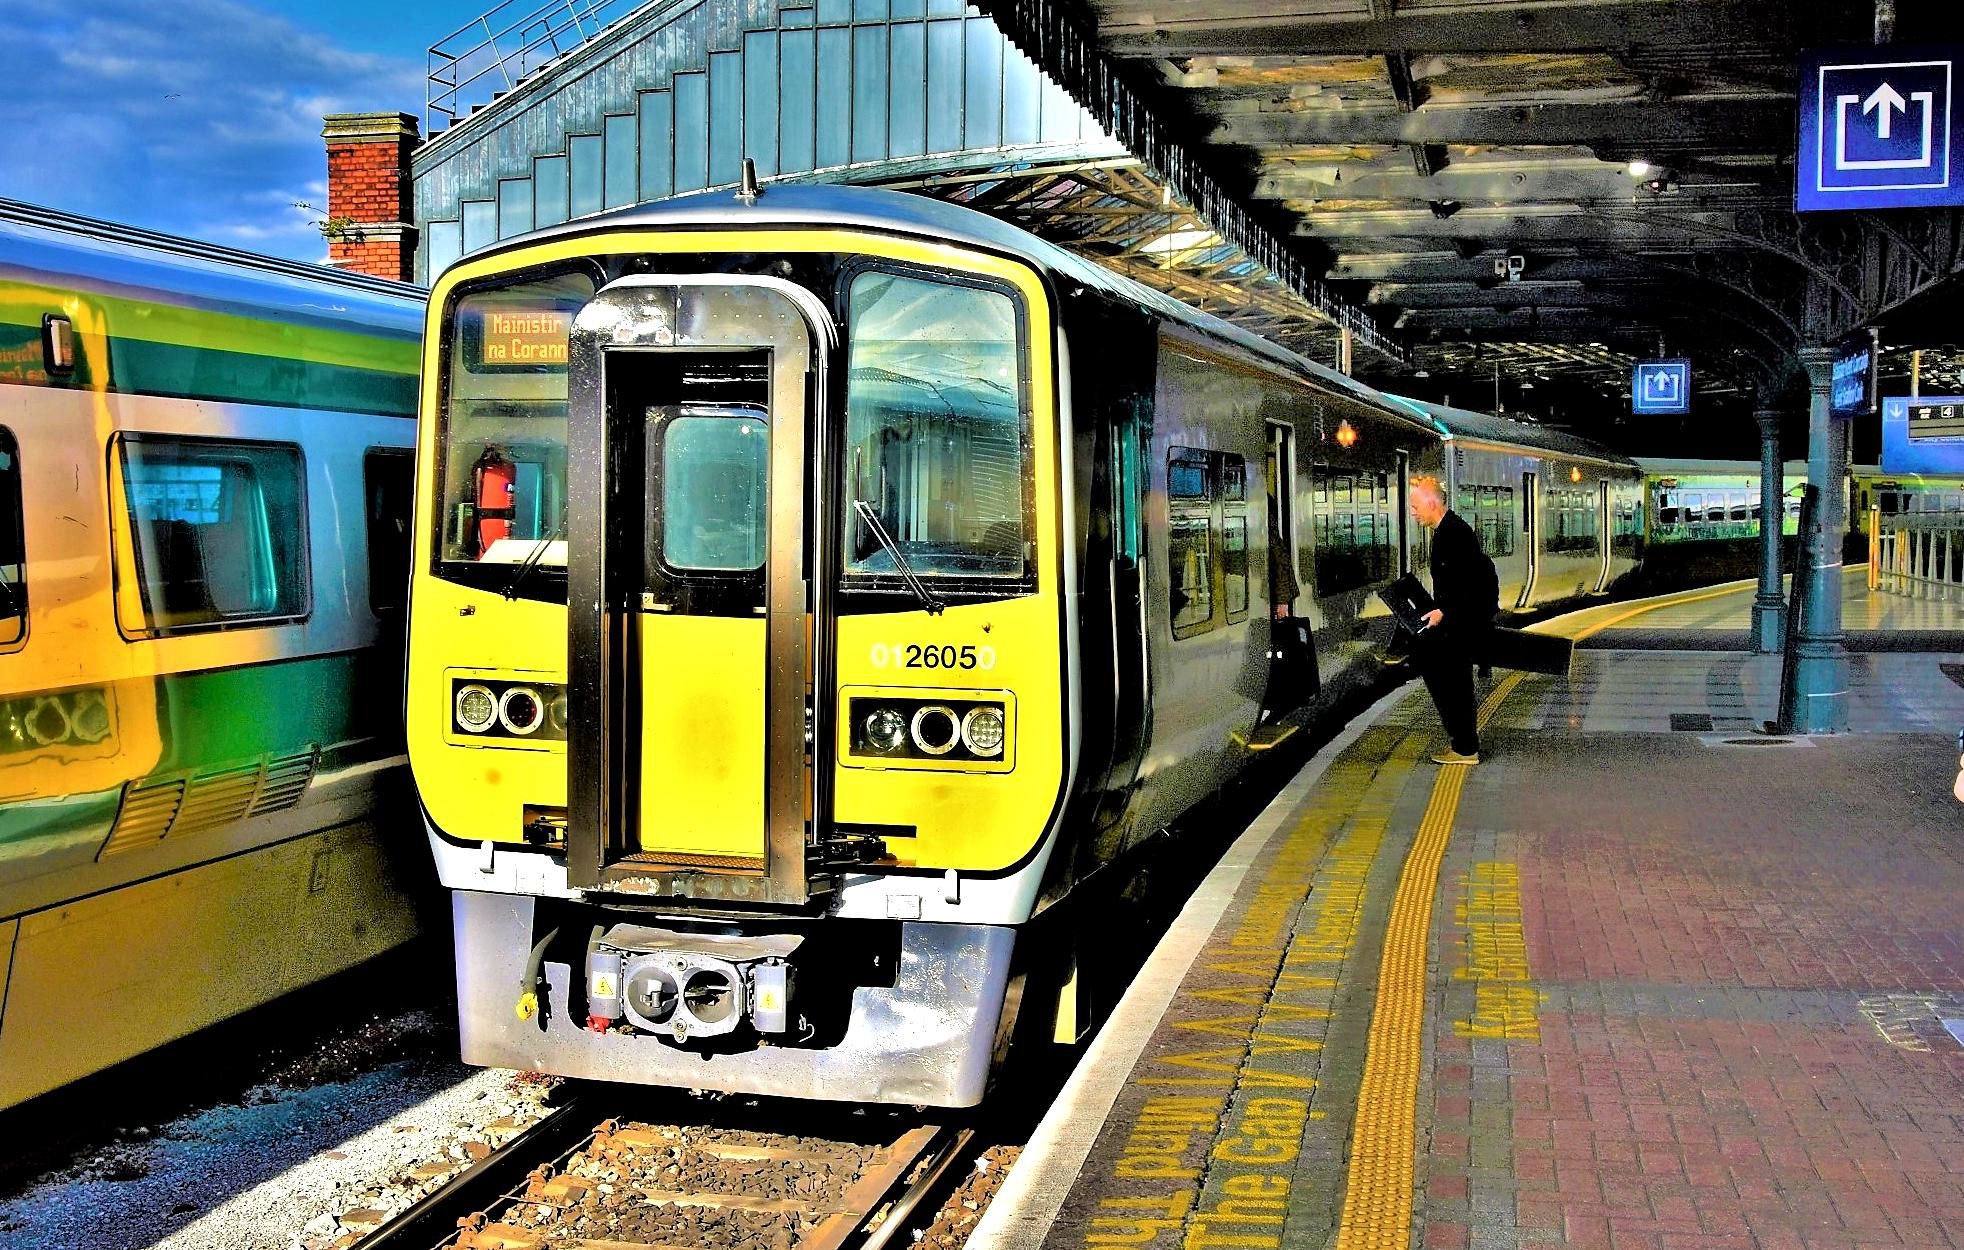
Our railtour awaiting departure at the 'country' end of Cork P4.
[© Neil Dinnen 2019]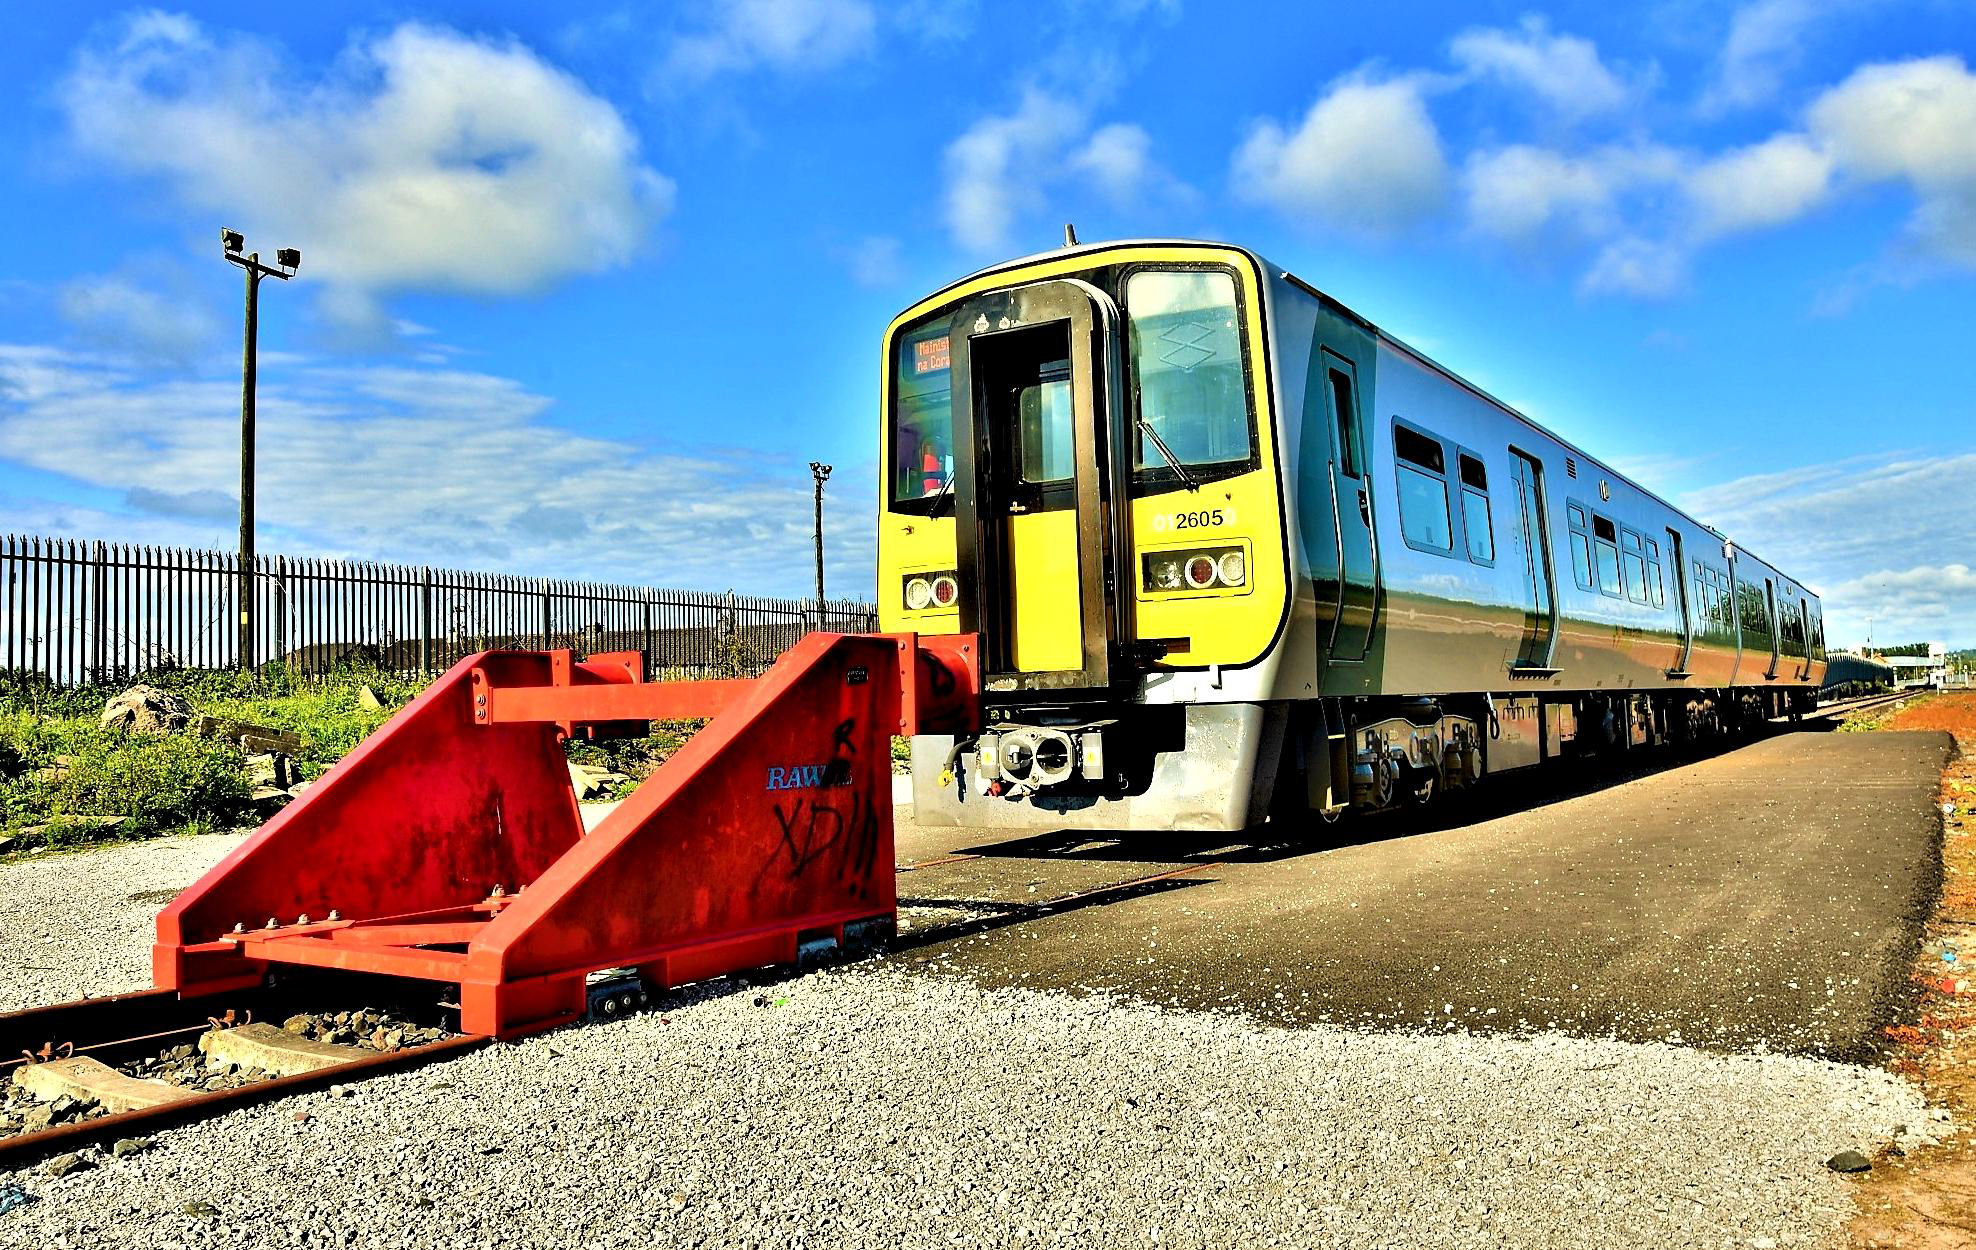
Midleton, the end of line (6m 29ch from Cobh Jn), the station is 'middle' far right in the distance...
[© Neil Dinnen 2019]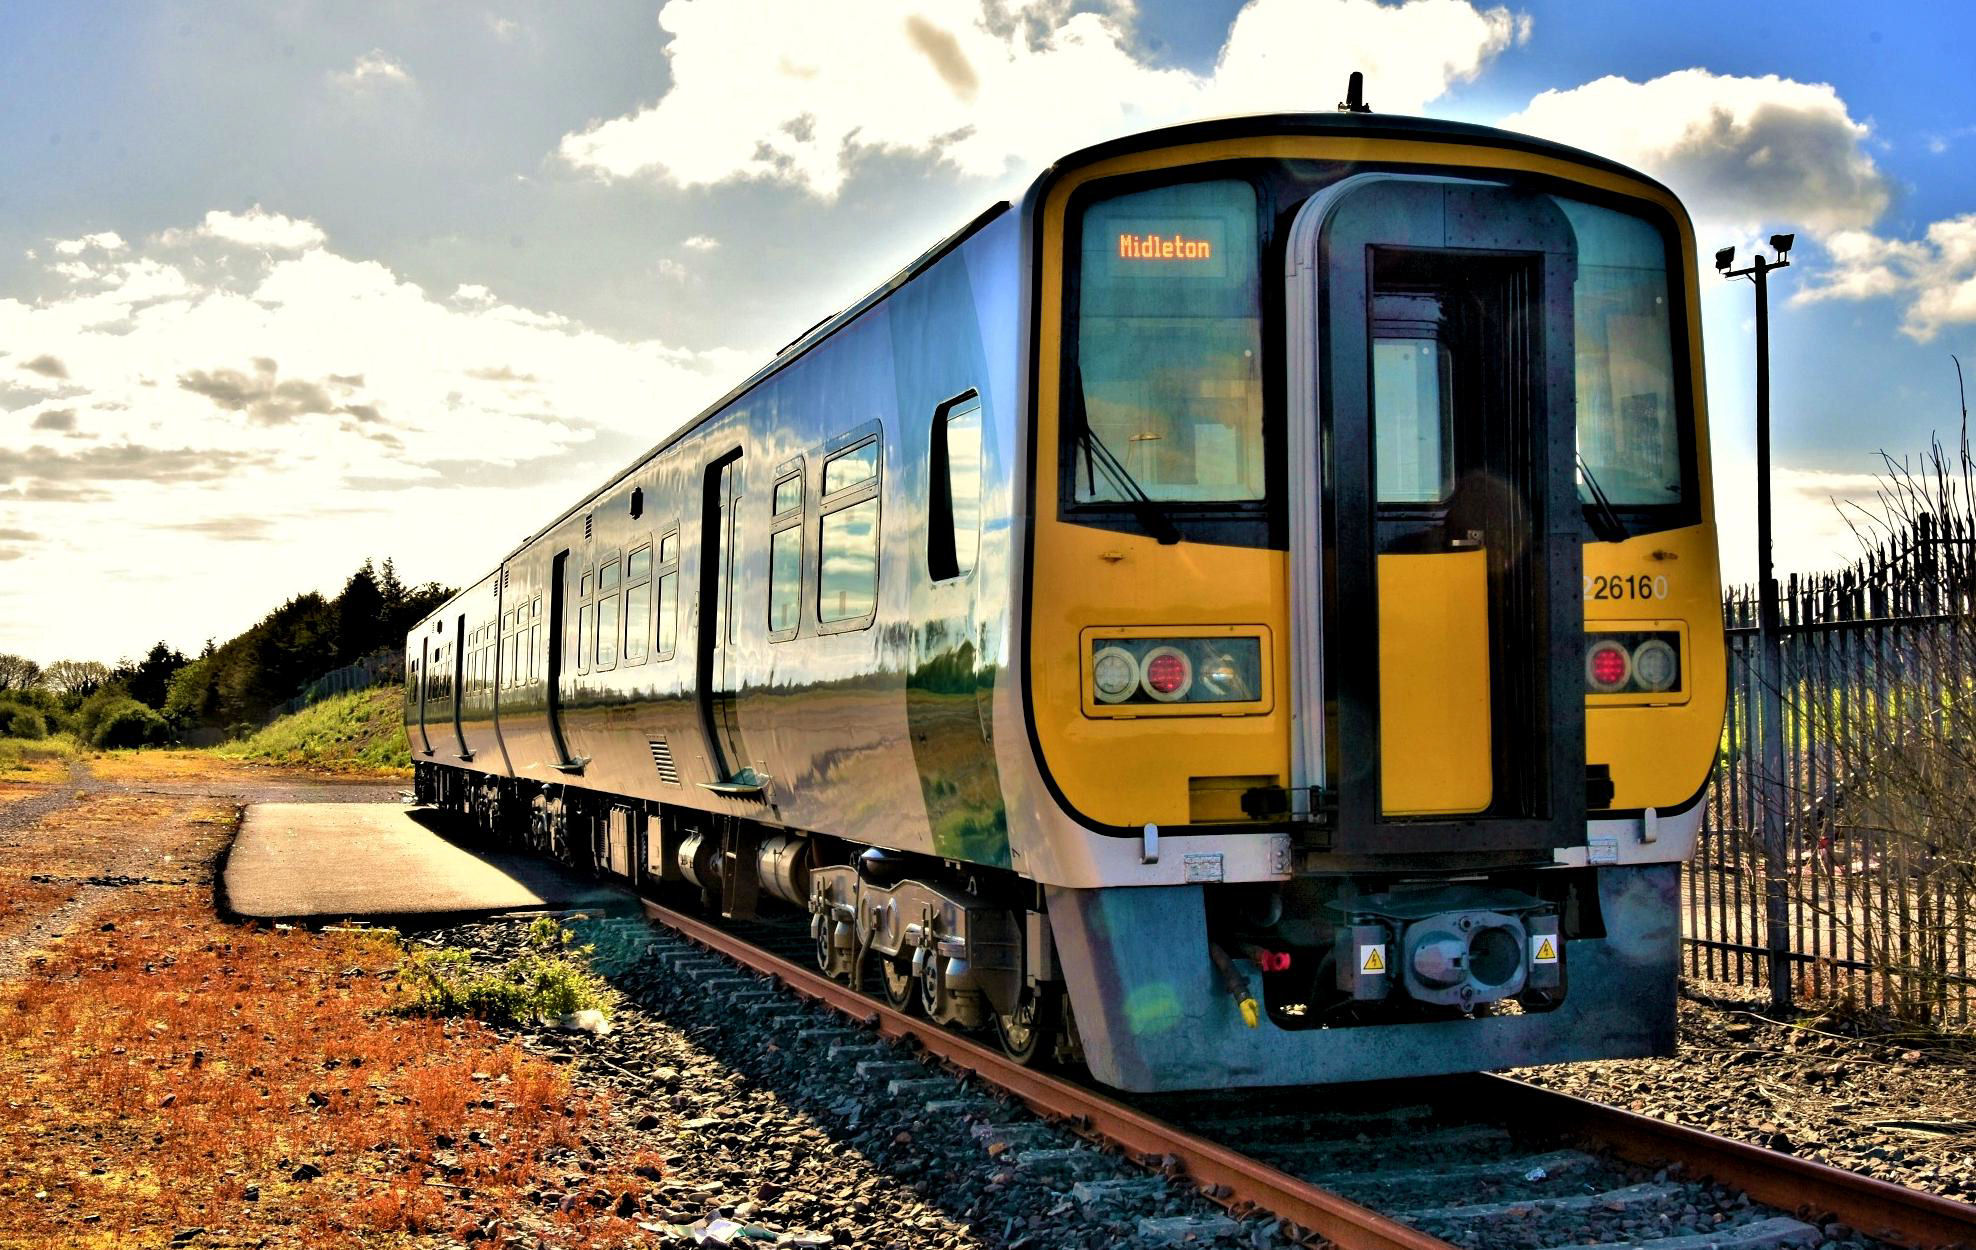
Midleton the end of line looking east, the trackbed to the former stations at Mogeely, Killeagh and Youghal terminus is off to the left.
[© Neil Dinnen 2019]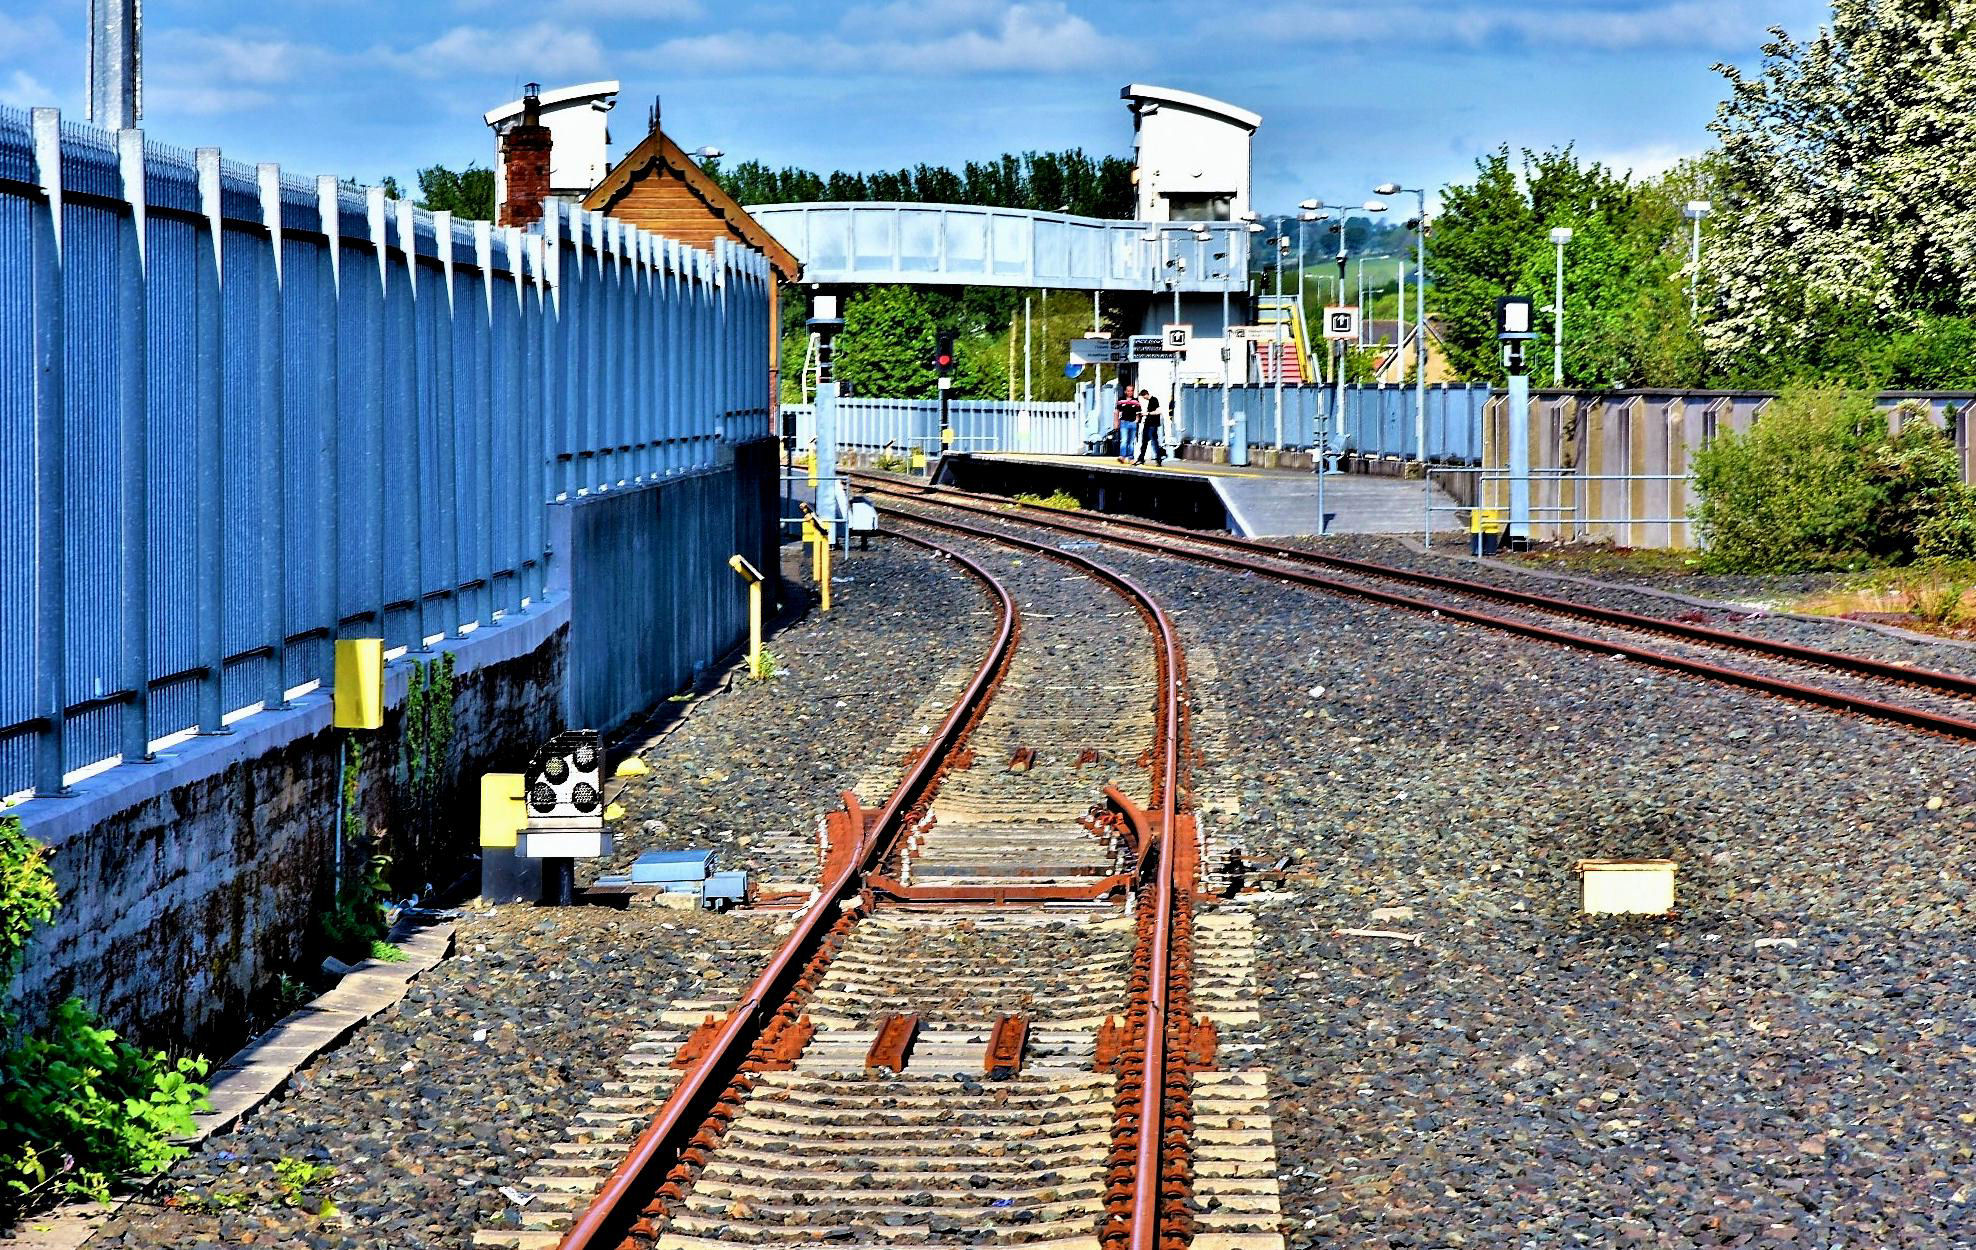
Returning to Midleton station, the trap points and Ground Position Signal are both set, a very rare occurrence here.
[© Neil Dinnen 2019]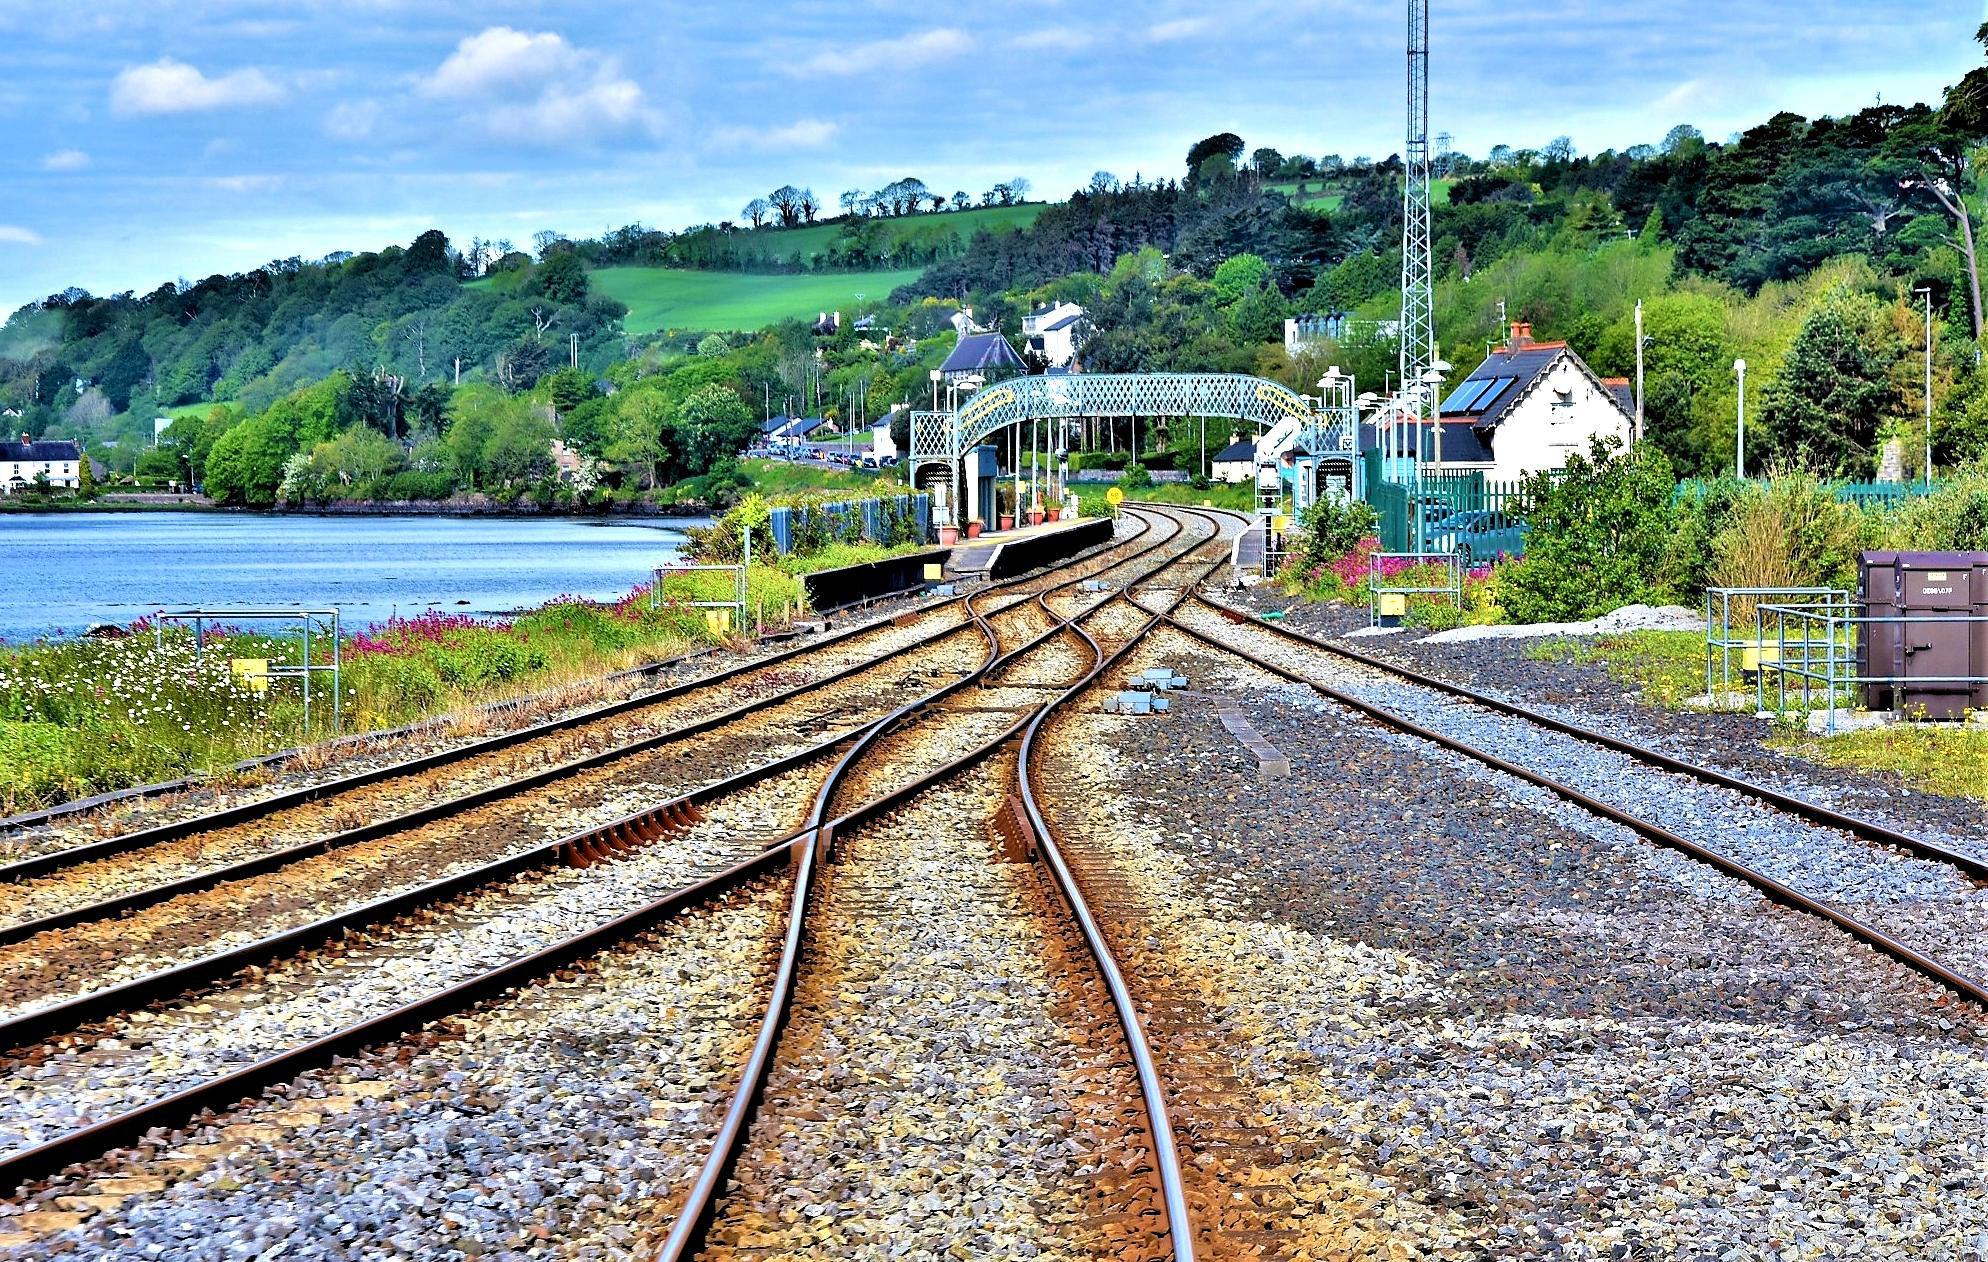
Approaching Cobh Jn (which is over 171miles from Dublin Heuston) from the Midleton branch; the station ahead is Glounthaune.
[© Neil Dinnen 2019]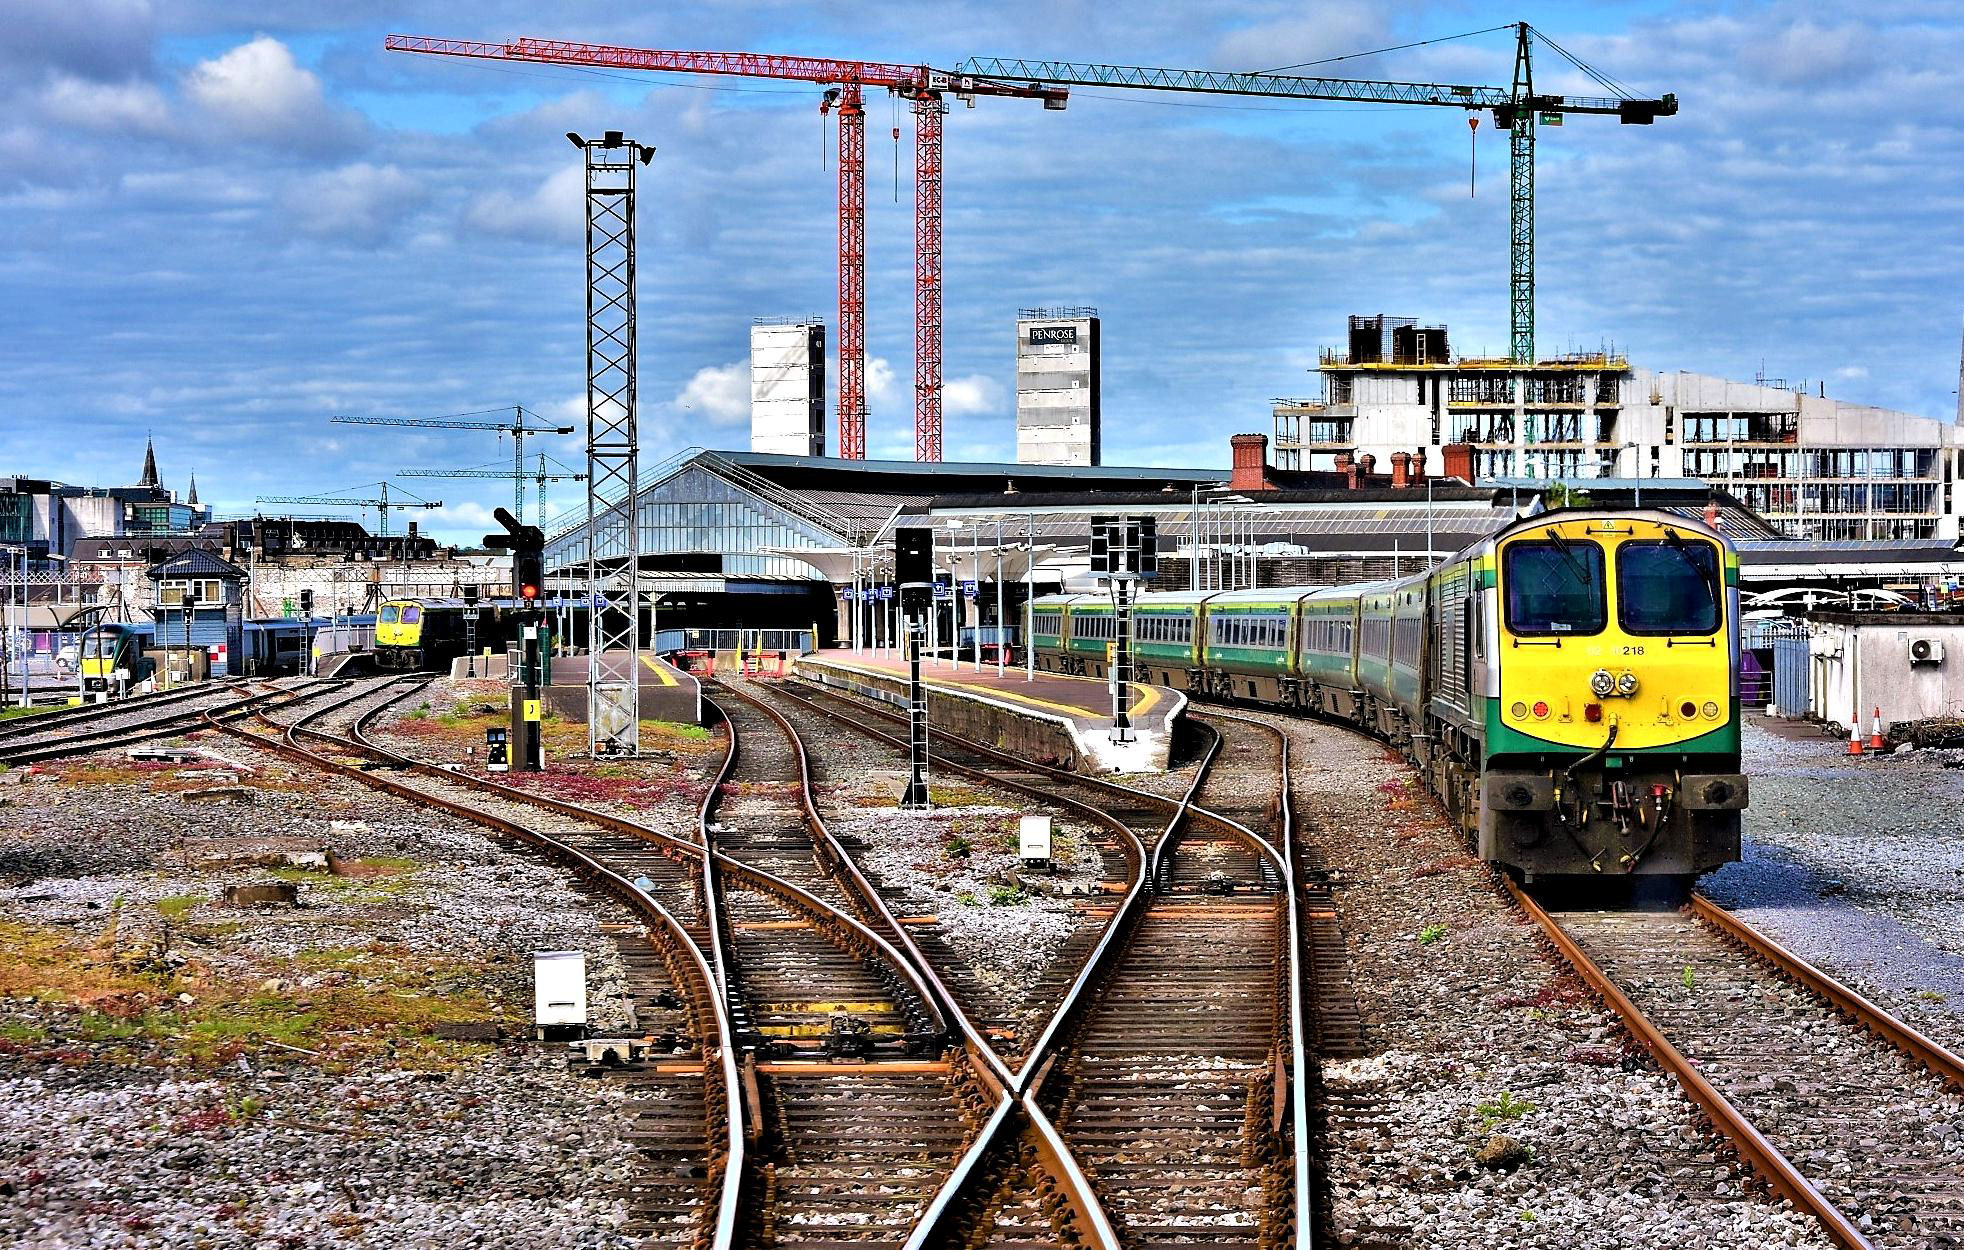
Approaching Cork P3 from Midleton, the 'crane count' shows the City was booming. The train on the right is in the Down Siding.
[© Neil Dinnen 2019]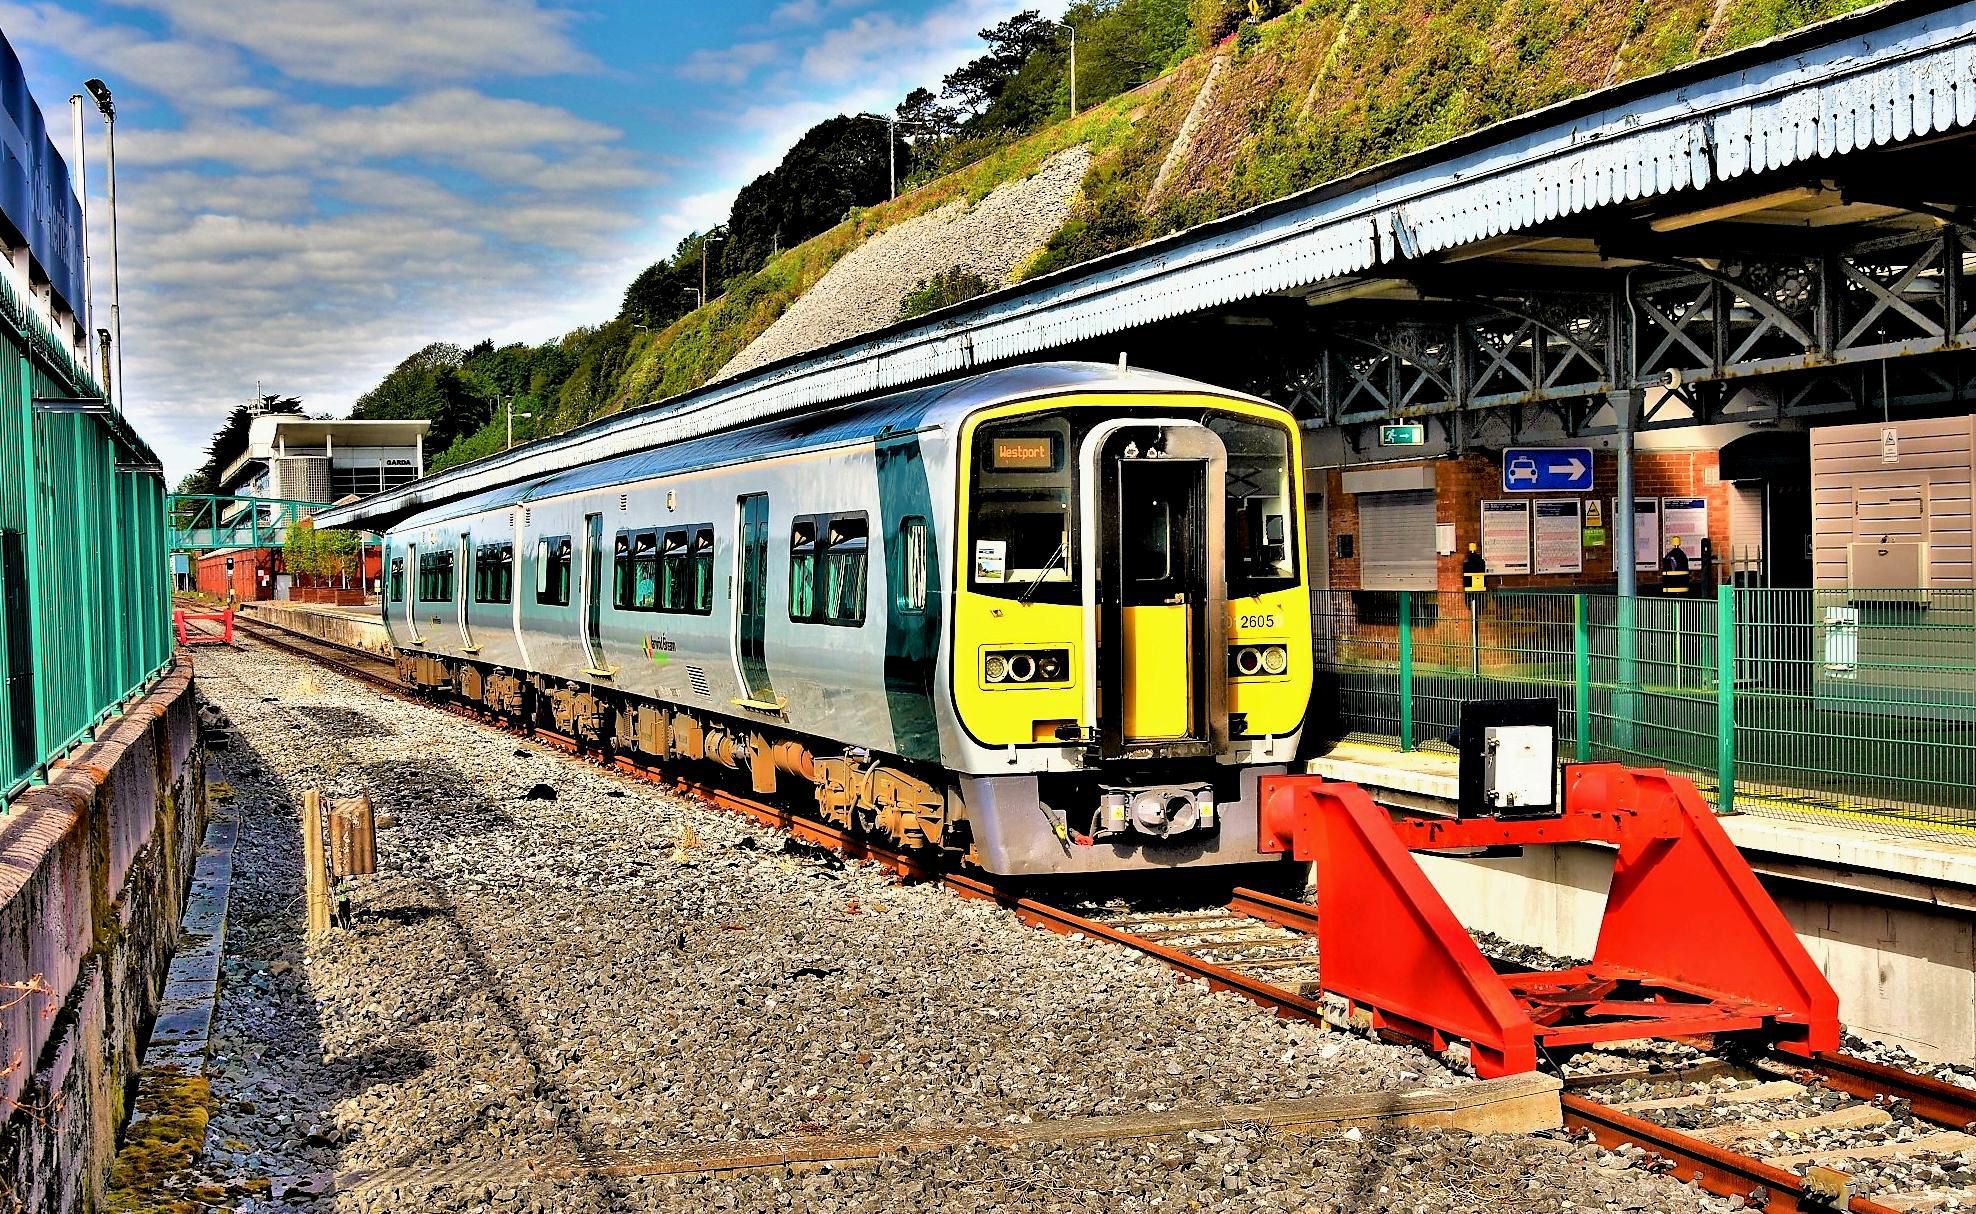
Cobh - a section of platform which trains don't normally percolate to. The station siding buffer stops are middle far left. The following day two of the participants walked from Cork to Cobh (except for a short ferry section), more of that in a future BLN.
[© Neil Dinnen 2019]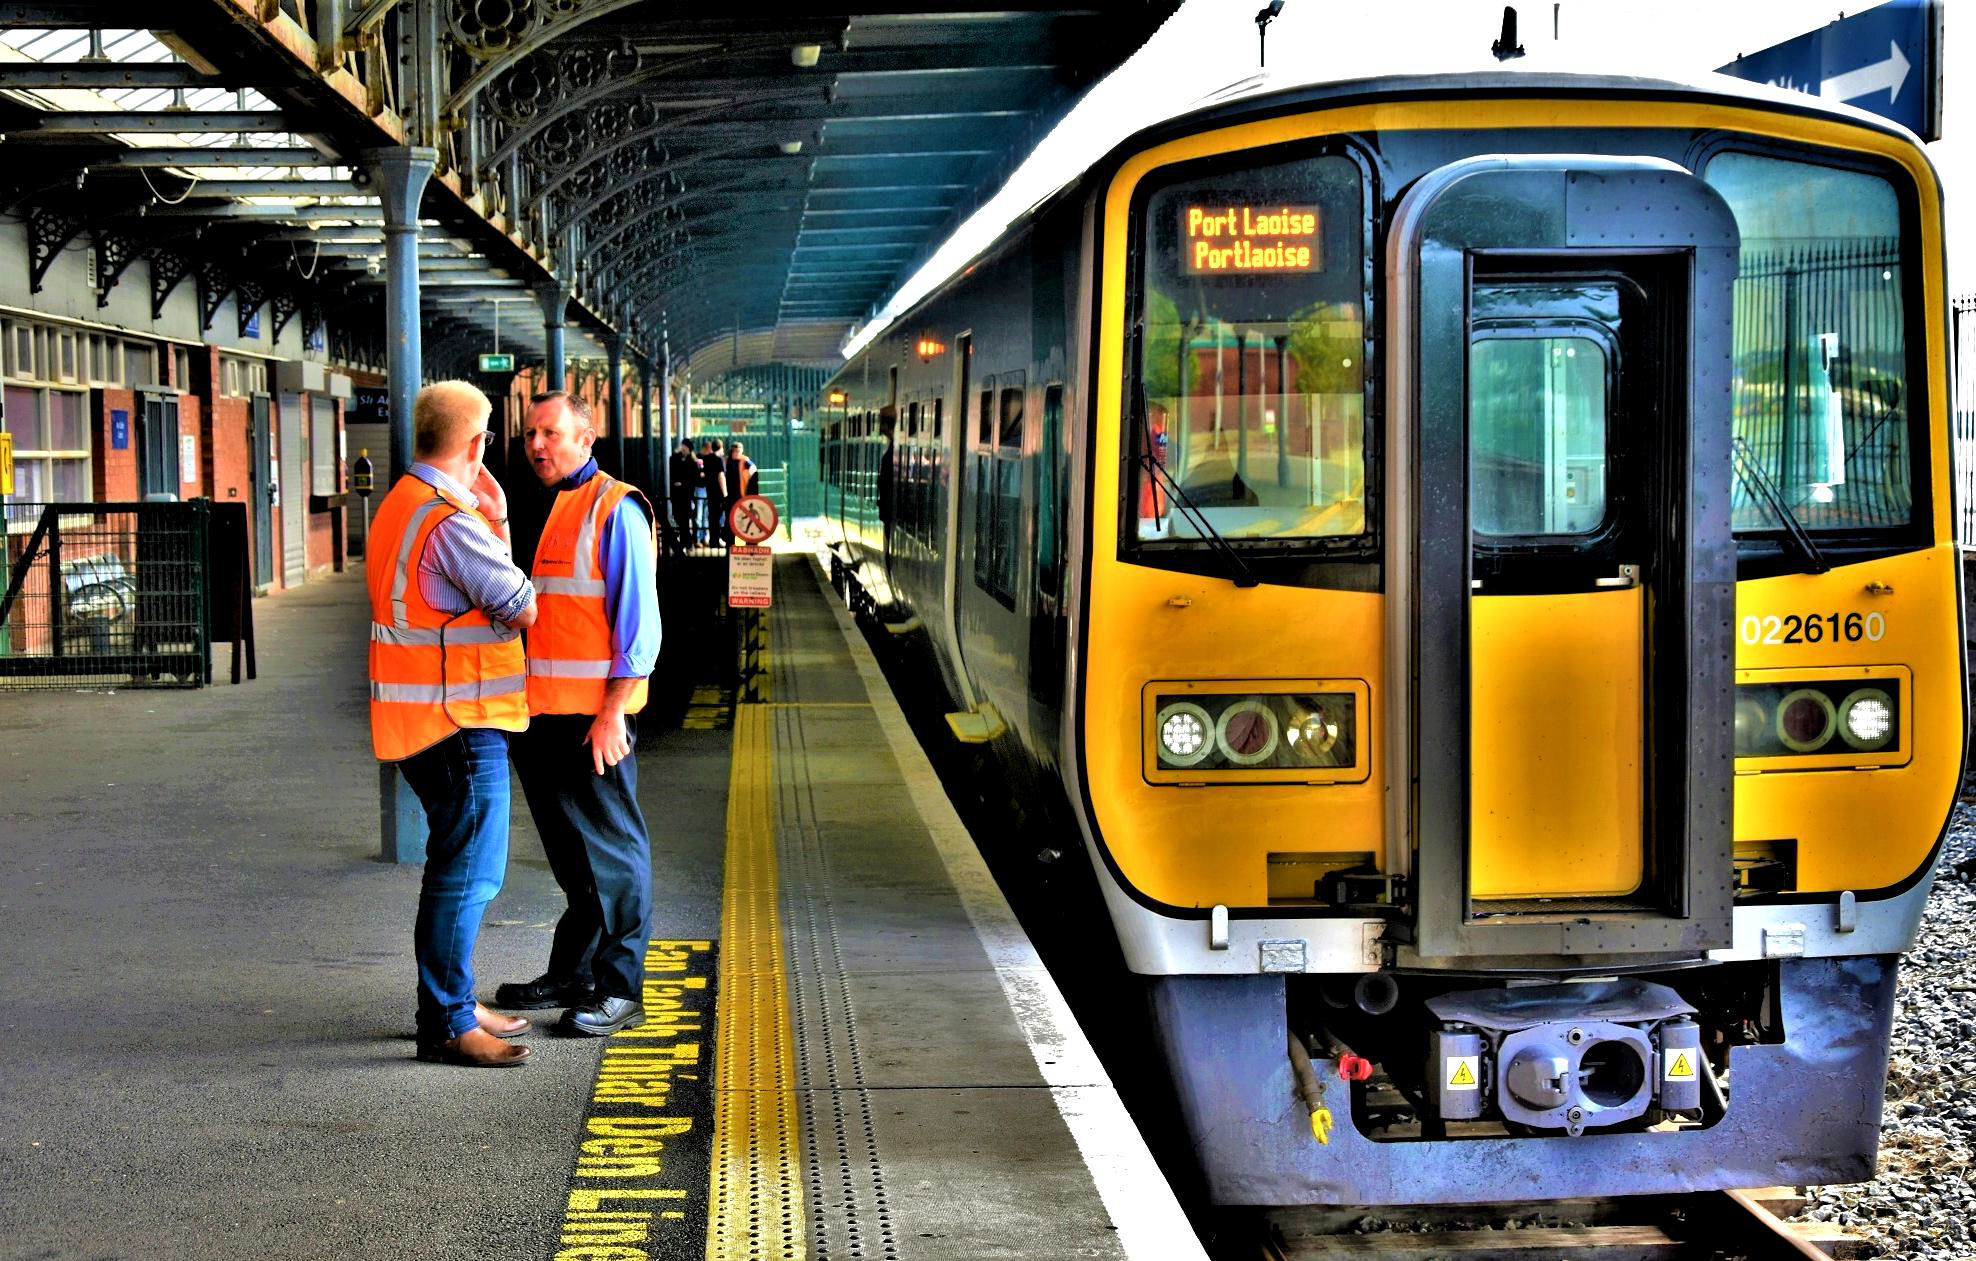
Two great enthusiasts at Cobh, our Kev Adlam on the left and Cork driver Ken Fox. The normal passenger train stop point is evident.
[© Neil Dinnen 2019]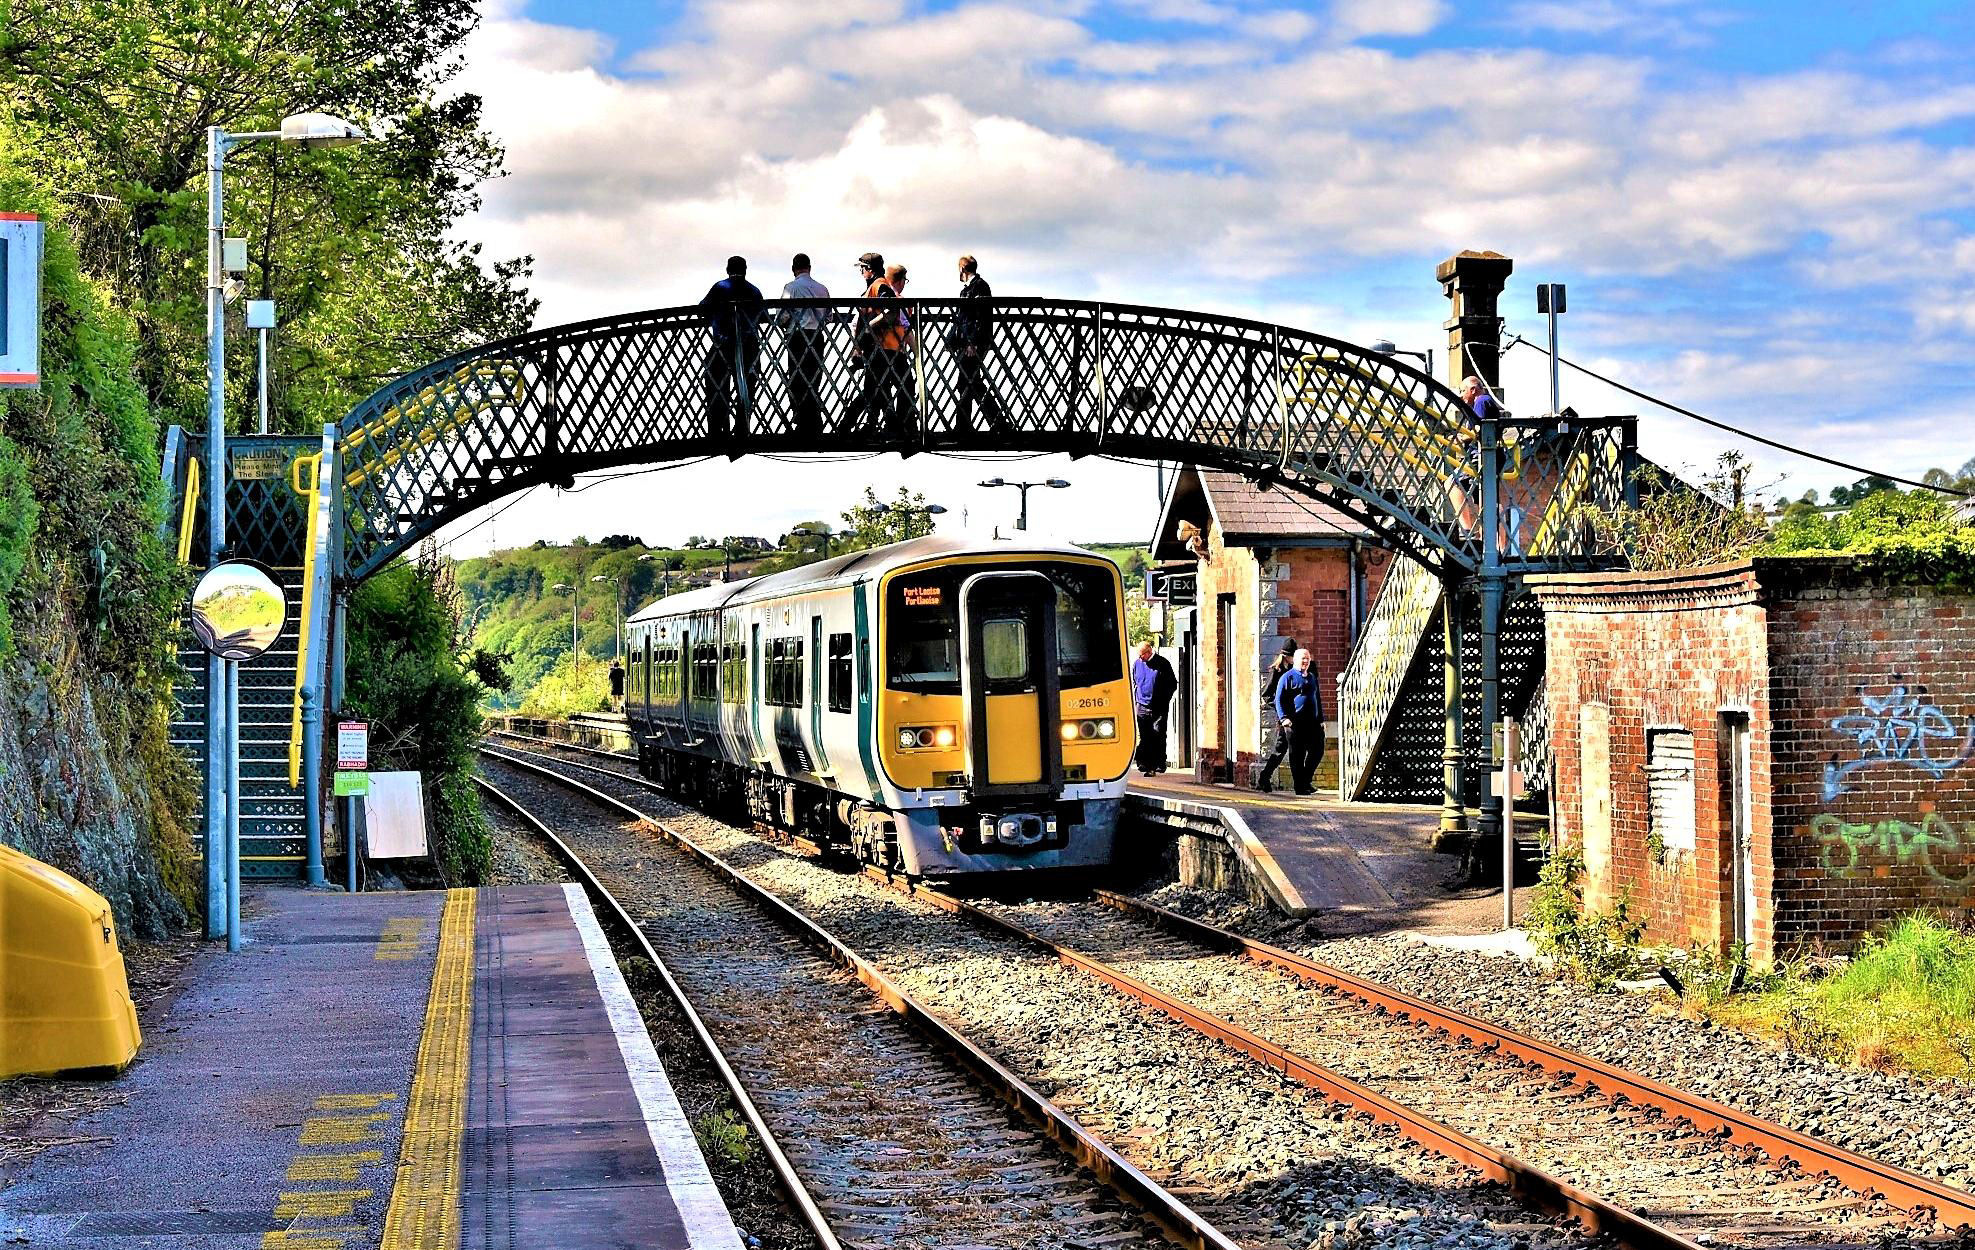
The Cork Stopper stops for a traditional photo stop at Carrigaloe while returning from Cobh to Cork.
[© Neil Dinnen 2019]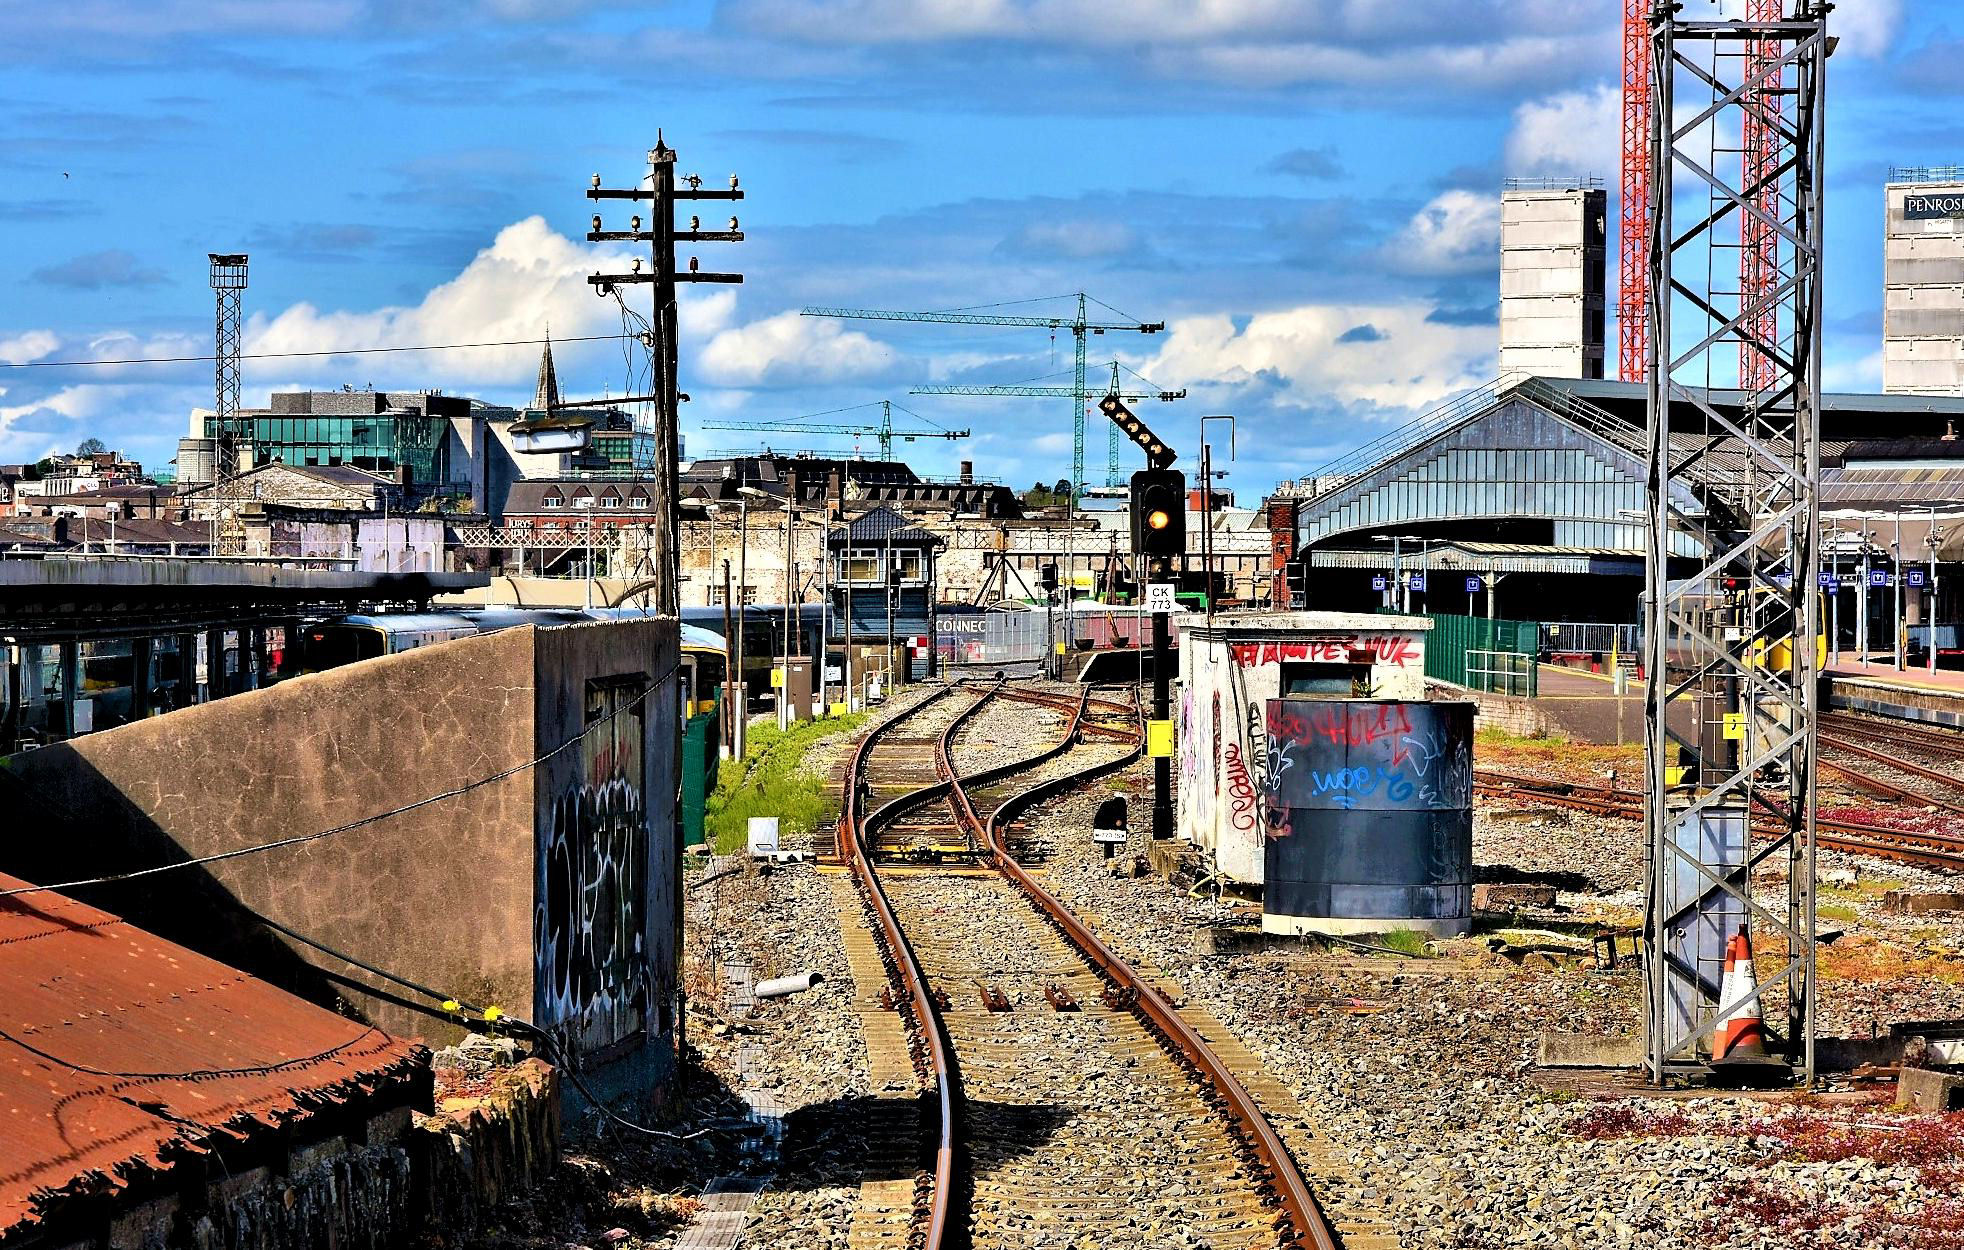
Approaching Cork on the Up line, the 'feather' is set for the Cork Loop (straight on here). TRACKmaps is diagrammatic, isn't it Martyn?
[© Neil Dinnen 2019]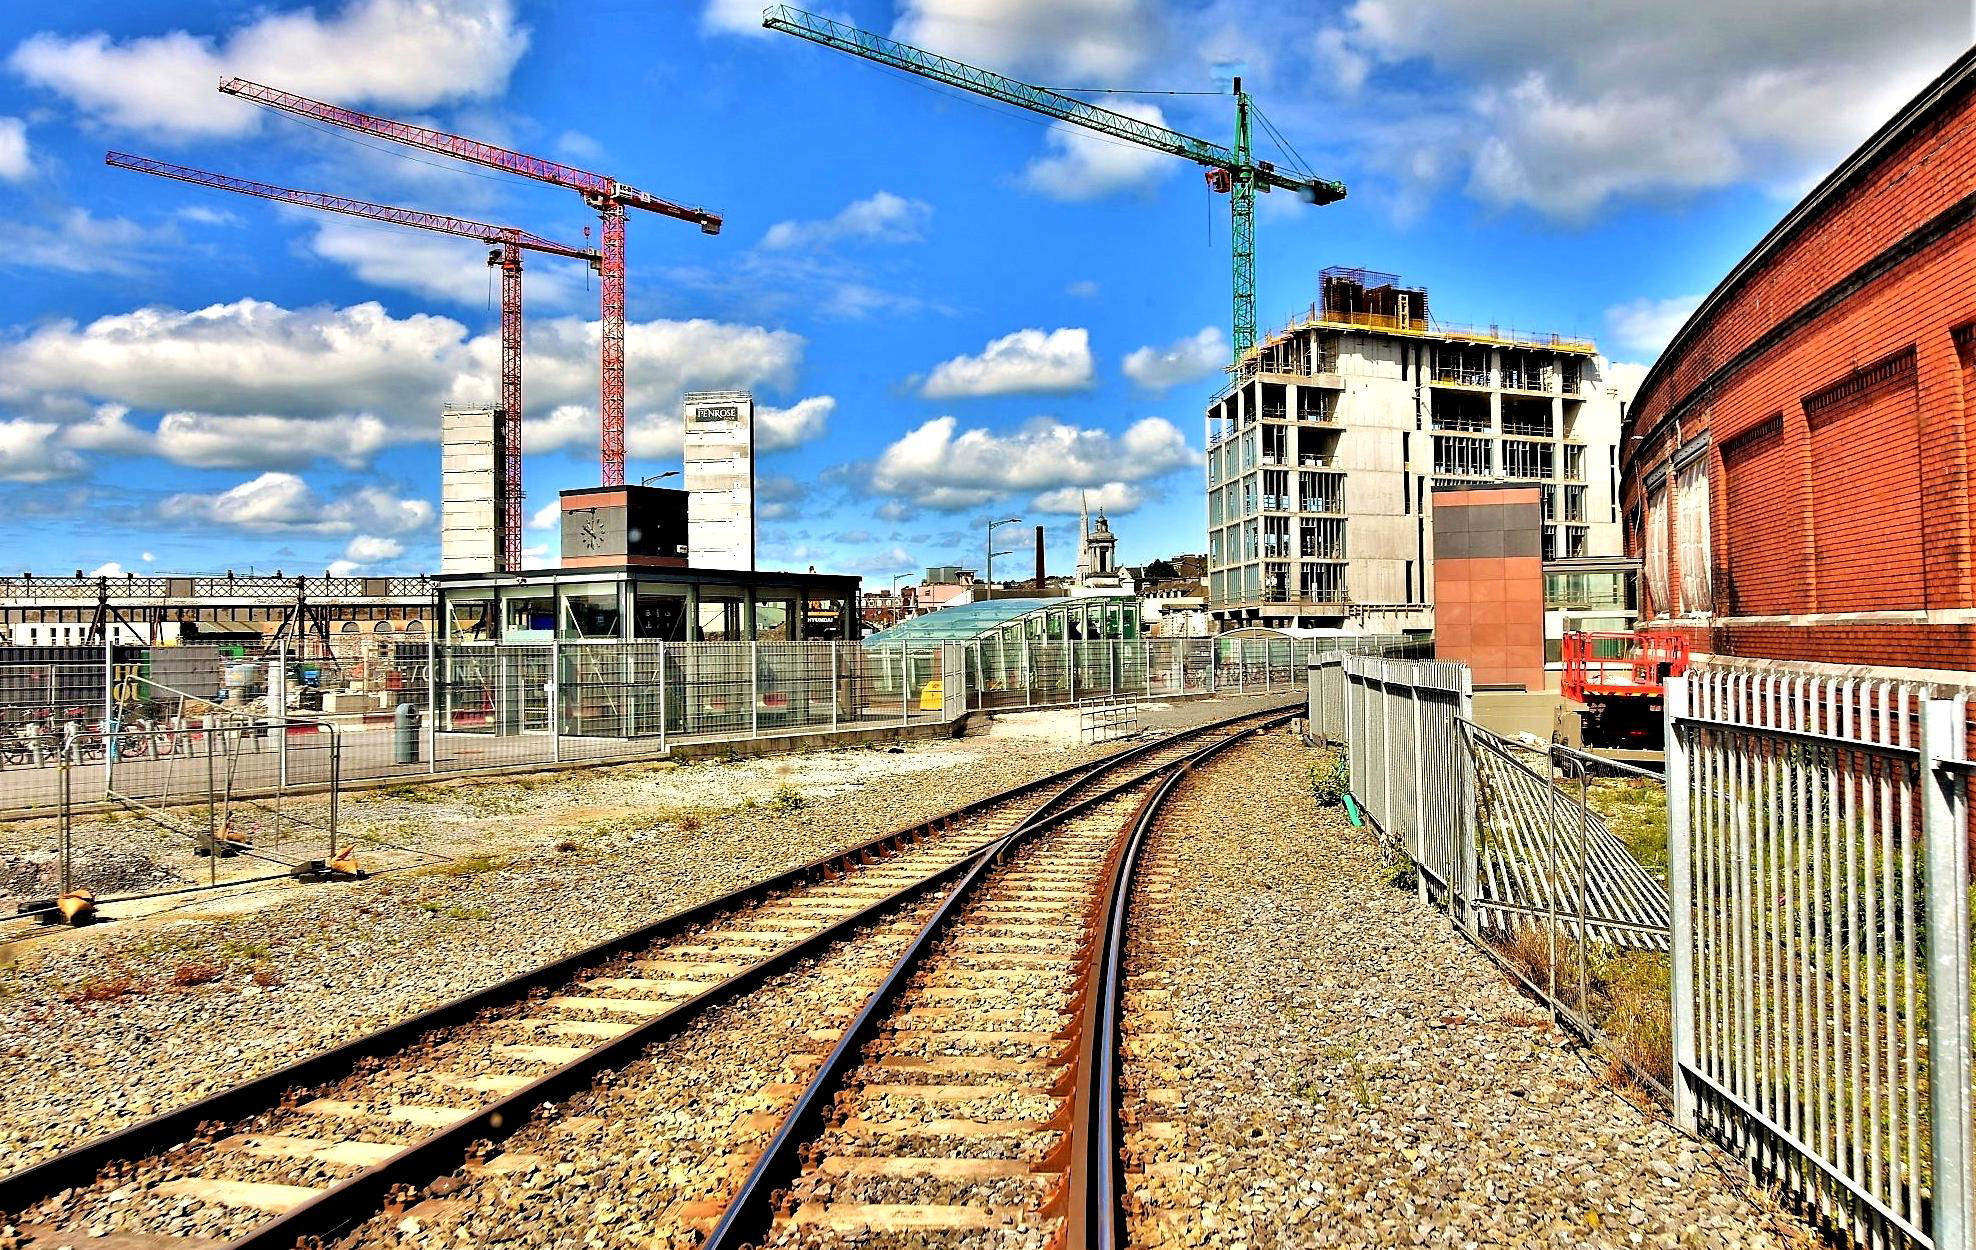
Heading towards Mallow on the Cork Loop, the curved brick wall on the right is the back of Cork P5.
[© Neil Dinnen 2019]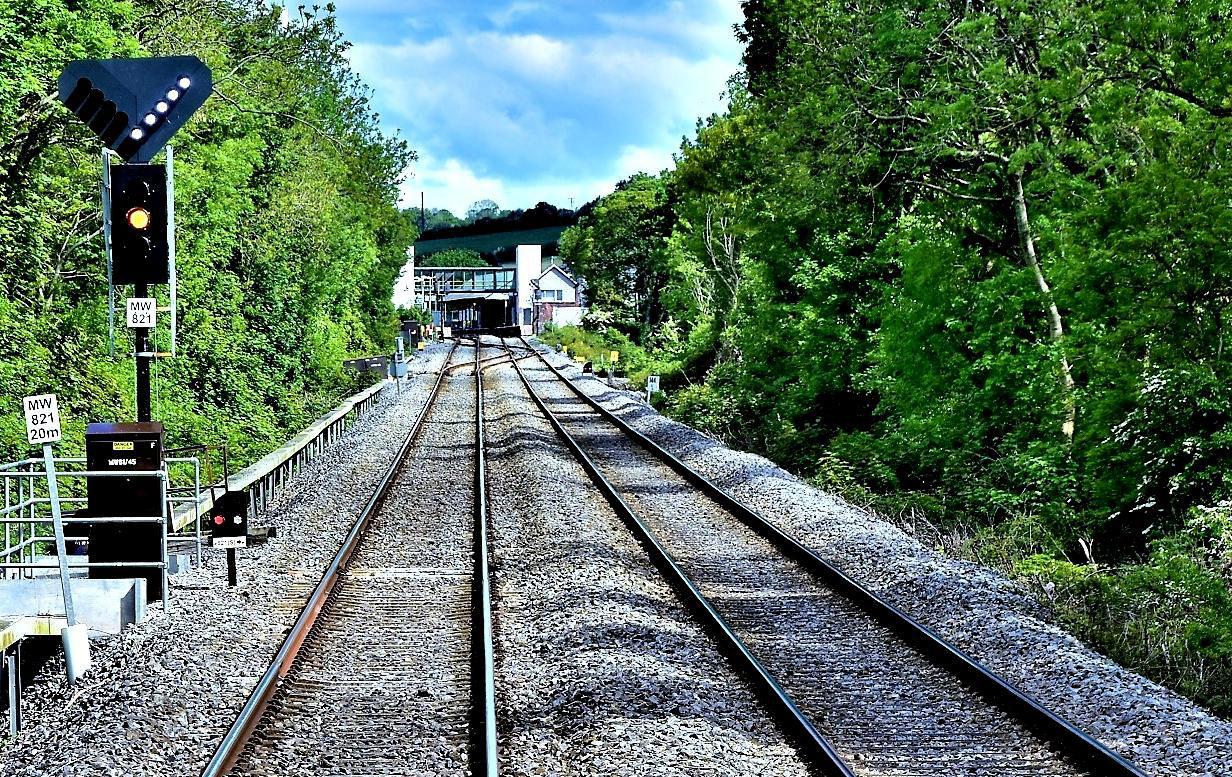
Approaching Mallow from Cork the route is set into P1; the facing crossover ahead was required by most of those on our tour.
[© Neil Dinnen 2019]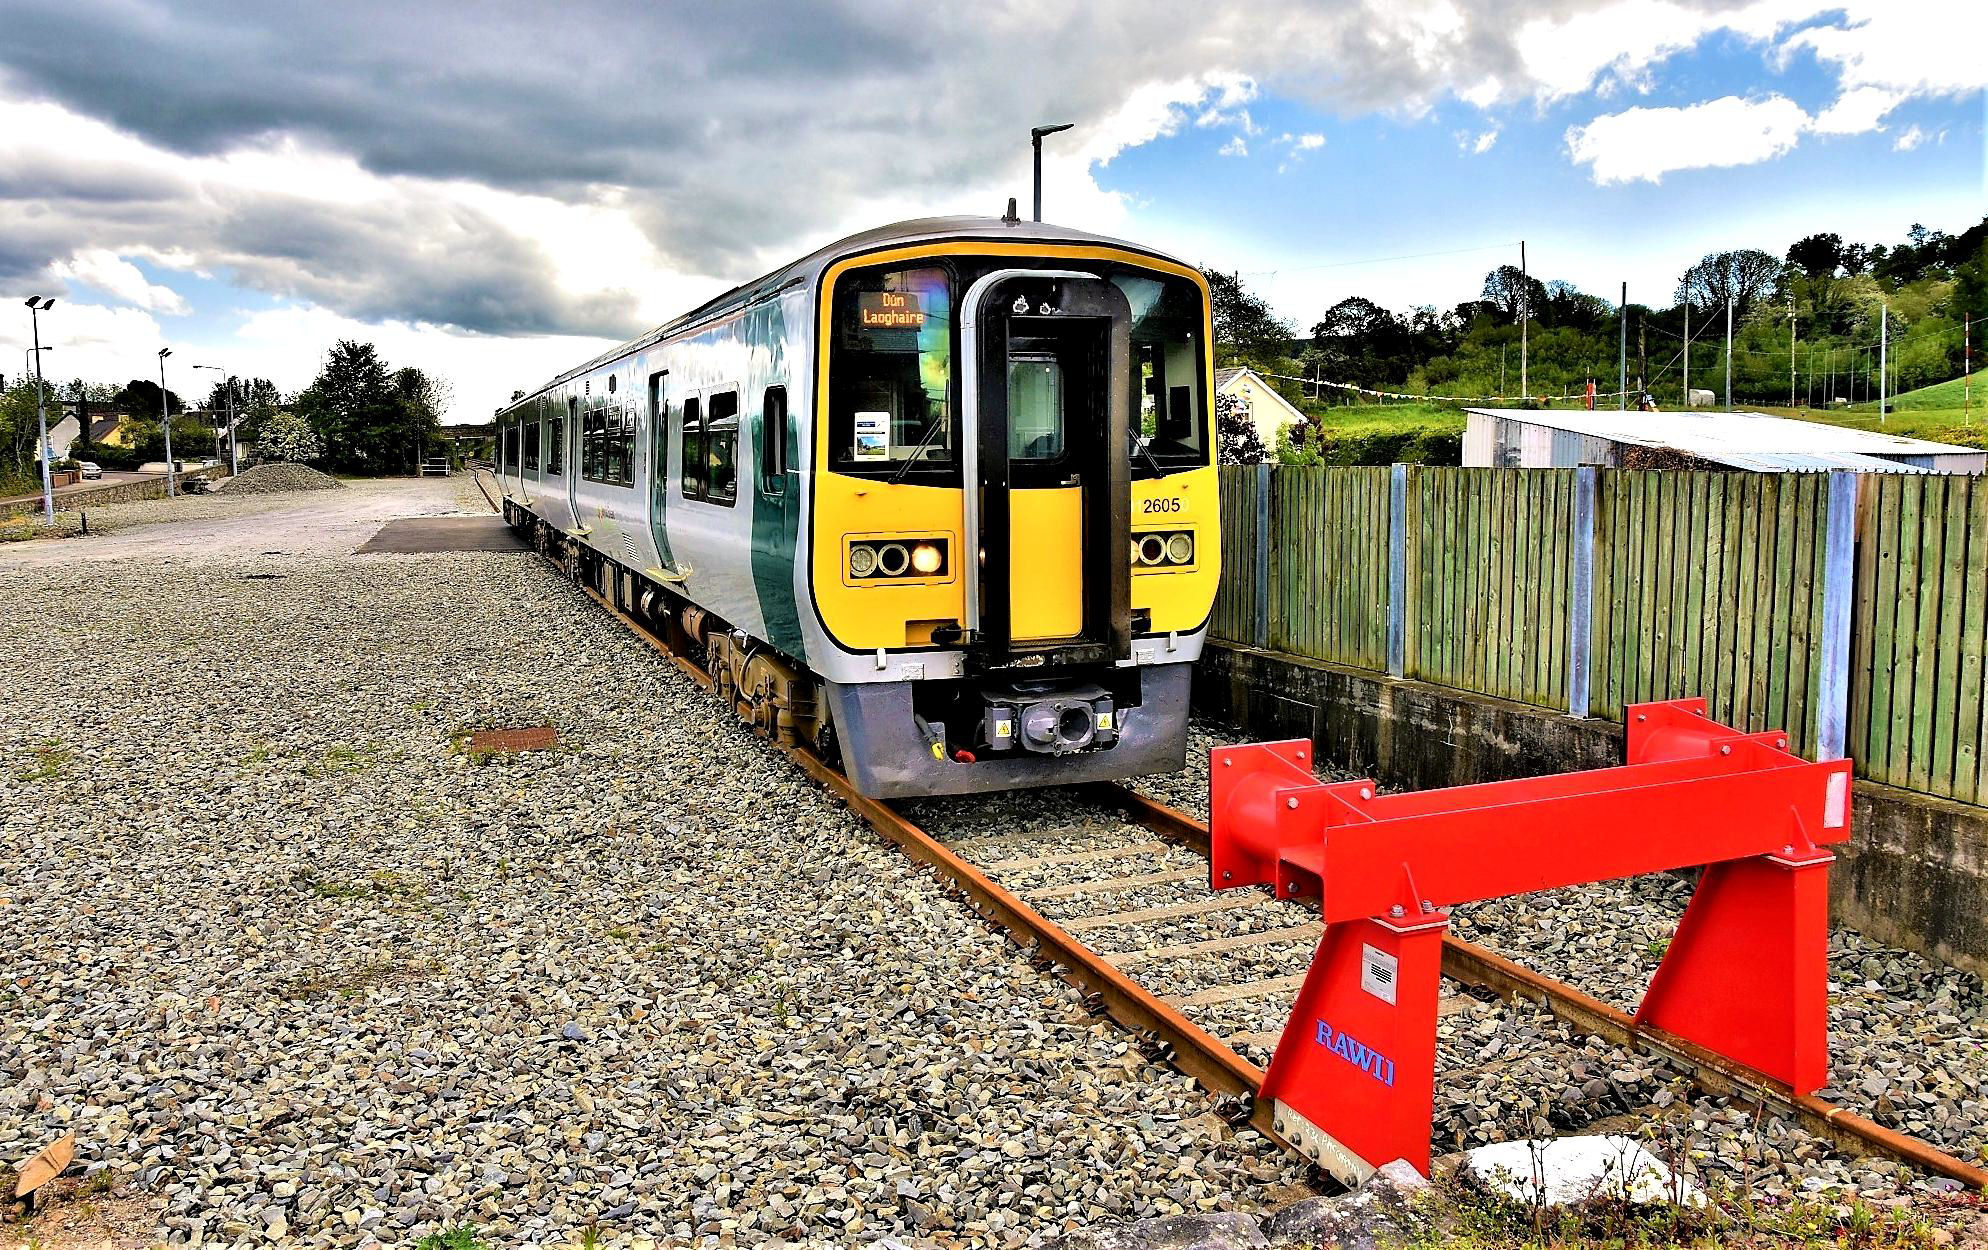
On Tralee branch it became first passenger train on the lengthy siding at Banteer (behind P1); causing much banter onboard.
[© Neil Dinnen 2019]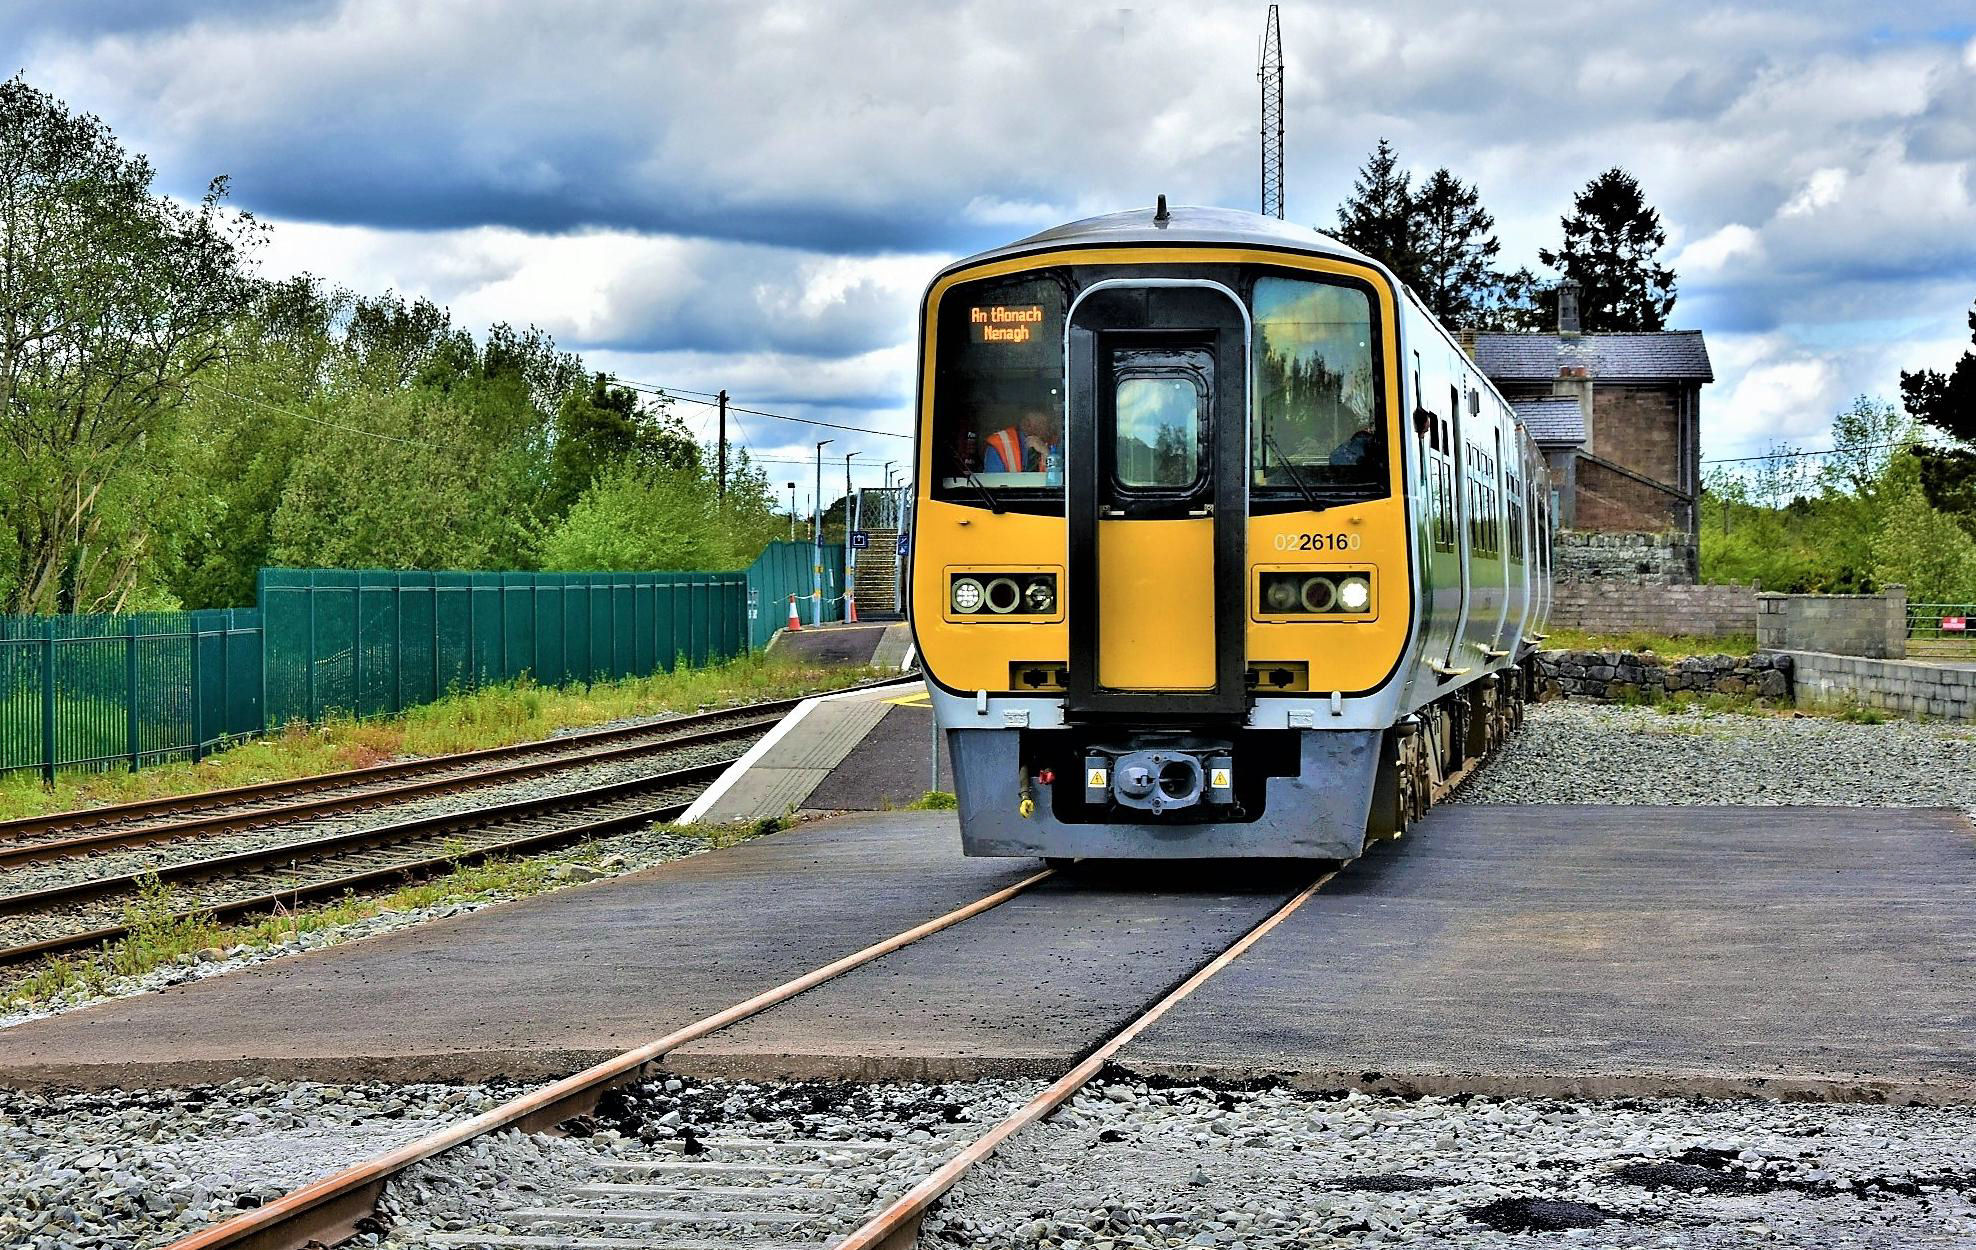
Banteer Siding (Up side) in the other direction, and no, for the record, we weren't going to Nenagh, Dun Laoghaire, Portlaoise or Westport!
[© Neil Dinnen 2019]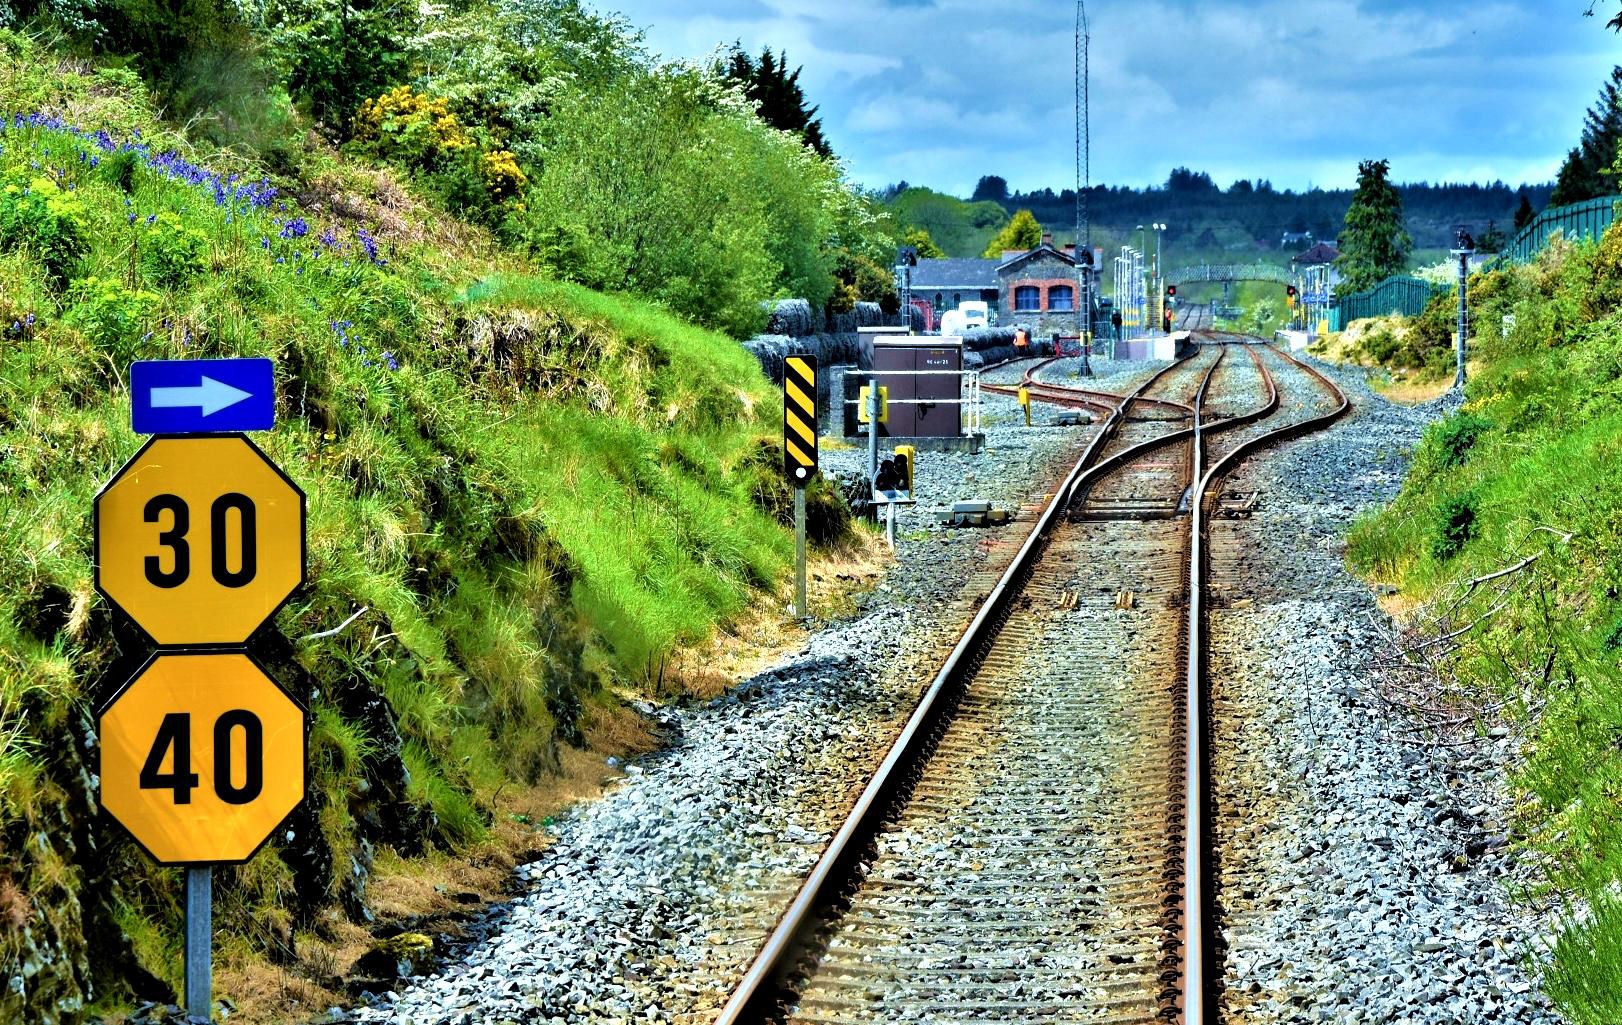
Not the Bluebell Railway but approaching Rathmore from the Mallow end with the route set for the Down Siding behind P1, to the left.
[© Neil Dinnen 2019]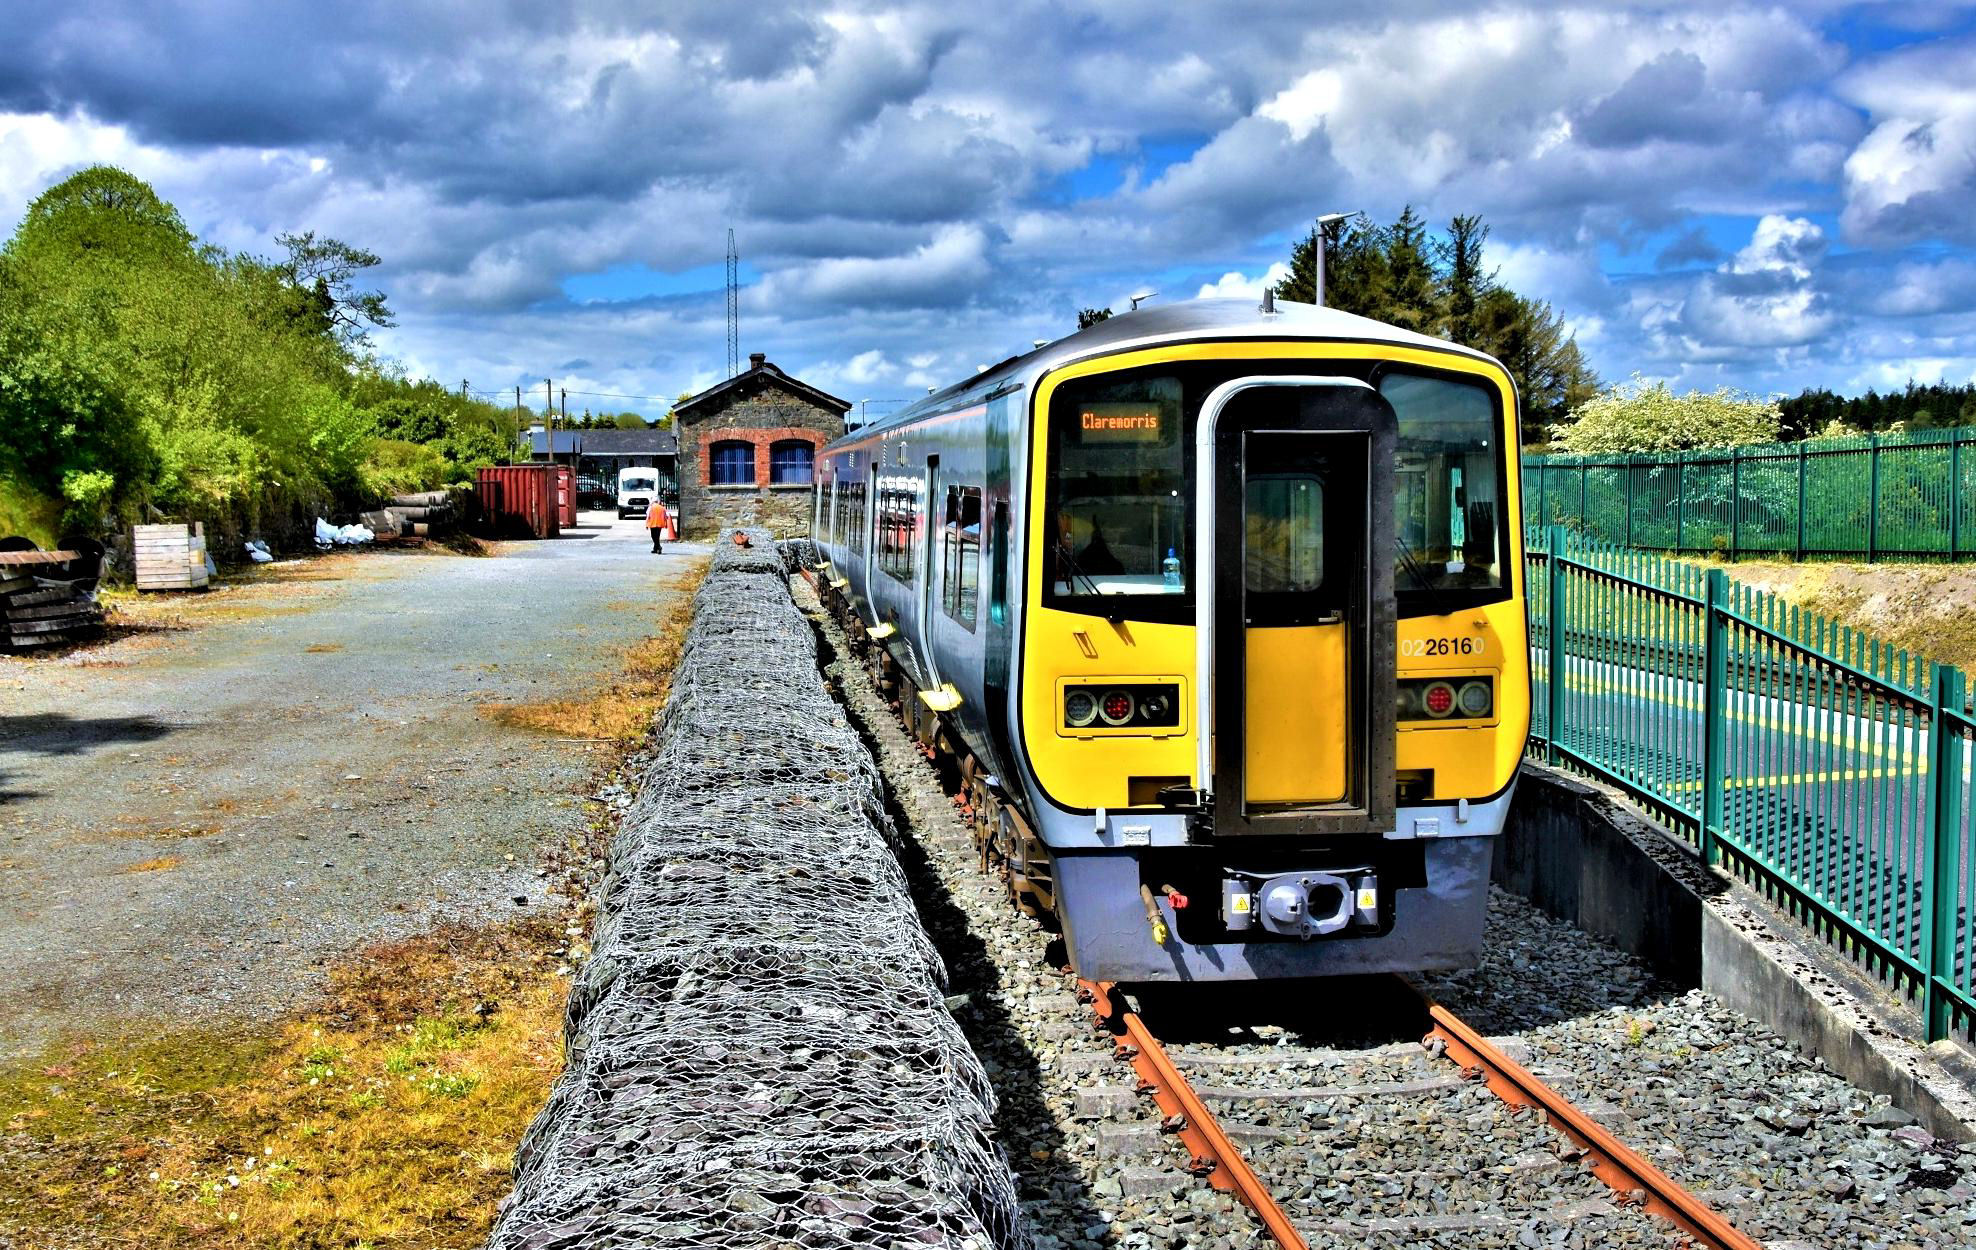
It's not going to Claremorris either; the Cork Stopper is now in Rathmore Down Siding behind P1
[© Neil Dinnen 2019]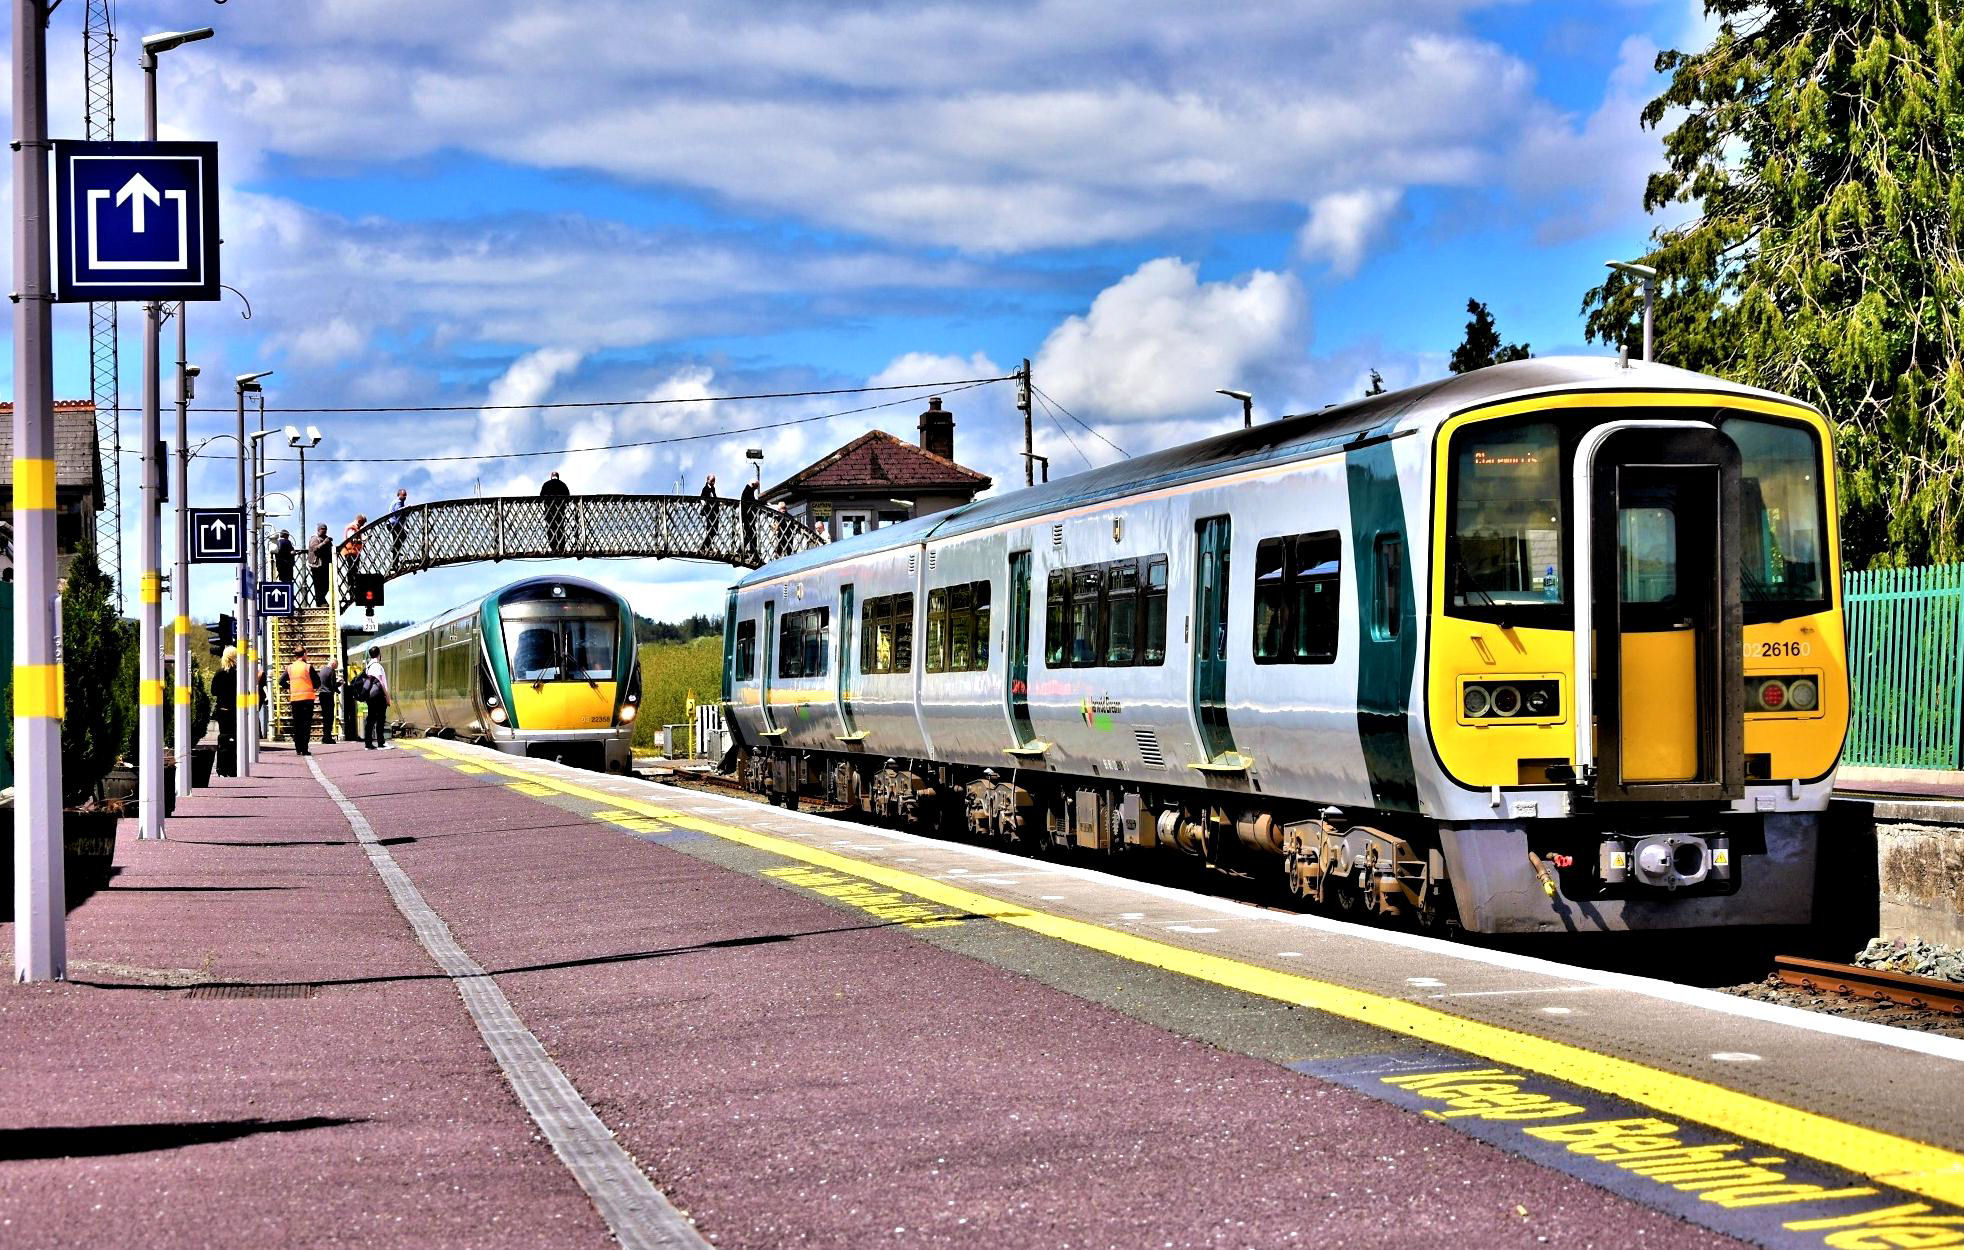
After a shunt across to the shorter Rathmore P2, our tour crossed the 11.50 Tralee to Dublin (a well filled 7 car unit).
[© Neil Dinnen 2019]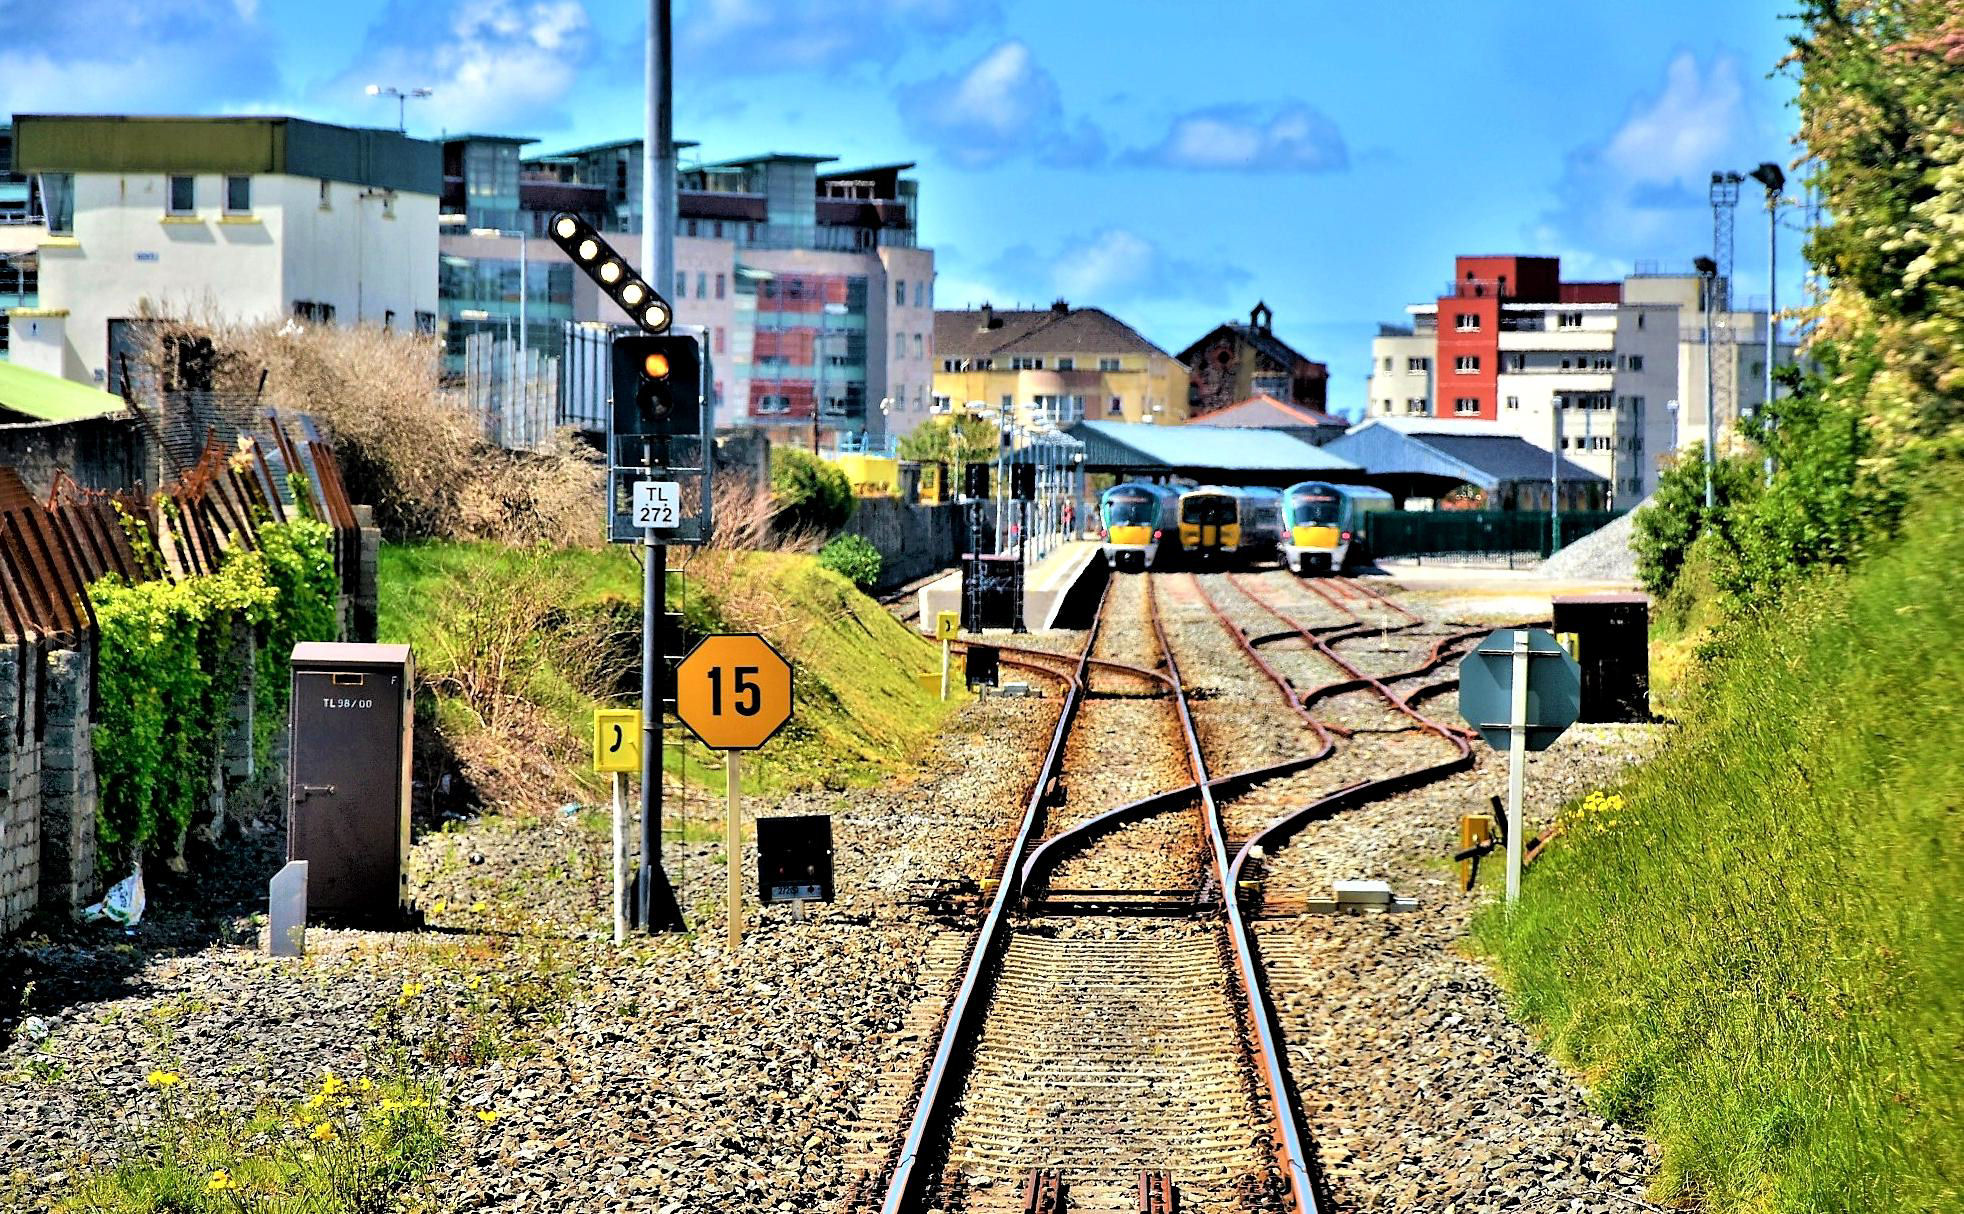
Approaching Tralee the route is set for bay P2 on the left; participants were surprised by the number train trains stabled here. Track is lifted beneath the overall roof ahead but used to continue another 8 miles to Fenit (last train 2 Jun 1978).
[© Neil Dinnen 2019]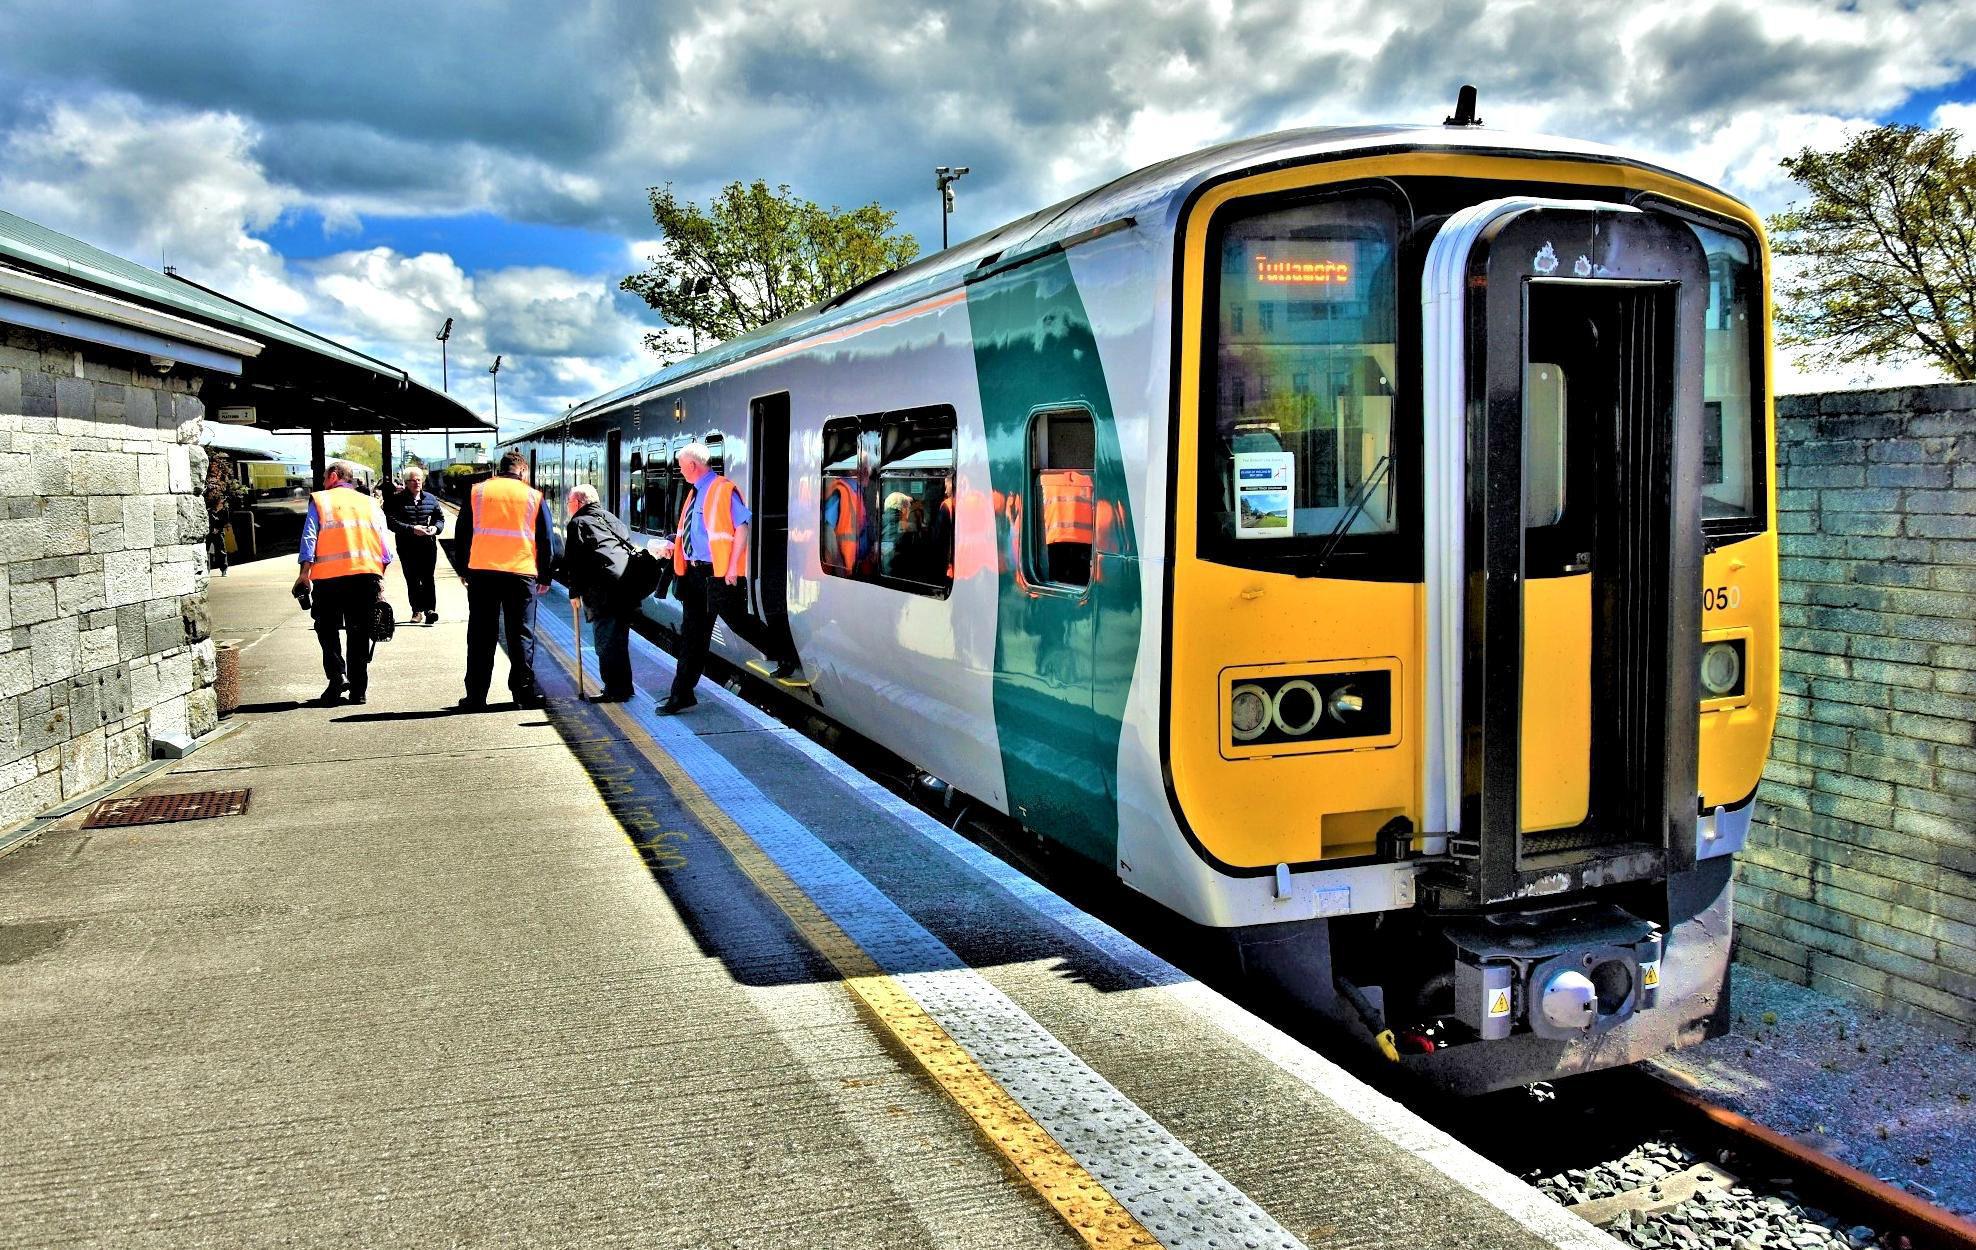
Tralee bay P2 showing Tullamore as the destination (Fenit would have been nice). Note the rust on the track at this extremity
[© Neil Dinnen 2019]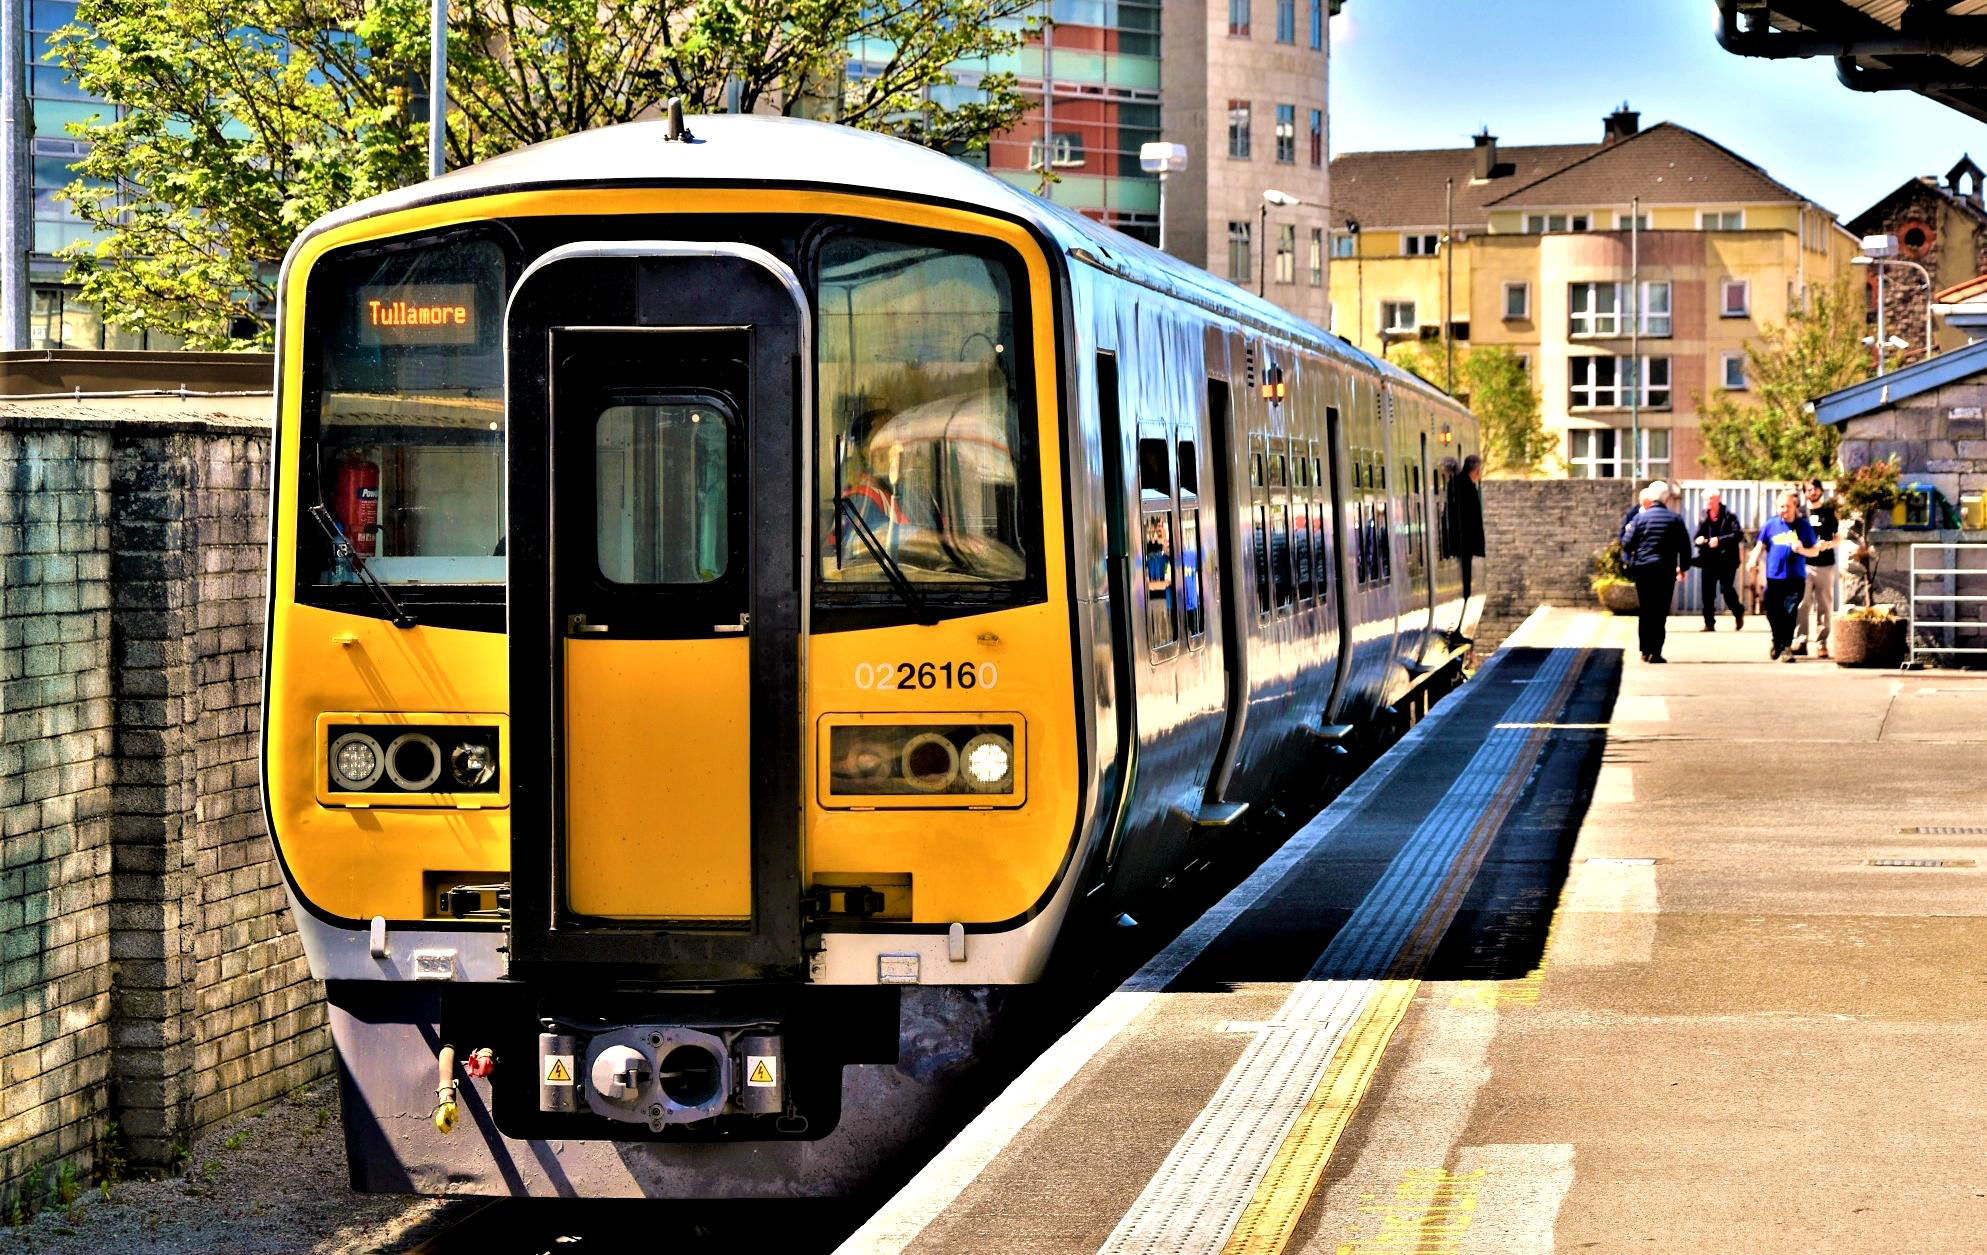
Reaching the parts others don't reach, trains don't normally venture this far down Tralee bay P2.
[© Neil Dinnen 2019]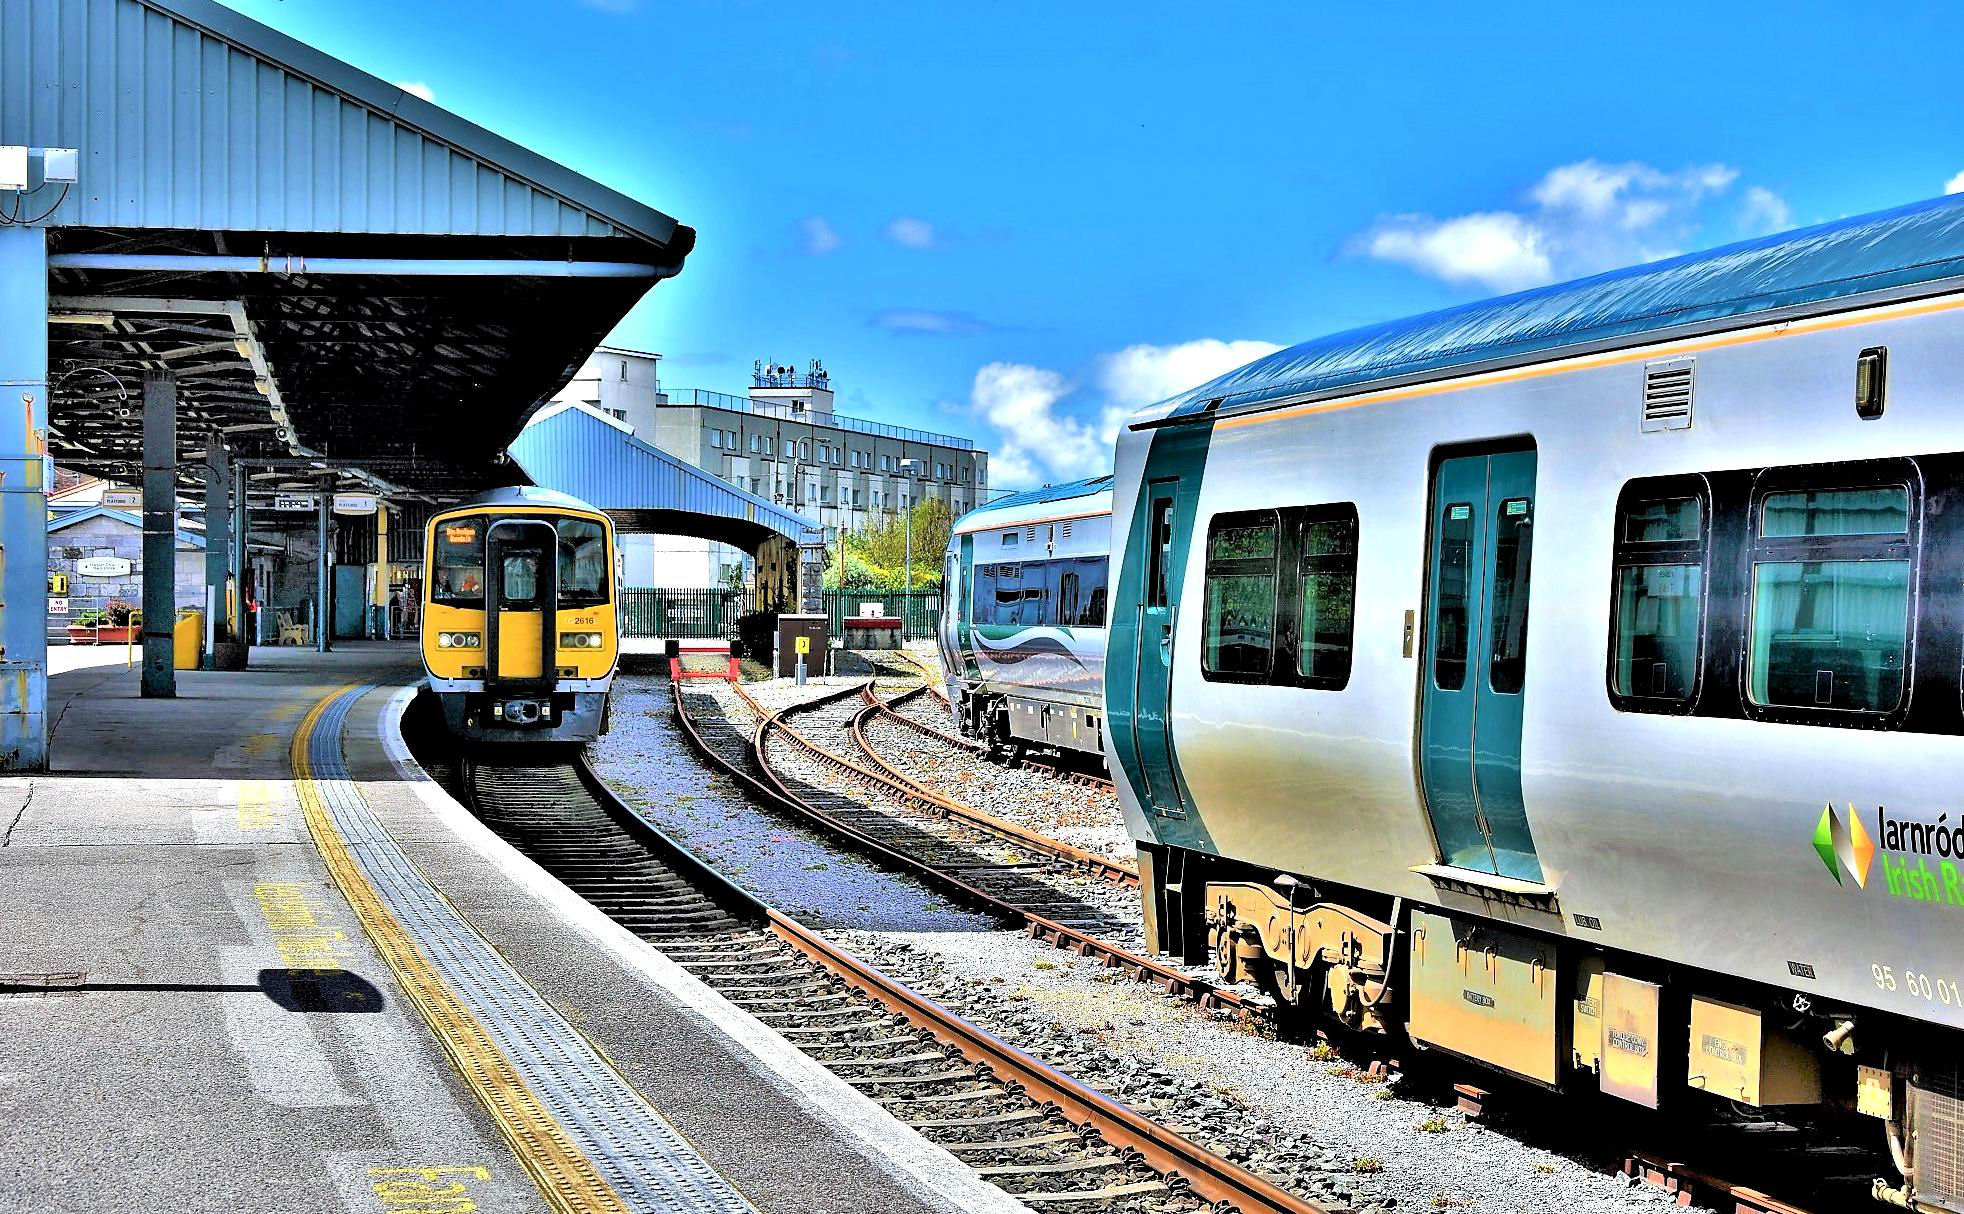
This is after a shunt to the main P1 end of line, the stop blocks on the left are before the overall roof. Bay P2 is off picture to the left. The 8 mile long Fenit branch used to continue straight ahead to the right here.
[© Neil Dinnen 2019]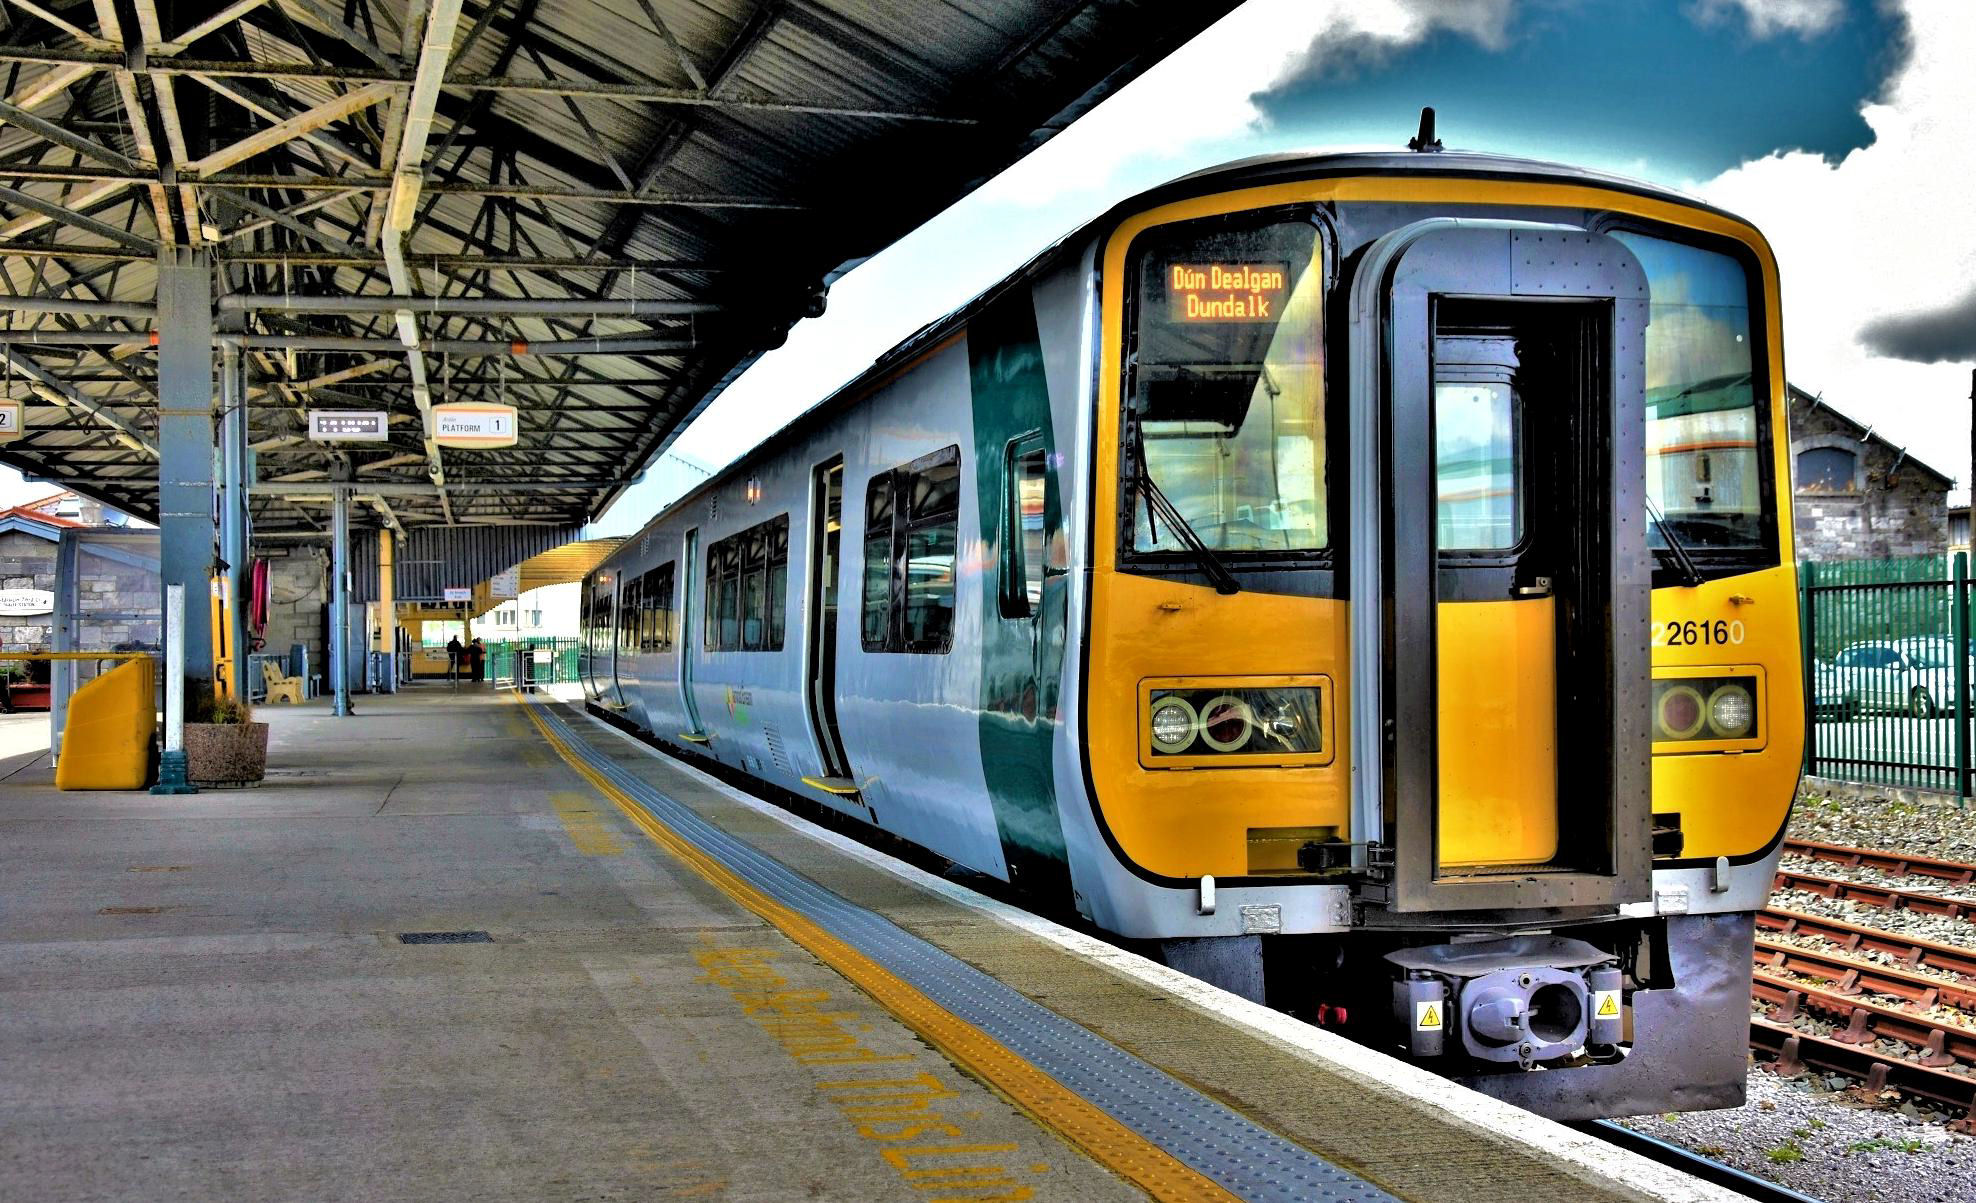
It's a long way to Dundalk from Tralee in a unit (your Editor confesses to not noticing the many destination changes on the day.) Tralee P1, a scene somewhat reminiscent of Minehead.
[© Neil Dinnen 2019]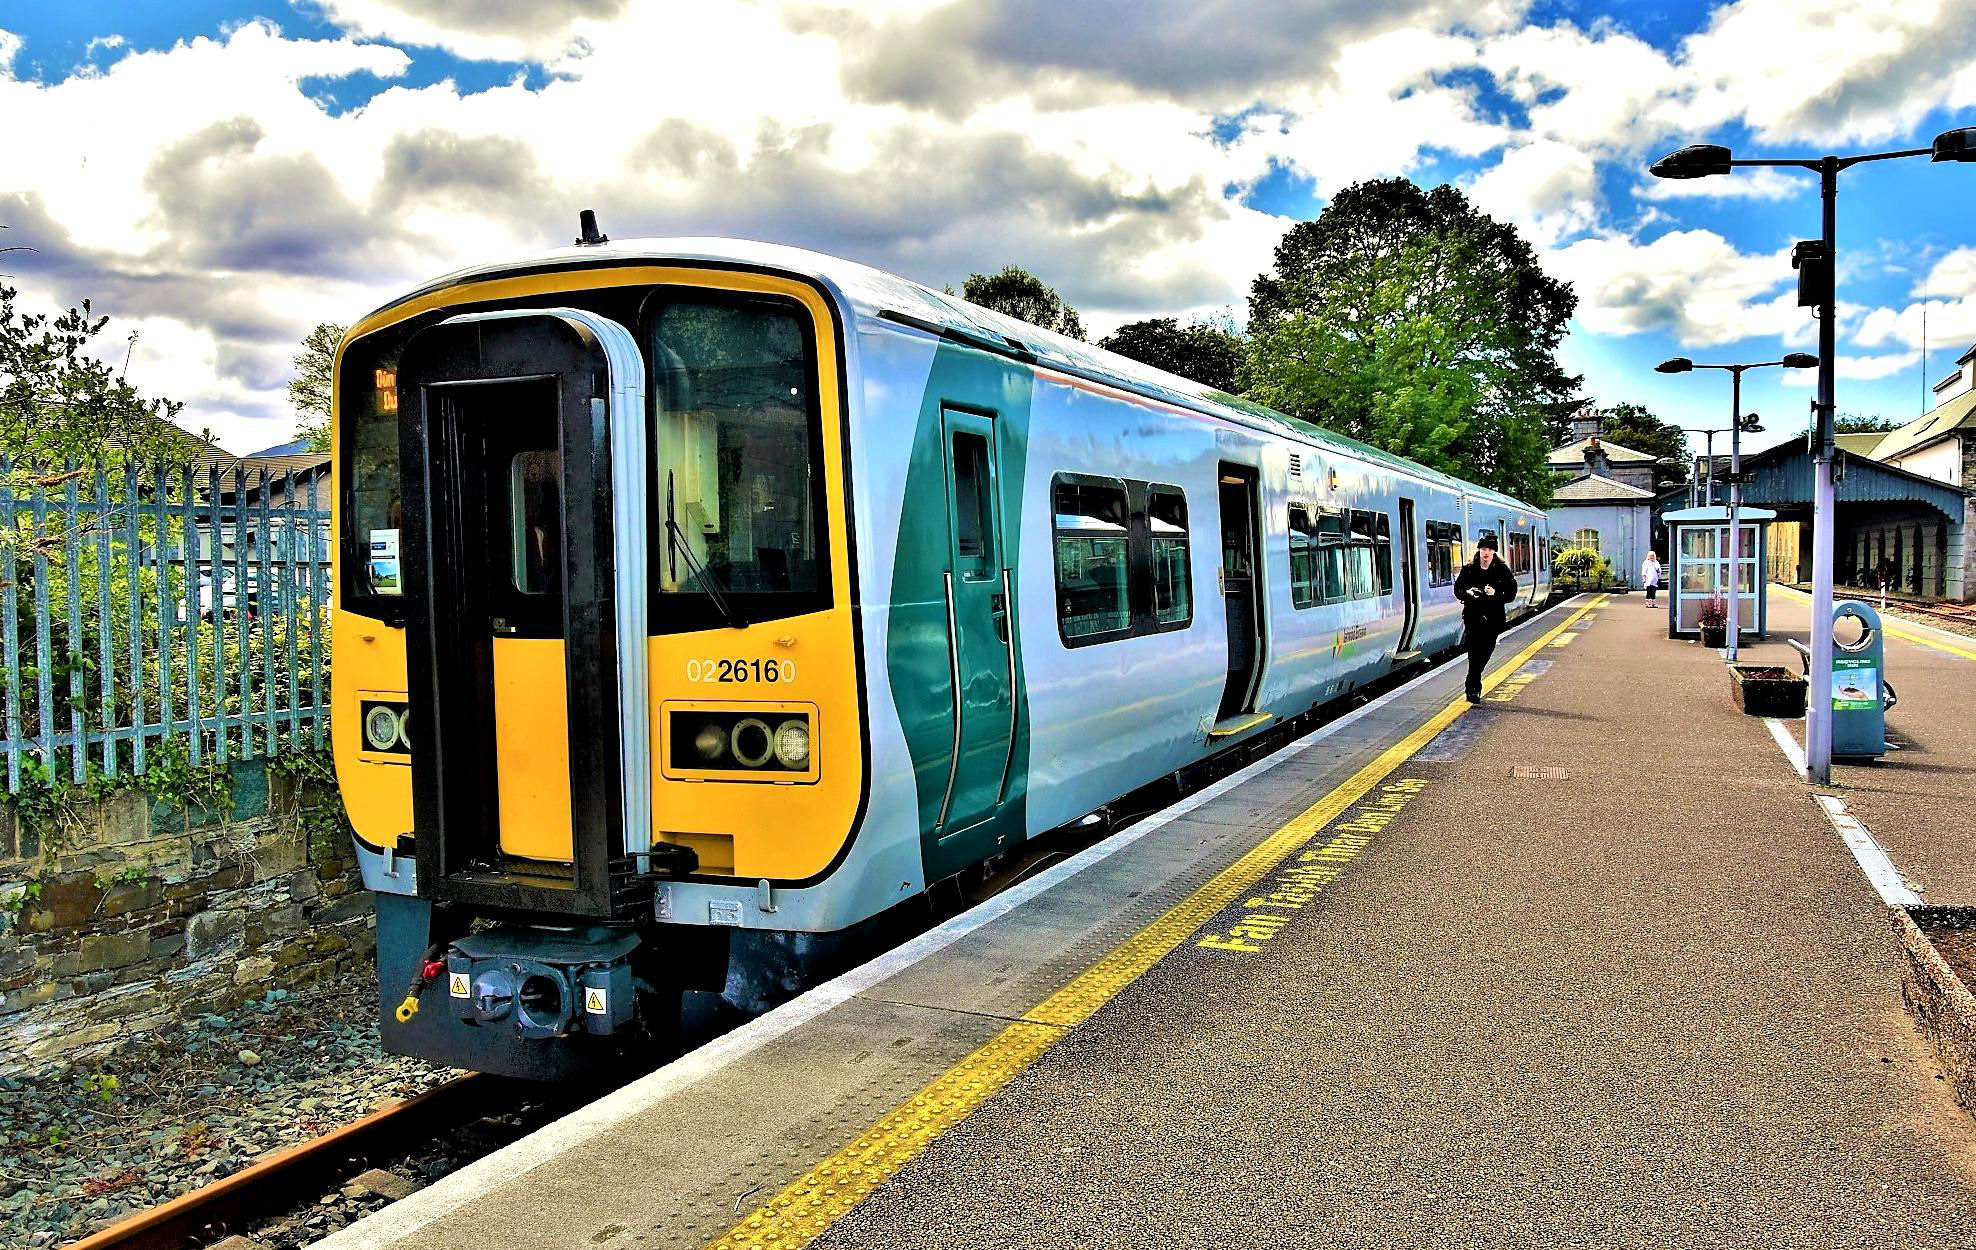
Another rusty track extremity done, Kilarney bay P2. Main P1 is to the right with the end of line and overall roof ahead.
[© Neil Dinnen 2019]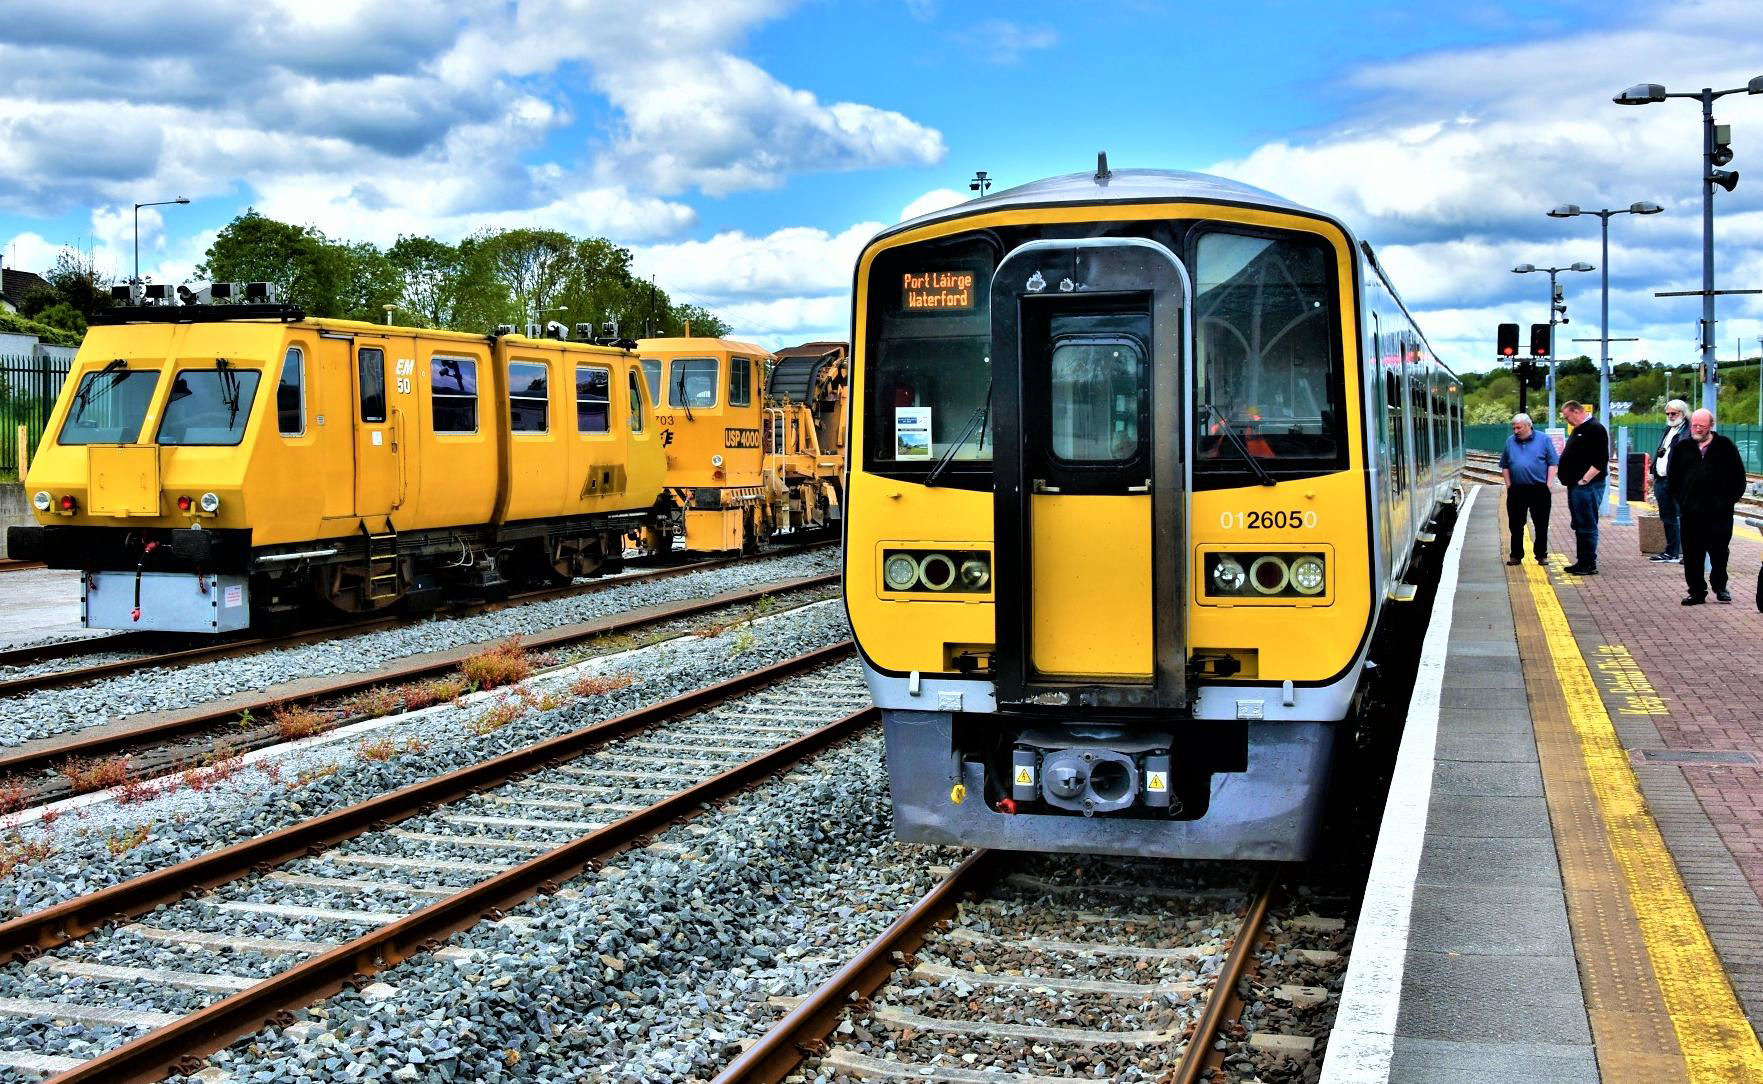
At the north (Dublin) end of Mallow P1, although with the destination showing 'Waterford' it really should have been on the opposite side of the line in the Fermoy Bay for a run to Waterford via Fermoy, Ballinacourty and Kilmeadan (closed in 1967).
[© Neil Dinnen 2019]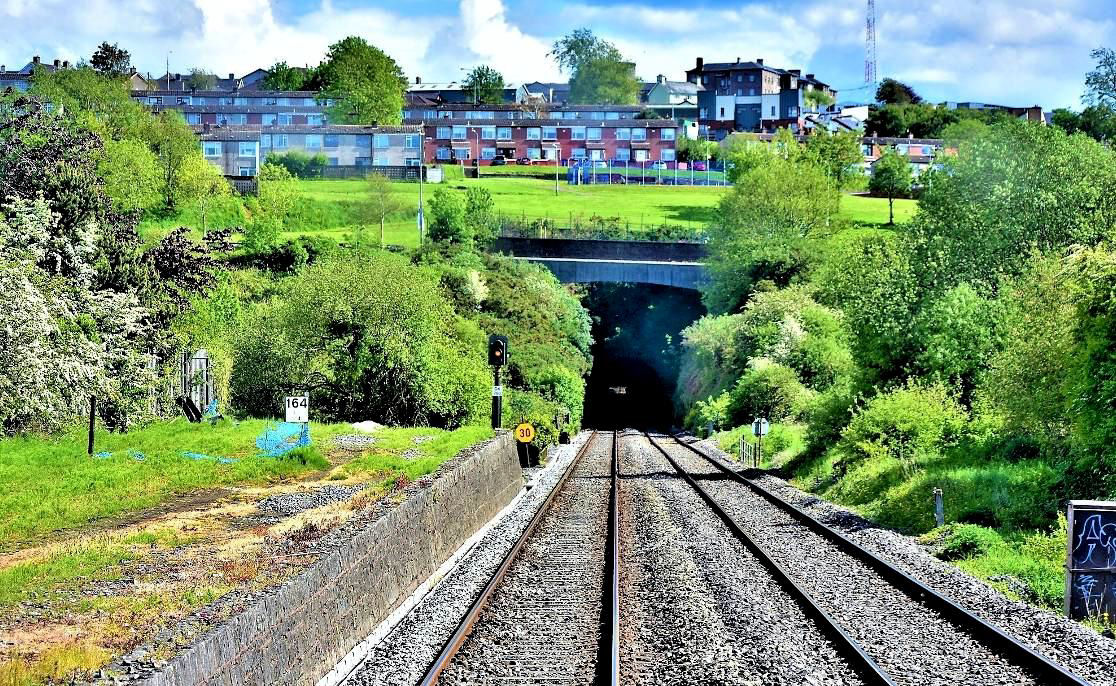
pproaching the northern portal of the 1,355yd Cork Tunnel with light at the end of the tunnel. Were there sidings on the left once?
[© Neil Dinnen 2019]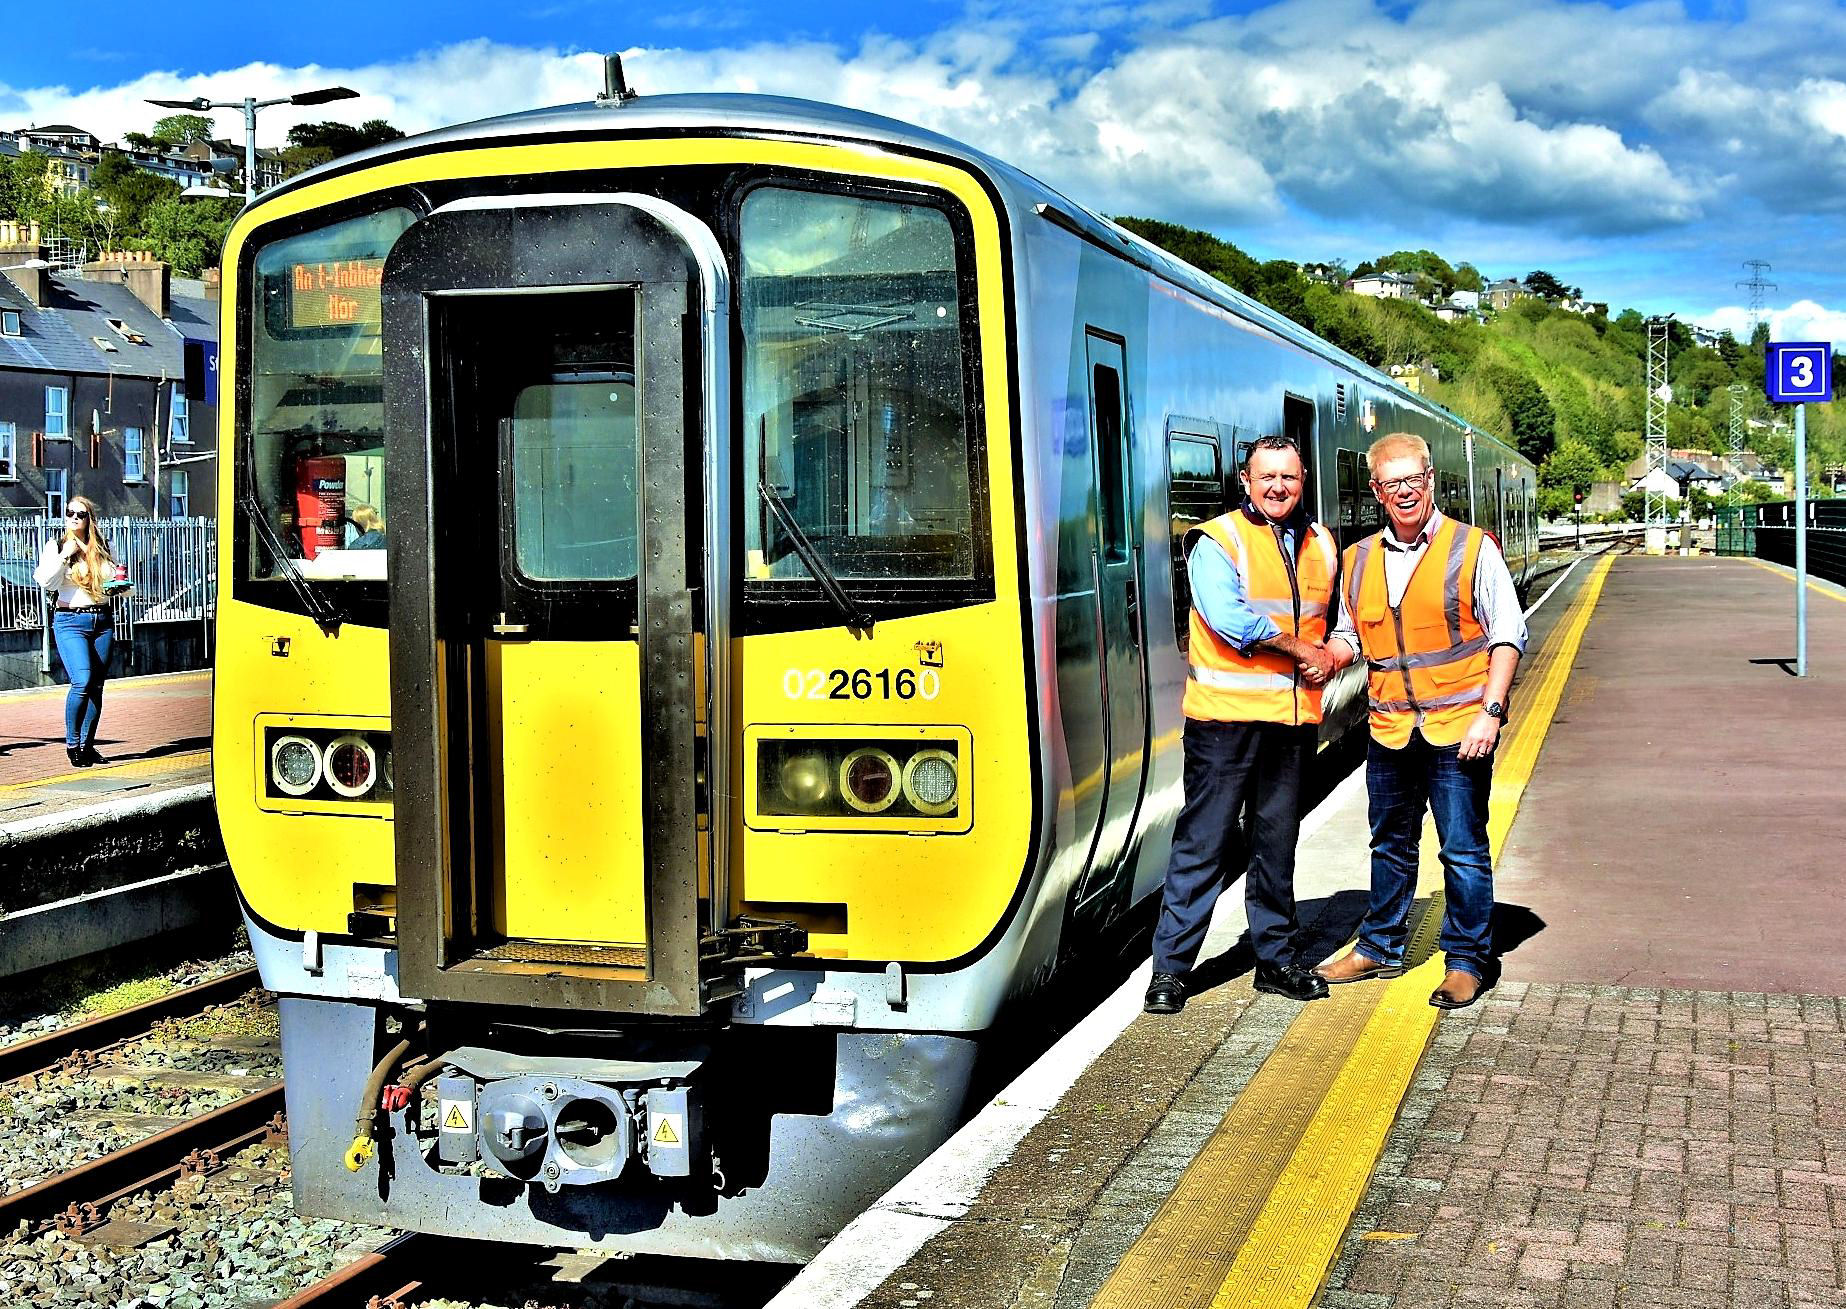
Our driver Ken Fox with Kev Adlam back at at Cork P3 after a brilliant (including the sunshine), very enjoyable, 204 mile railtour.
[© Neil Dinnen 2019]