Our full party of 12 members met at Perth station, and after a minor fight with the Pay & Display machine at the car park, were met by our host, Alison Bodie, Local Operations Manager (Network Rail). Our tour began with the training centre at Perth station. Here, the party split into two groups of six to each visit both the Mechanical Box Simulator and the Power Box Simulator.
The Mechanical Box, 'Hornby Junction Crossing', is a 15 lever frame not representing any particular pre or post grouping frame design. Built specially for the training centre, point and signal 'feel' are simulated by adjustable springs and dampers, the entire mechanism being above floor level. The simulator represents a double track junction with a station and level crossing. The three adjacent block posts, Gatestown and Wetherall on the main and Stopham on the branch are all communicated with via simulated British Railways (BR) standard block instruments. All three instruments communicate to a 'bulk instrument' on the instructor's desk behind. The power box simulator is a traditional NX (Entrance-exit) type Panel, again of a fictitious location (name not recorded) depicting a station with through roads, a bay platform and a junction. Other features include a CCTV controlled level crossing, ground frame (released by the panel), goods loop etc. Both simulators are controlled by a computer where the instructor can not only simulate the interfacing locations, but also simulate various faults.
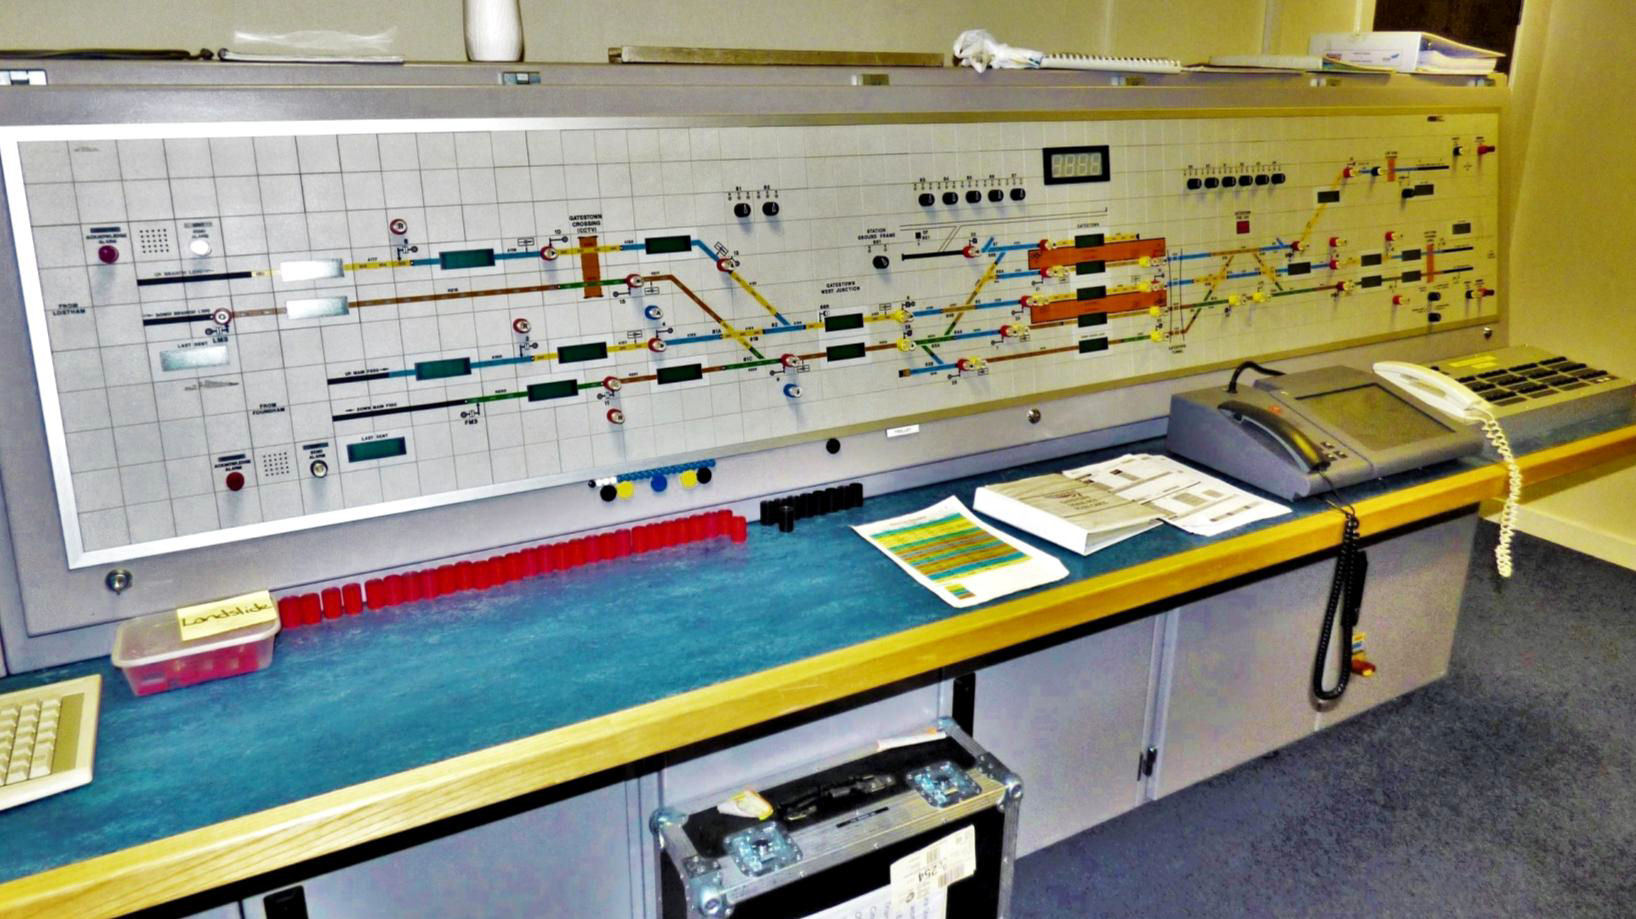
Perth station signalling school training Power Signal Box type panel.
[© Nick Jones 2018]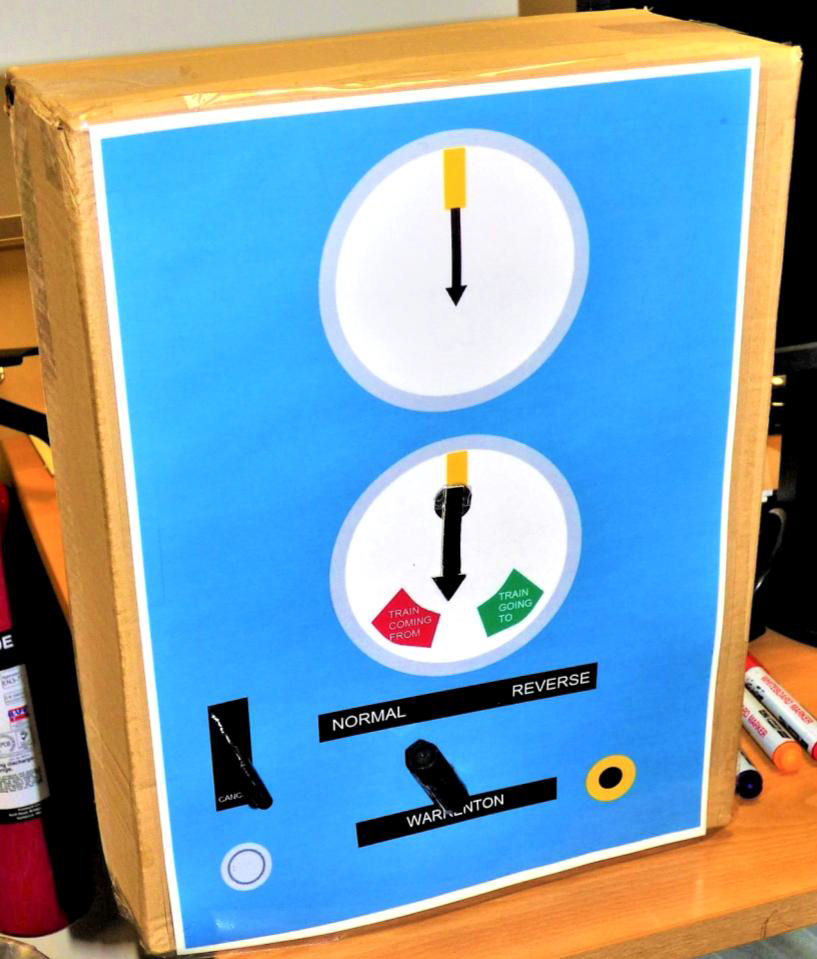
A block instrument made of cardboard and paper (!) also at Perth station Signalling School (now there's an idea to reduce signalling costs…)
[© Nick Jones 2018]We then drove to
Hilton Junction, an 1873 Caledonian Railway original box in the 'V' of the junction for the Ladybank line. Due to its small size we split into three groups of four to visit. It works Absolute Block to Perth, using a real BR standard Block Instrument and Track Circuit Block to both Auchterarder Signal Box and Edinburgh Signalling Centre. This was a personal achievement; after attempting to take a decent picture of the box for decades. I felt that traipsing through the farmyard to get said shot was not likely to gain me any friendships with the local farmer/s, so didn't. After acquiring a 200mm lens and teleconverter for my film Single Lens Reflex back in 1994 (as commented on by a few members of the party this weekend!), numerous other attempts to navigate through the dense undergrowth above Moncrieffe Tunnel proved fruitless due to the gorse and other 'hostile' shrubbery... but I digress!
The signaller on duty was very hospitable, and as well as explaining (three times!) how various operations in the box were performed and, for those who had previously visited, the modifications, including the refurbished kitchen! The ⅔ of the party not in the box passed the time photographing passing trains and investigating the relay room. The main item of interest in the relay room, various vaguely modern generations of signalling electrical and electronic kit aside, was the signalling engineering drawing of the Auchterarder to Perth (home signal) line. Dated 2009, and rubber stamped 'for information only' in several places. This drawing indicated both kickback sidings at Auchterarder as extant. The writer can confirm both are disconnected (now there is just a trailing crossover left).
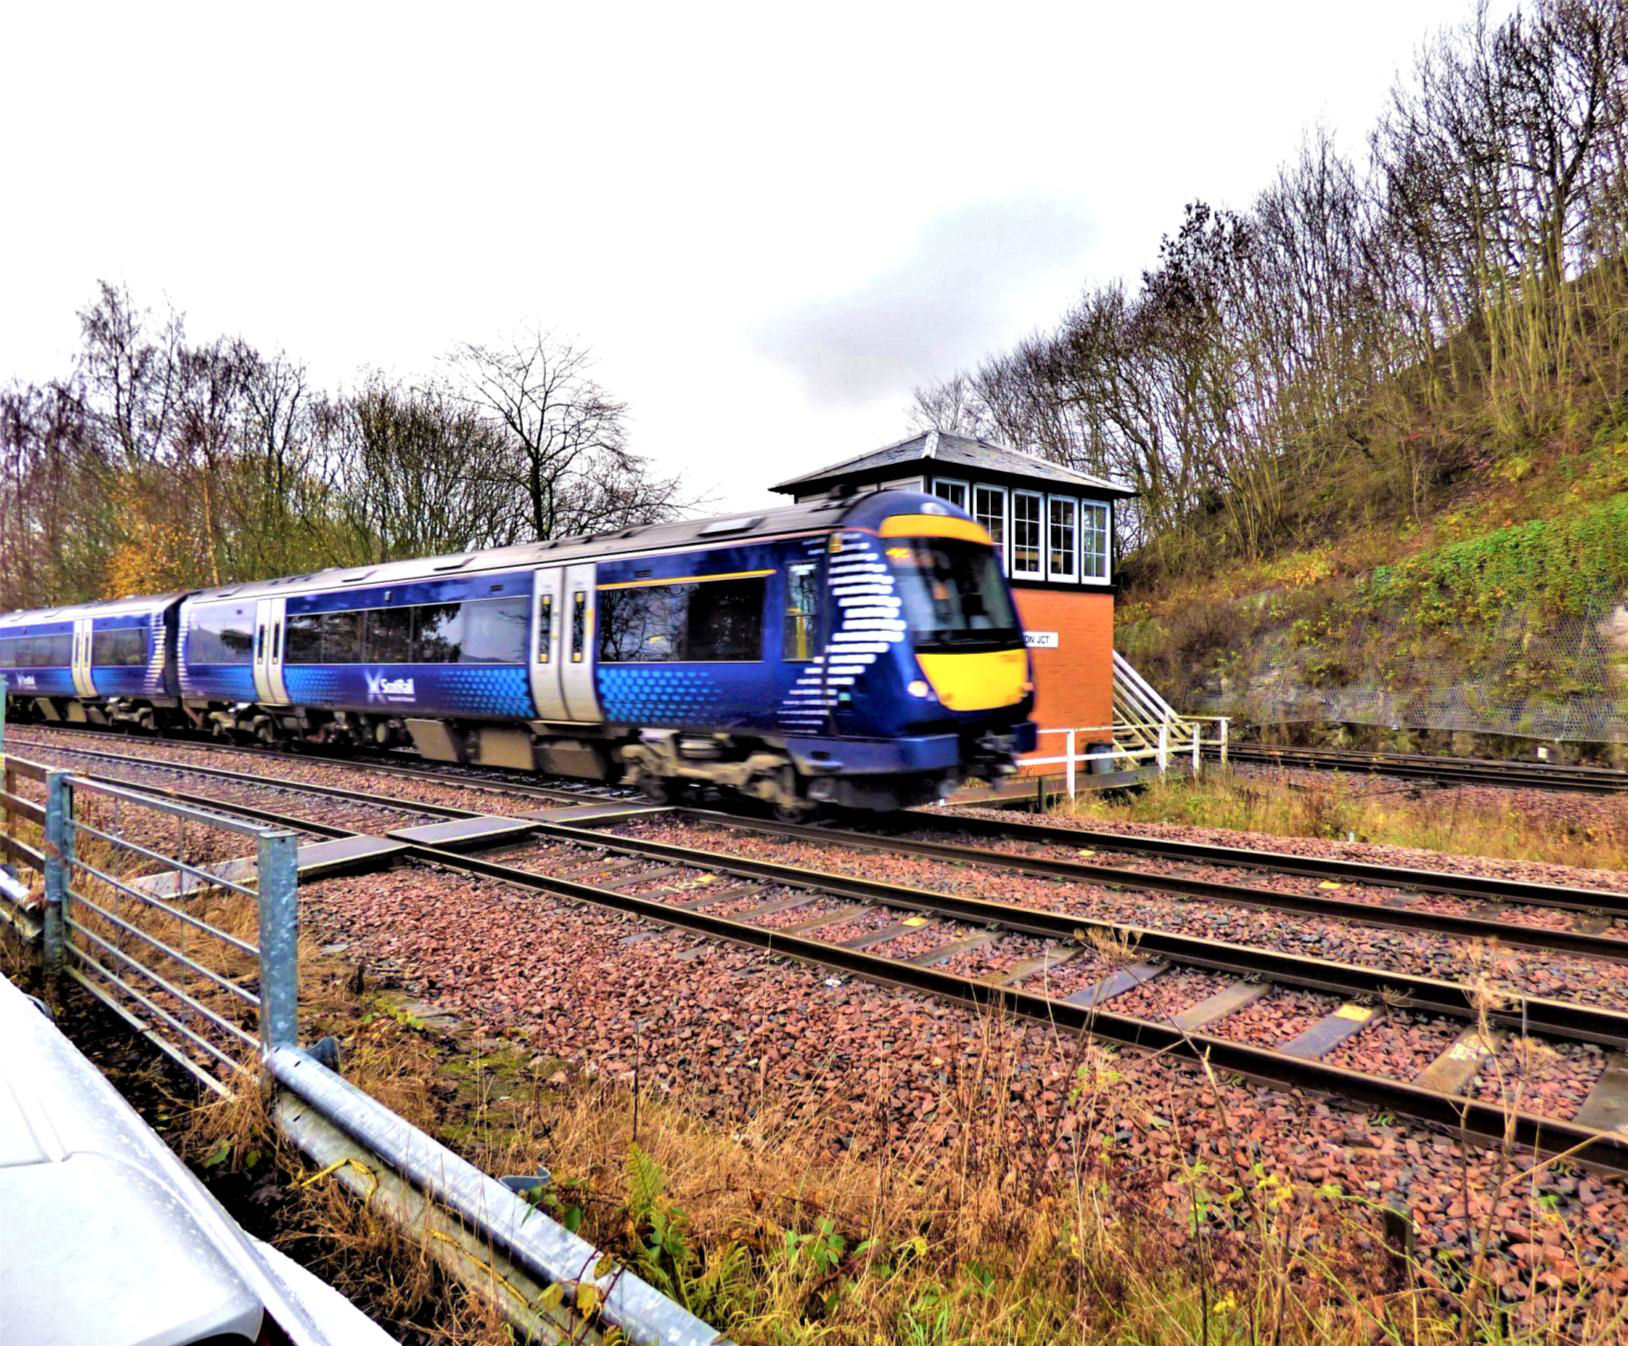
A train from Edinburgh passes the difficult to access/photo Hilton Junction Signal Box heading towards Perth station.
[© Nick Jones 2018]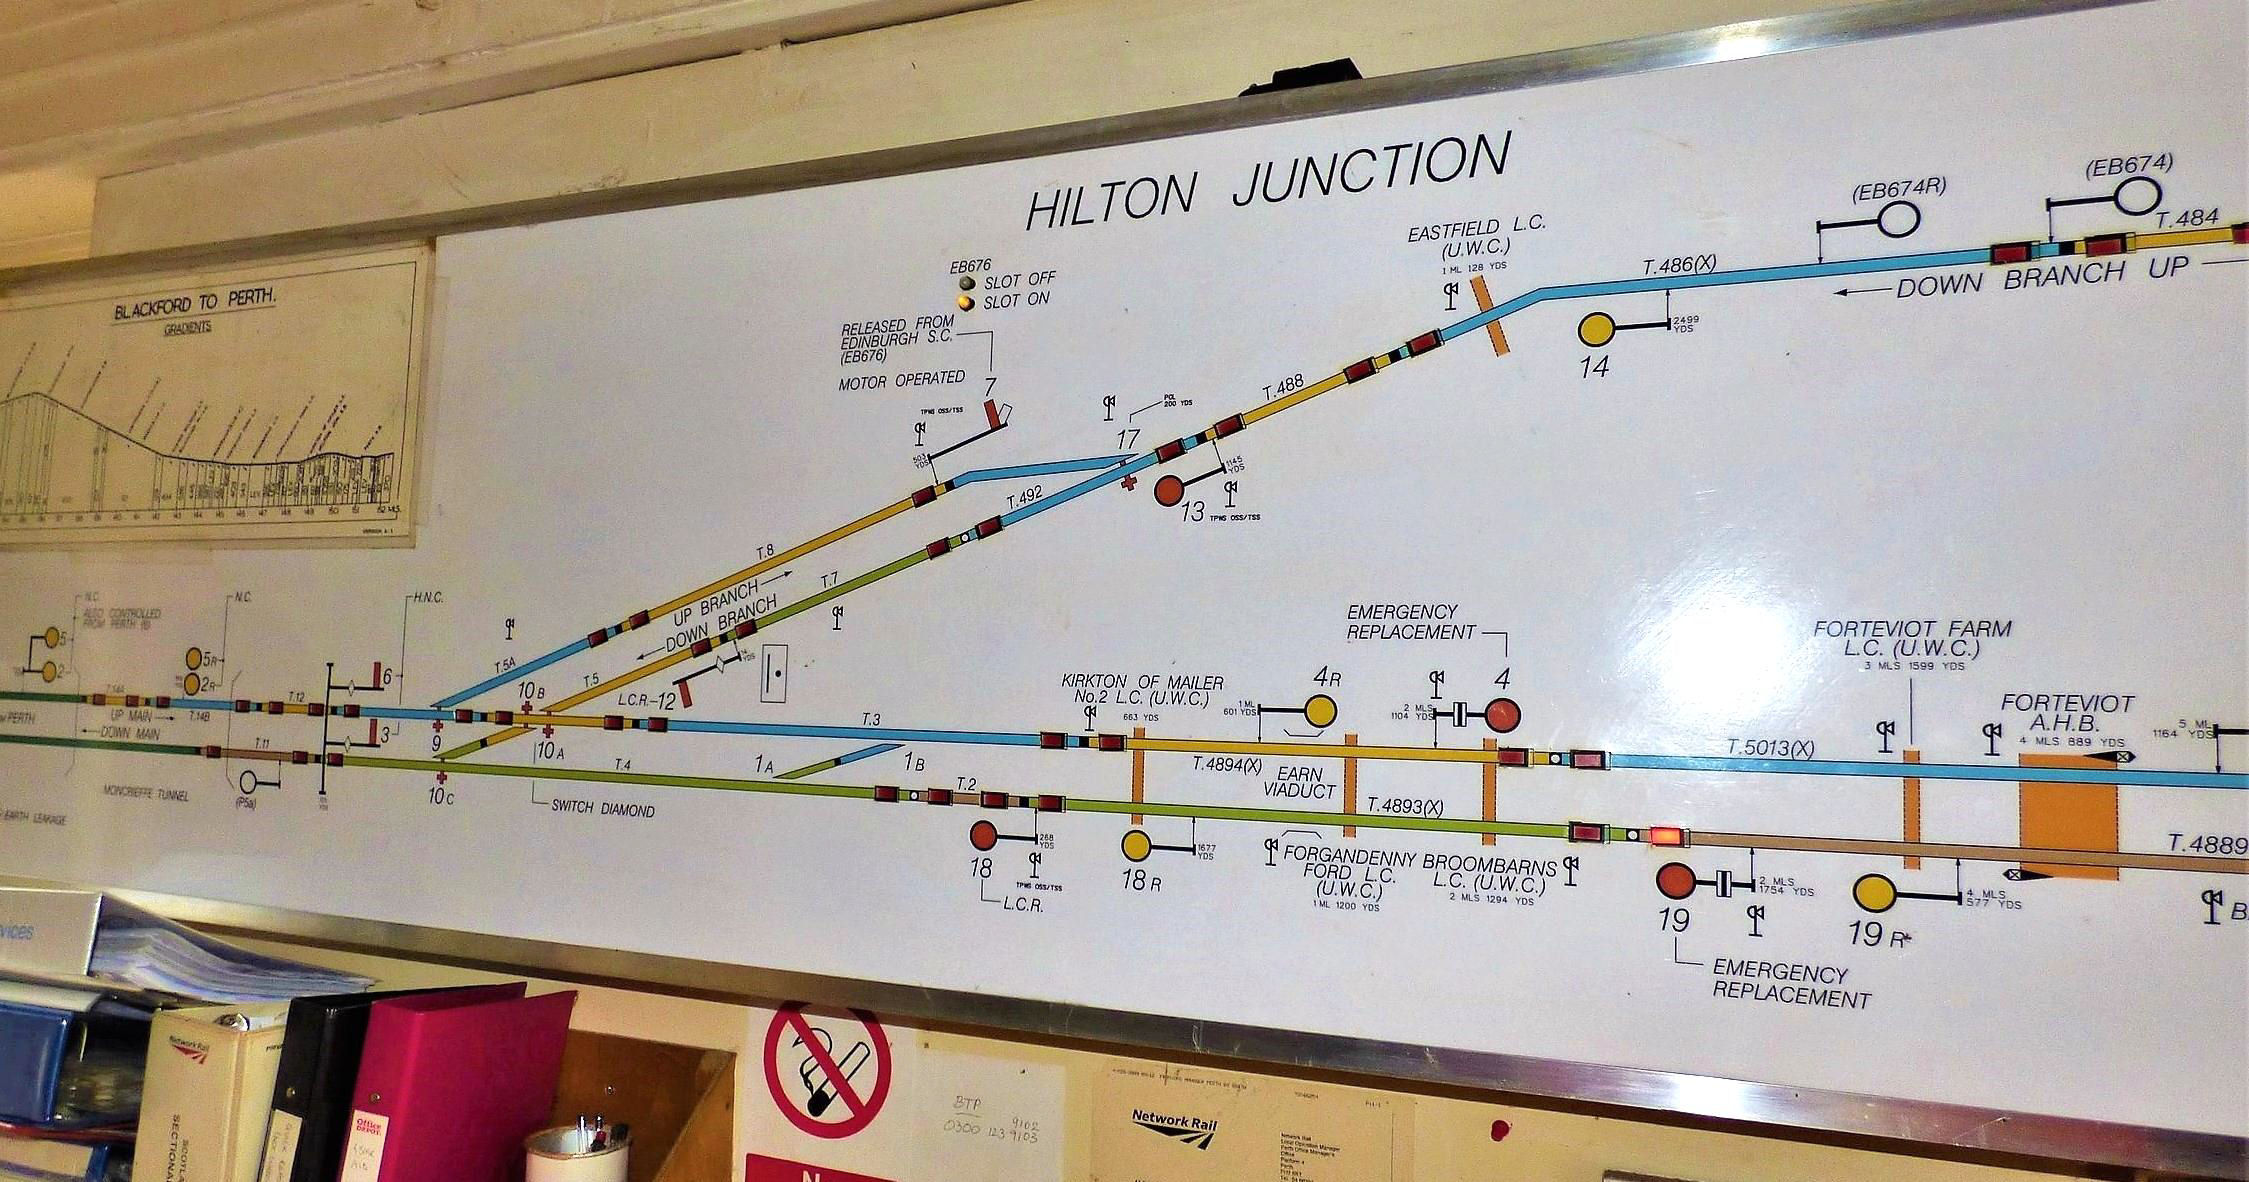
Hilton Junction signal box panel.
[© Nick Jones 2018]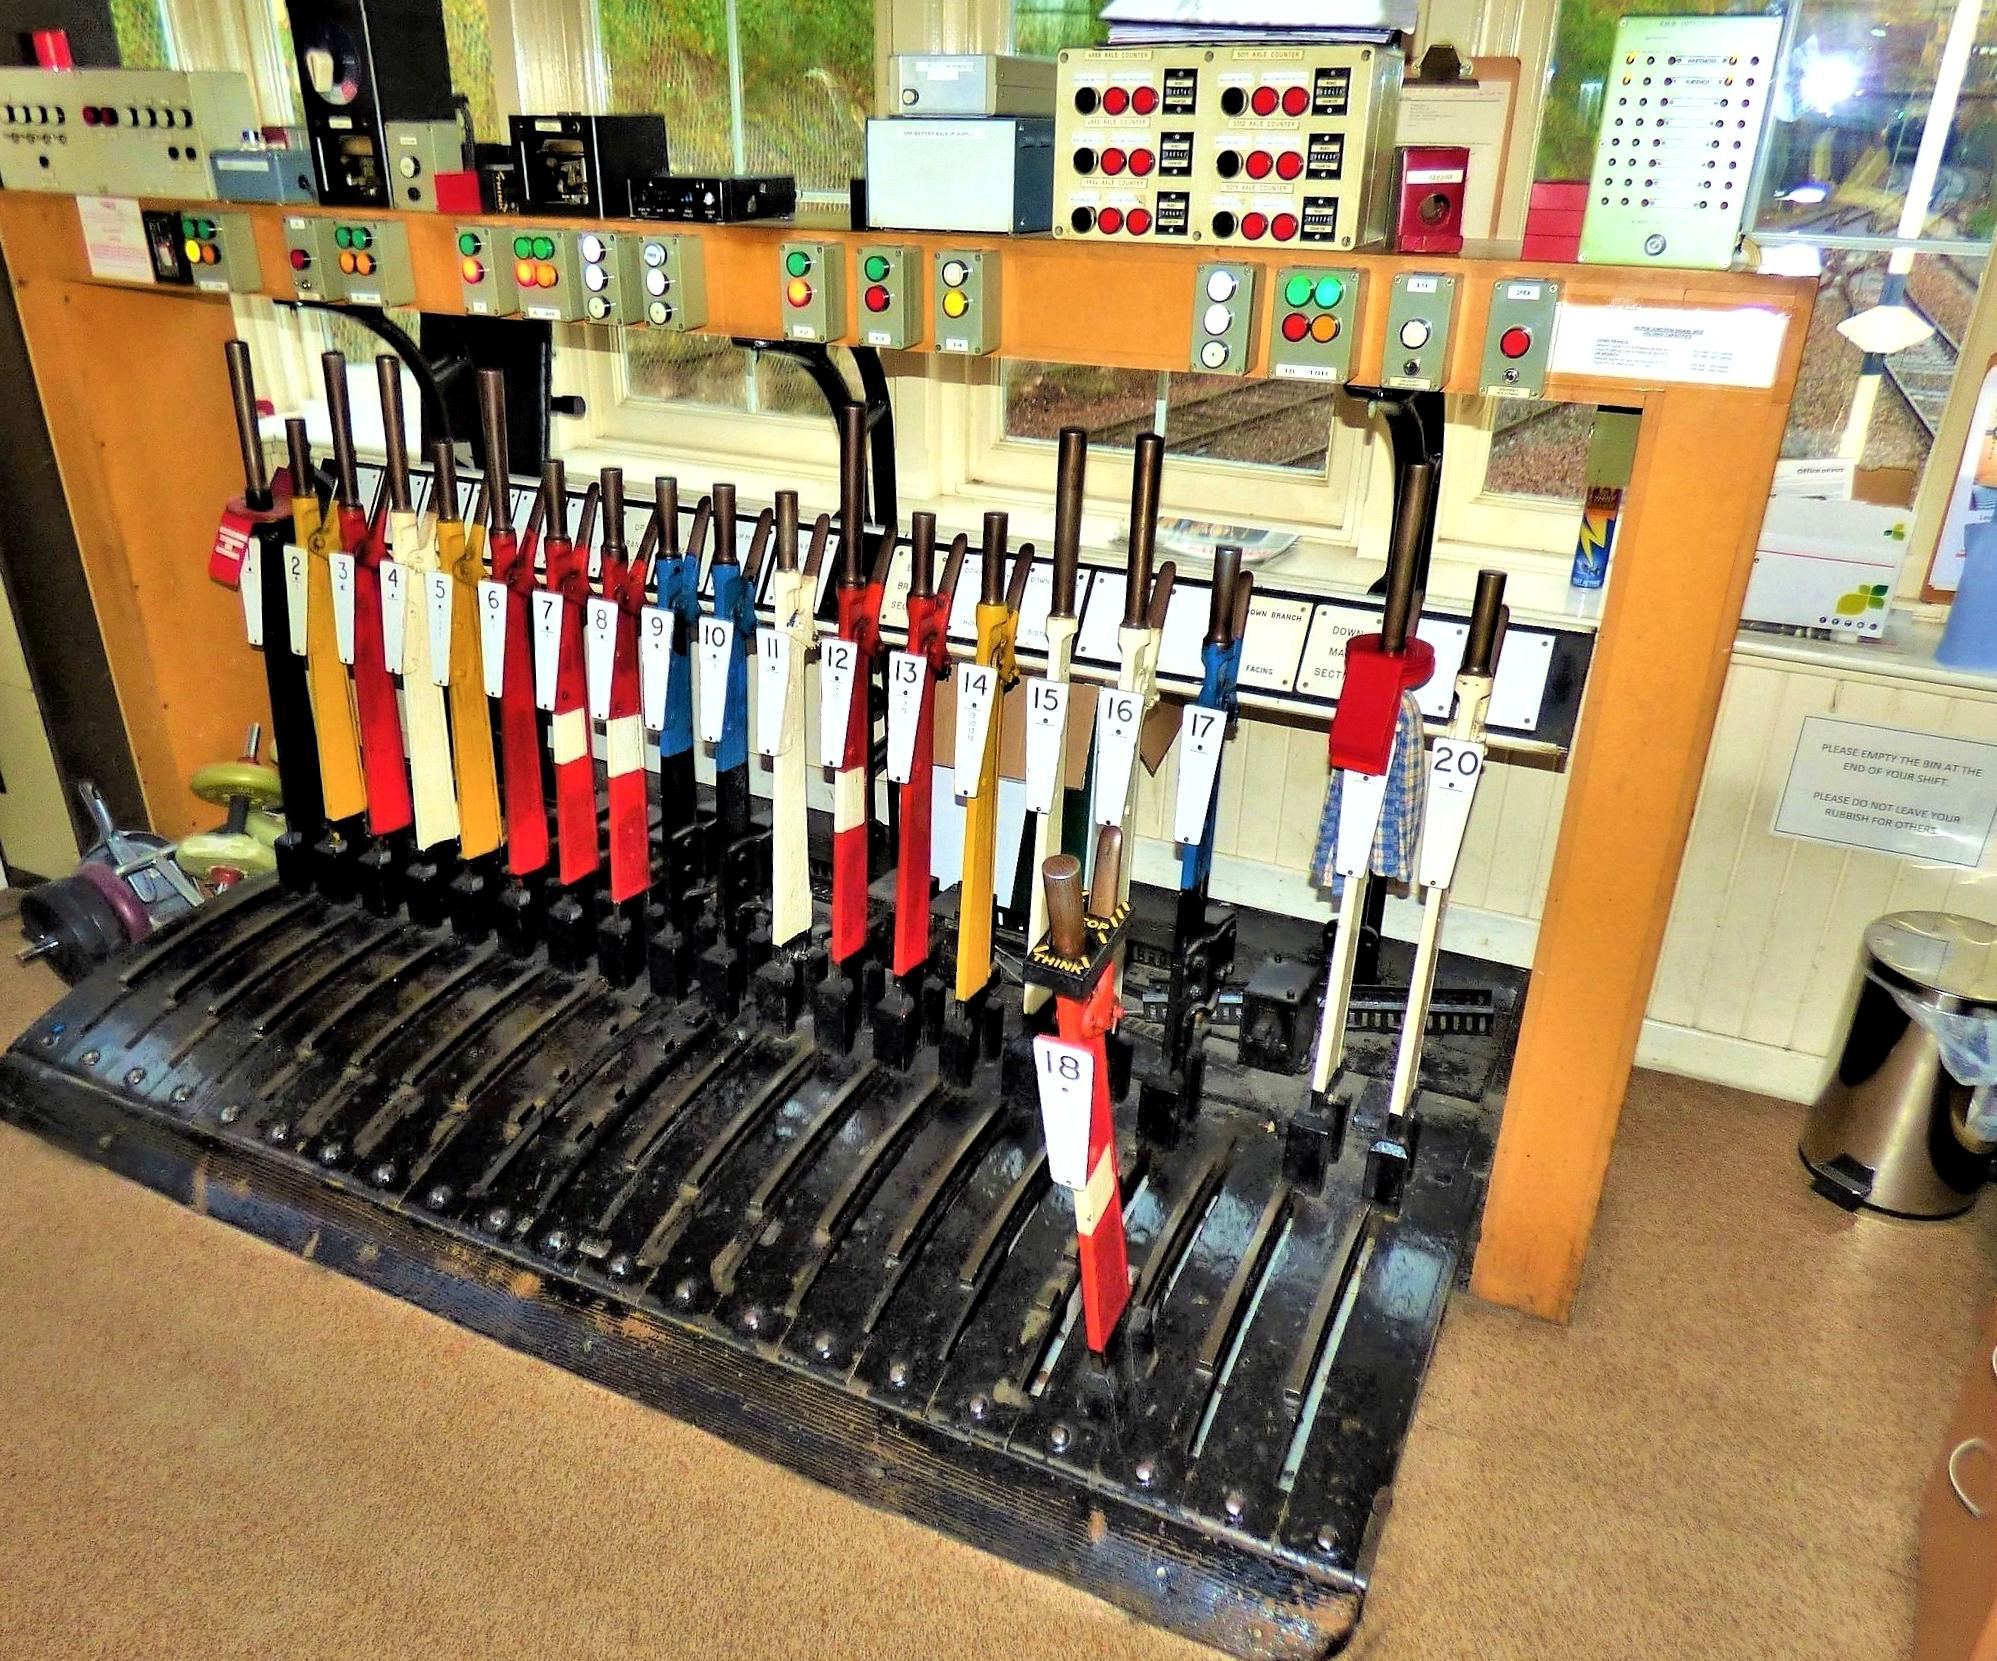
Inside Hilton Junction Signal Box; the actual junction itself can be seen top right.
[© Nick Jones 2018]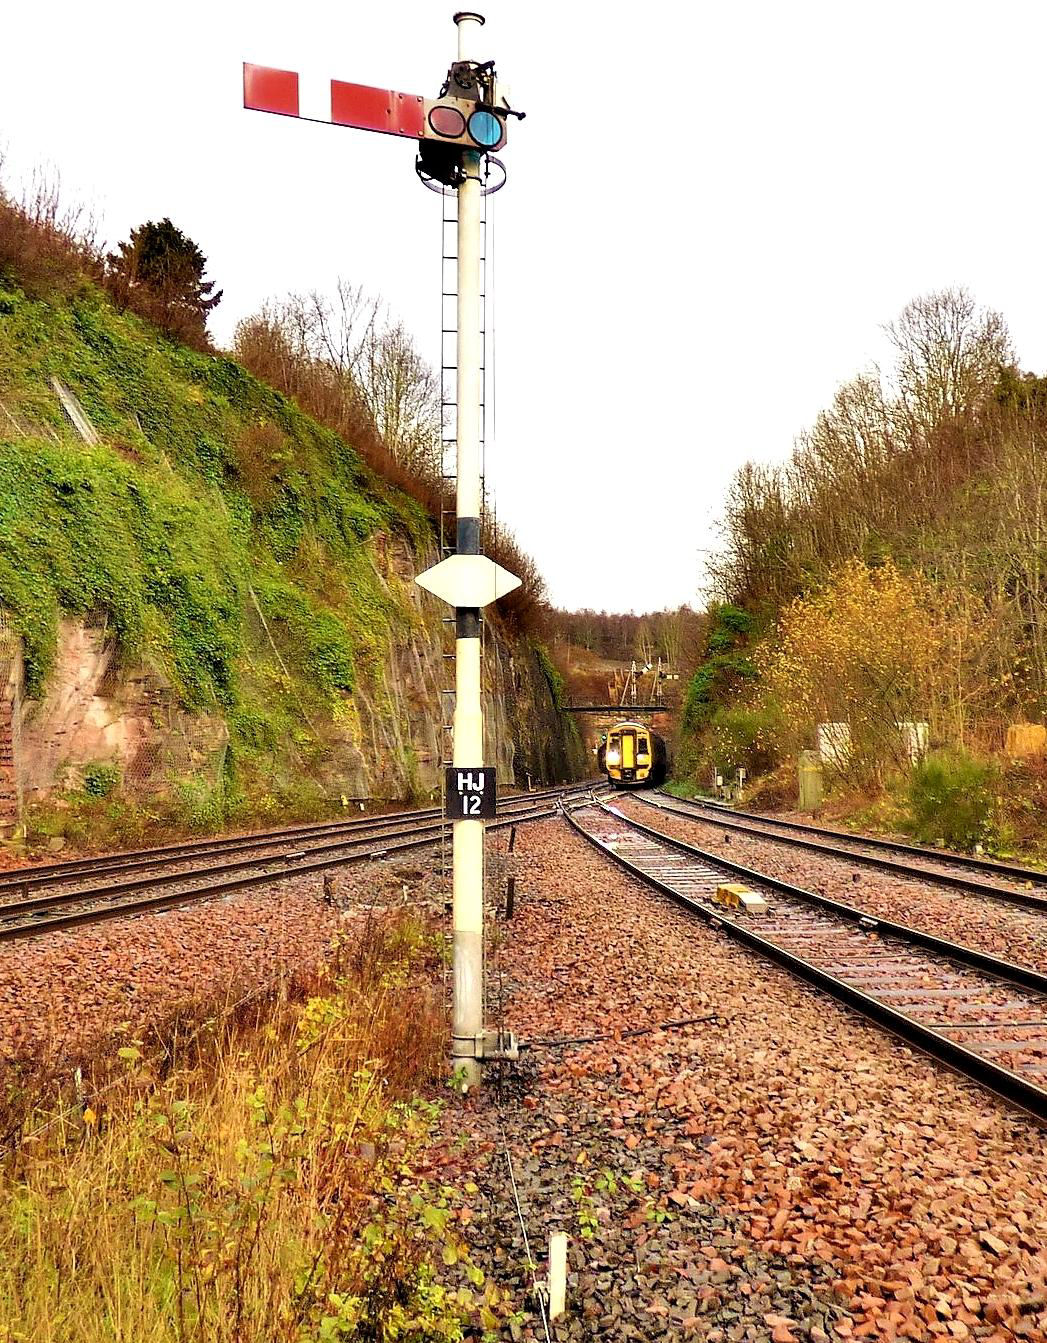
A most unusual view of Hilton Jn, note the switch diamond; Moncrieffe Tunnel is ahead to Perth, left is the Stirling line (which the train will take) and right is the Ladybank line for Edinburgh.
[© Nick Jones 2018]Our party returned to
Perth to visit the Power Signal Box following a shift change. The box is a 1961 build, commissioned in 1962. After climbing a late 1950s style staircase, reminiscent of the one in my High School, we entered the control room and were met by the back panels of a Westinghouse/SGE (Siemens General Electric) Turn-Push NX panel. A brand new replacement panel was installed by Unipart Rail in 2013 and there is now a 3x3 plastic trunking partly obscuring the maker's plates!
The signaller, although busy dealing with a major junction, station and two incidents in the wider area, was again helpful and friendly.
http://bit.ly/2WlZsG0 is a 1963 photo and
http://bit.ly/2MBWcXh is from 2001. The 'duplicate diagram' above the panel used to house miniature cathode ray tube 'train describers' but they have been out of action for many years and it has been obscured with black tape.
Perth is one of the few remaining places on the network to retain points driven by compressed air. Unfortunately we could not access the compressor room. However following a peer through a grubby window, the consensus of the members who had visited previously was that it looked unchanged from their last visit. During our time on the operating floor, we were able to take an unusually located picture or two of the Southbound 'Highland Chieftain', at the time the only regular HST service to visit Perth, the ScotRail short HSTs were not in service then (Nov 2018). The operating floor here was originally designed to accommodate a panel for an aborted Perth to Inverness scheme.
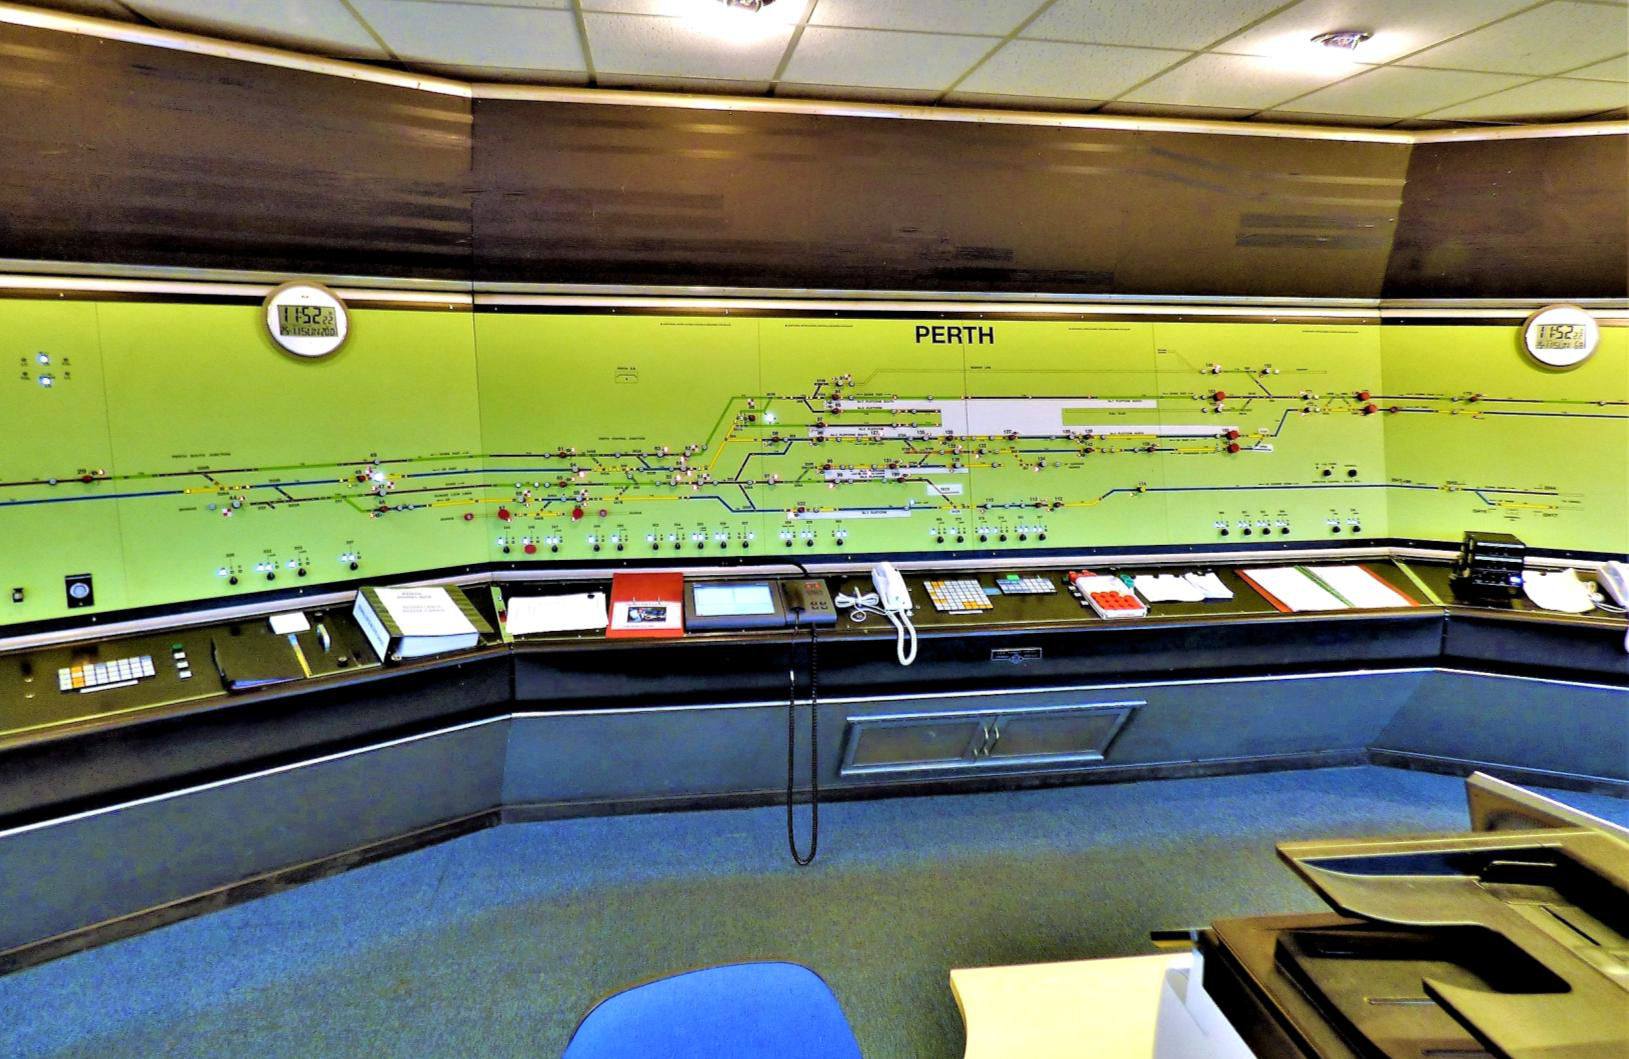
Perth power signal box panel.
[© Nick Jones 2018]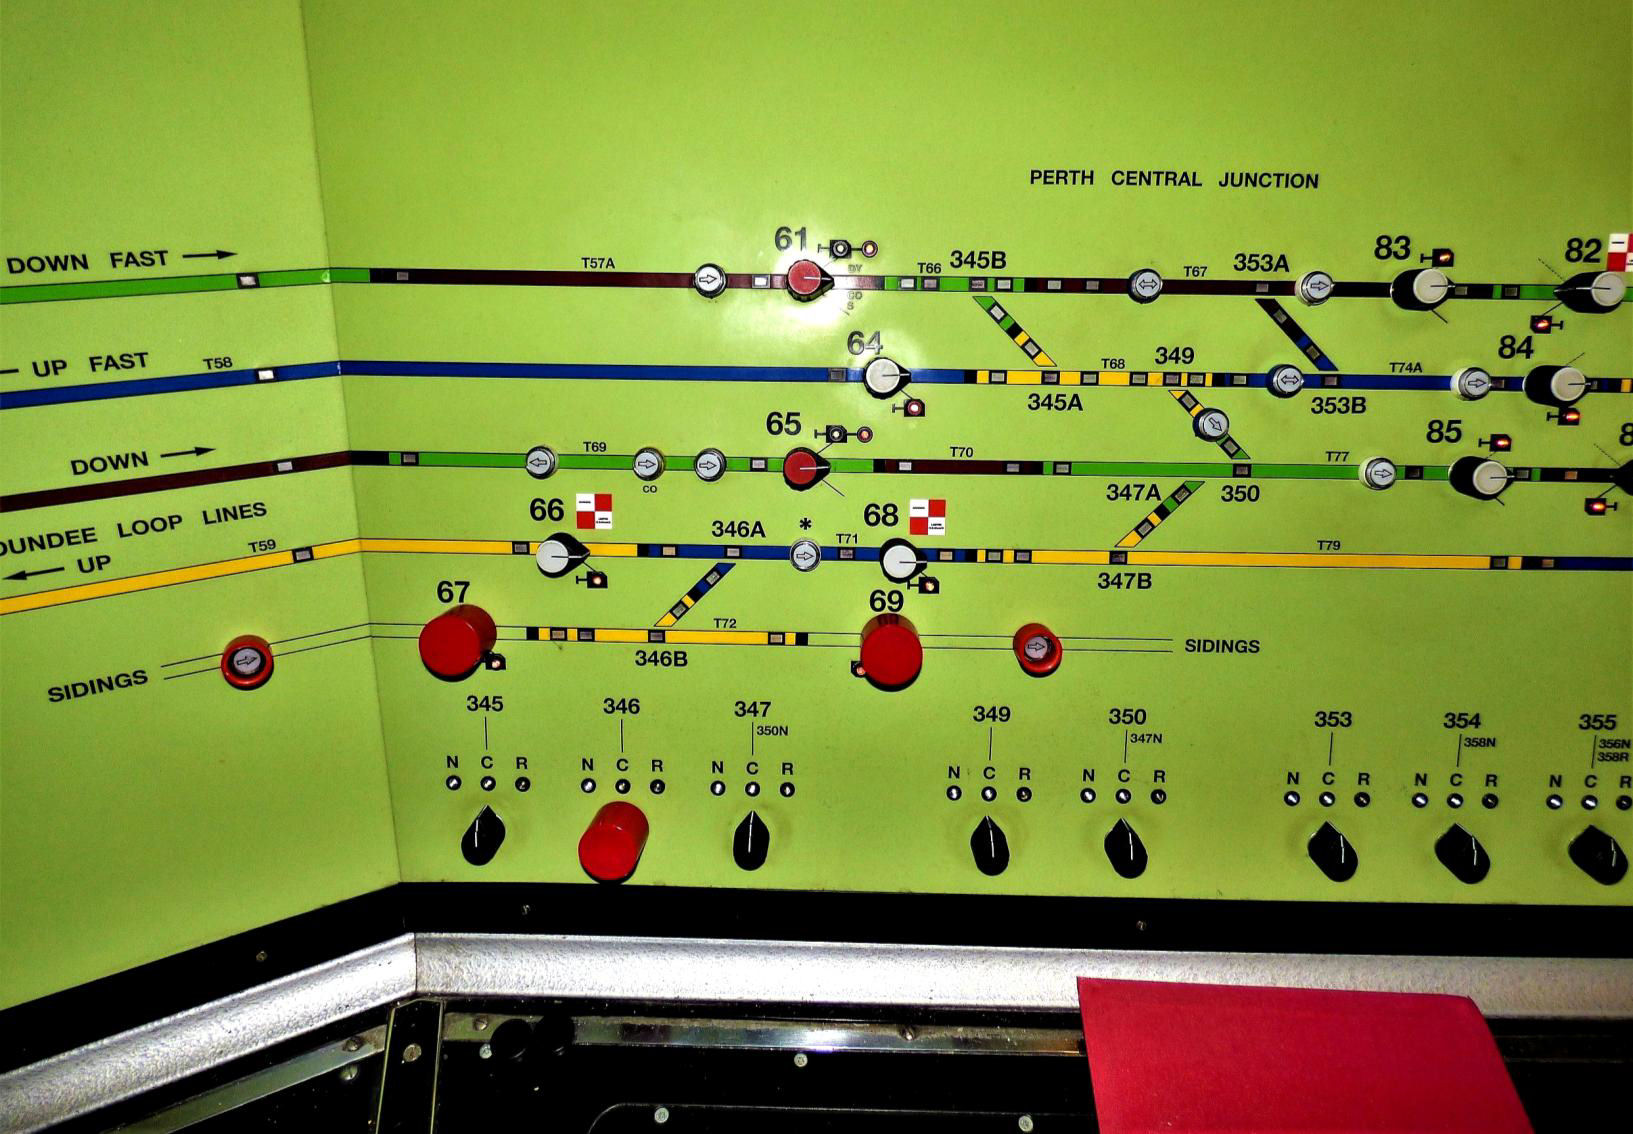
Perth power signal box panel.
[© Nick Jones 2018]The line to Inverness was under possession north of Perth, so both Blair Atholl and Pitlochry boxes were unusually quiet but the signallers made us extremely welcome.
Blair Atholl retains a lever frame for the area in the station controlled mostly by semaphores. There are also intermediate signals, controlled from a small Individual Function Switch panel at Blair Atholl on the Down line, to break up the long section to Dalwhinnie. Blair Atholl works Absolute Block on the double track to Dalwhinnie and Scottish Region Tokenless Block on the single line to Pitlochry. The level crossing outside the box is controlled from a small pedestal at the end of the frame. There was also a very historic looking railway omnibus circuit telephone - nicely polished and in good condition but sadly no longer operational.
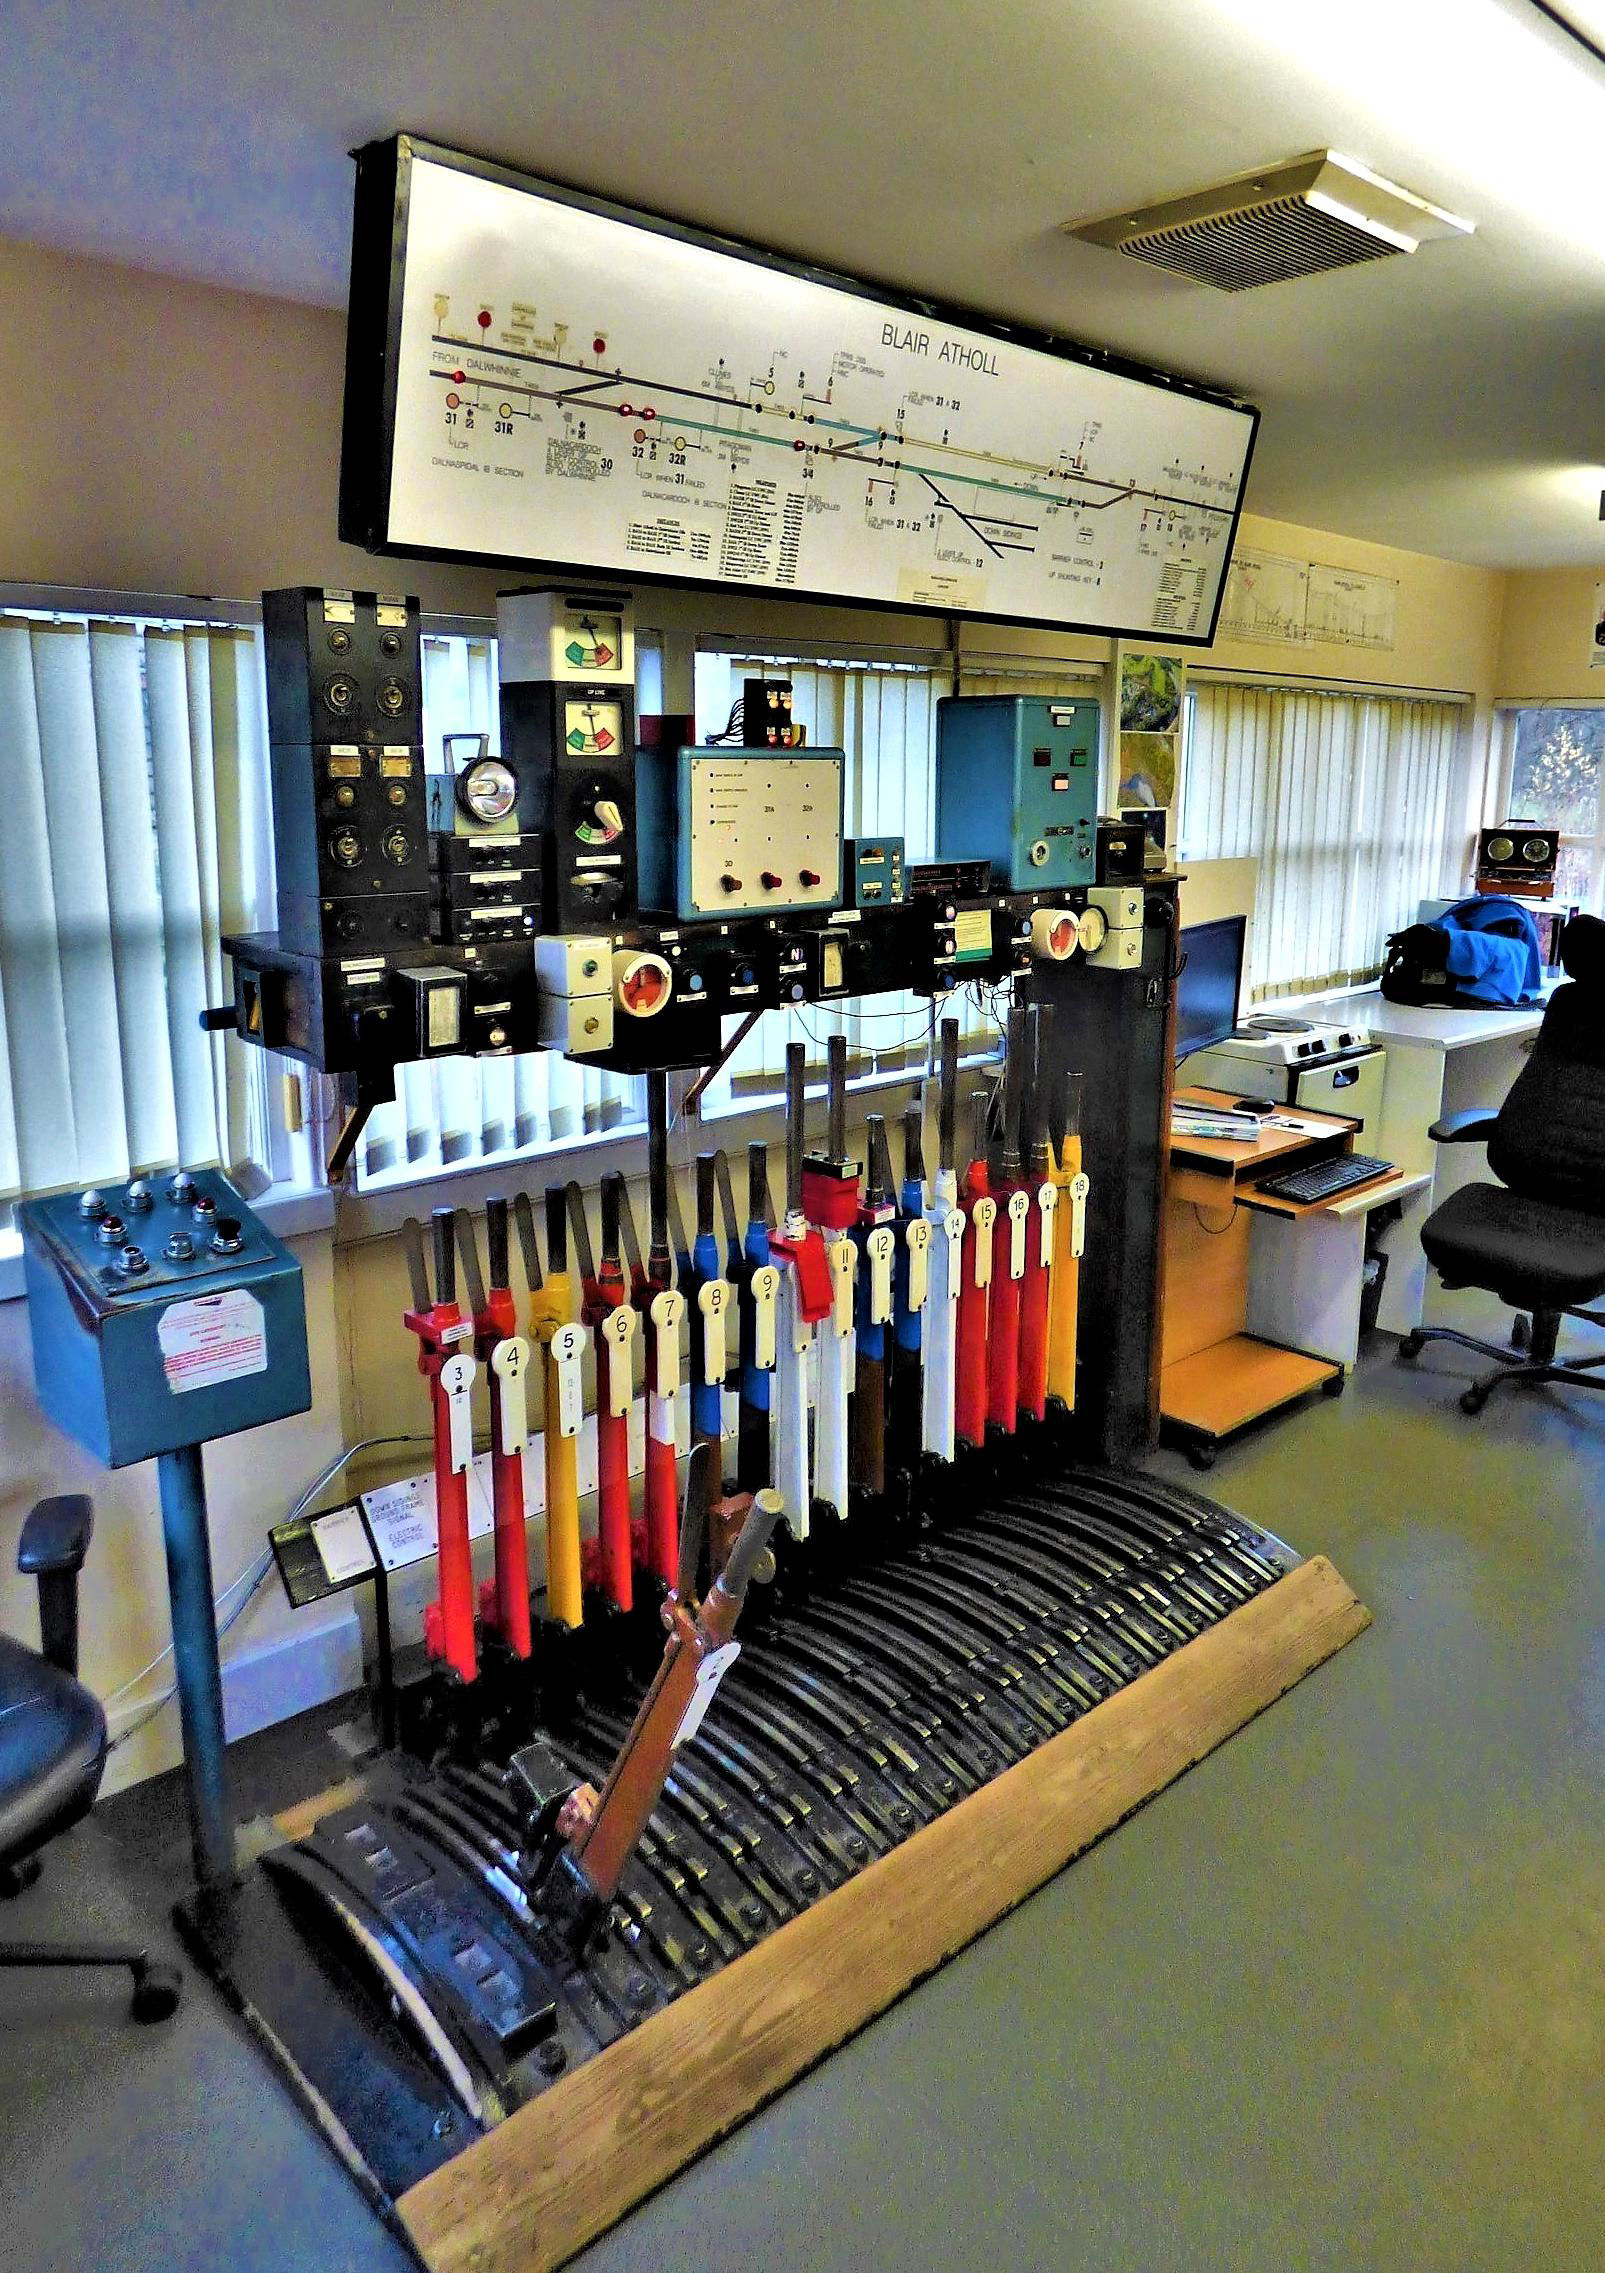
Inside Blair Atholl signal box.
[© Nick Jones 2018]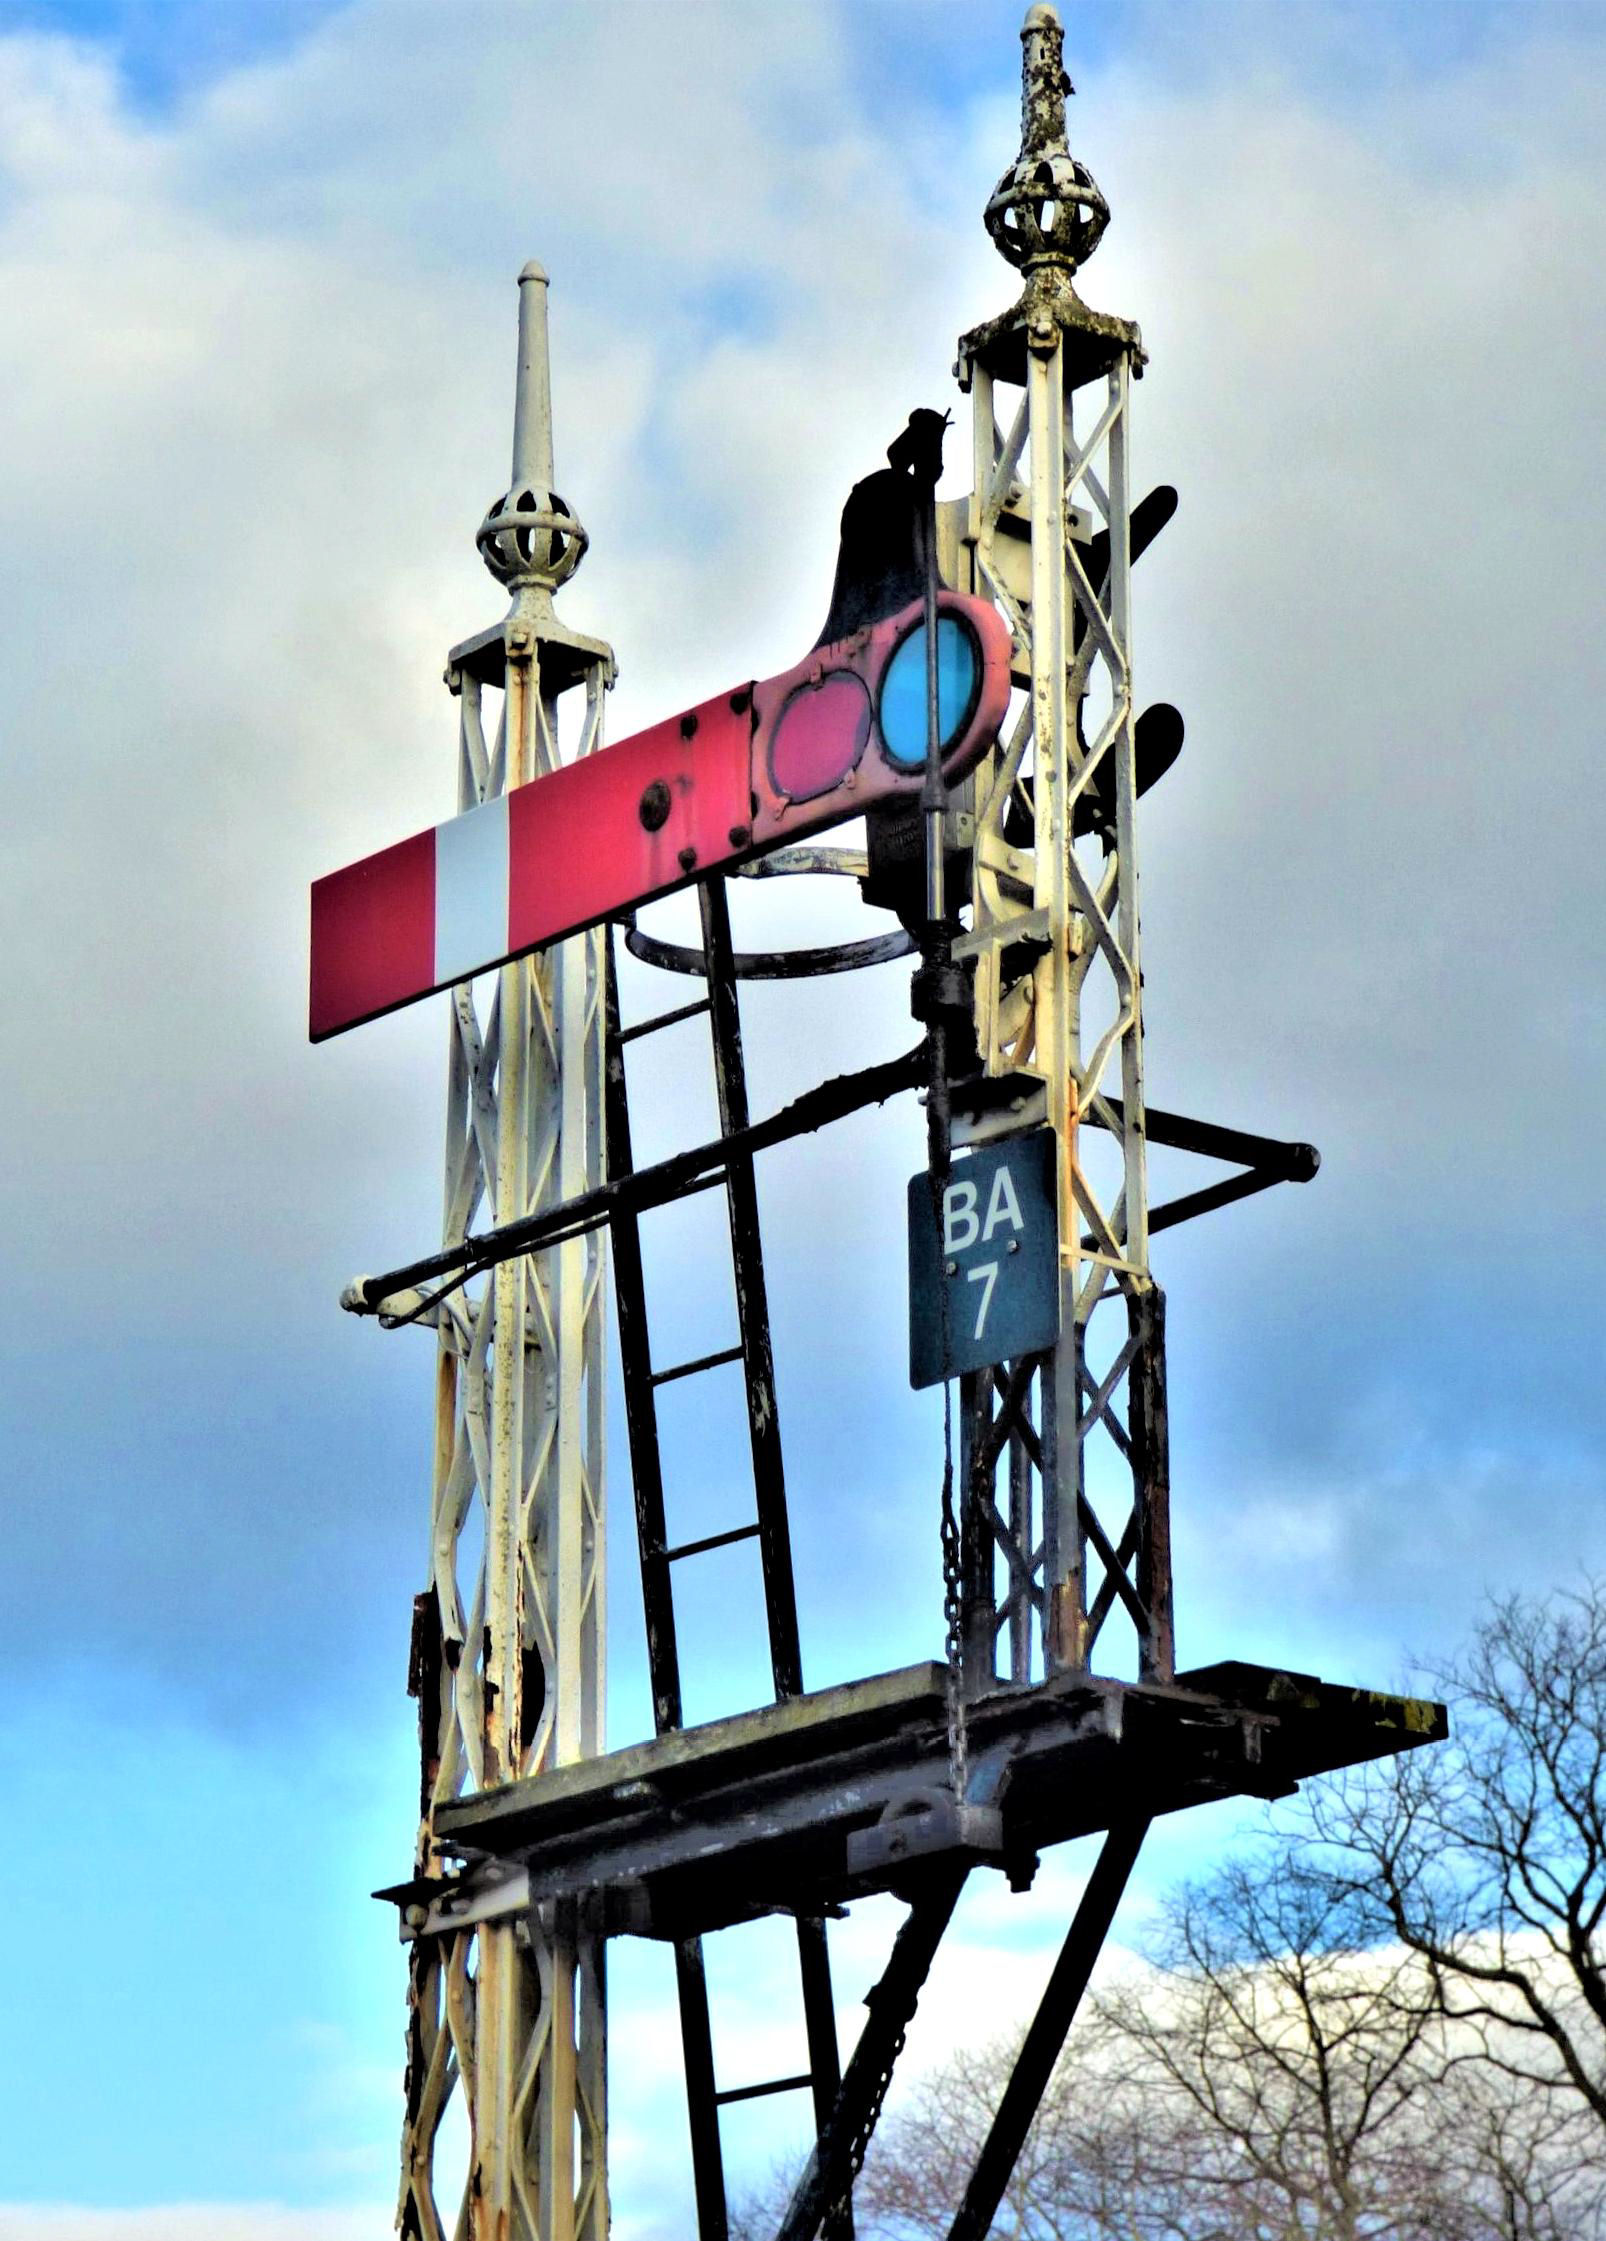
Blair Atholl signal BA7
[© Nick Jones 2018]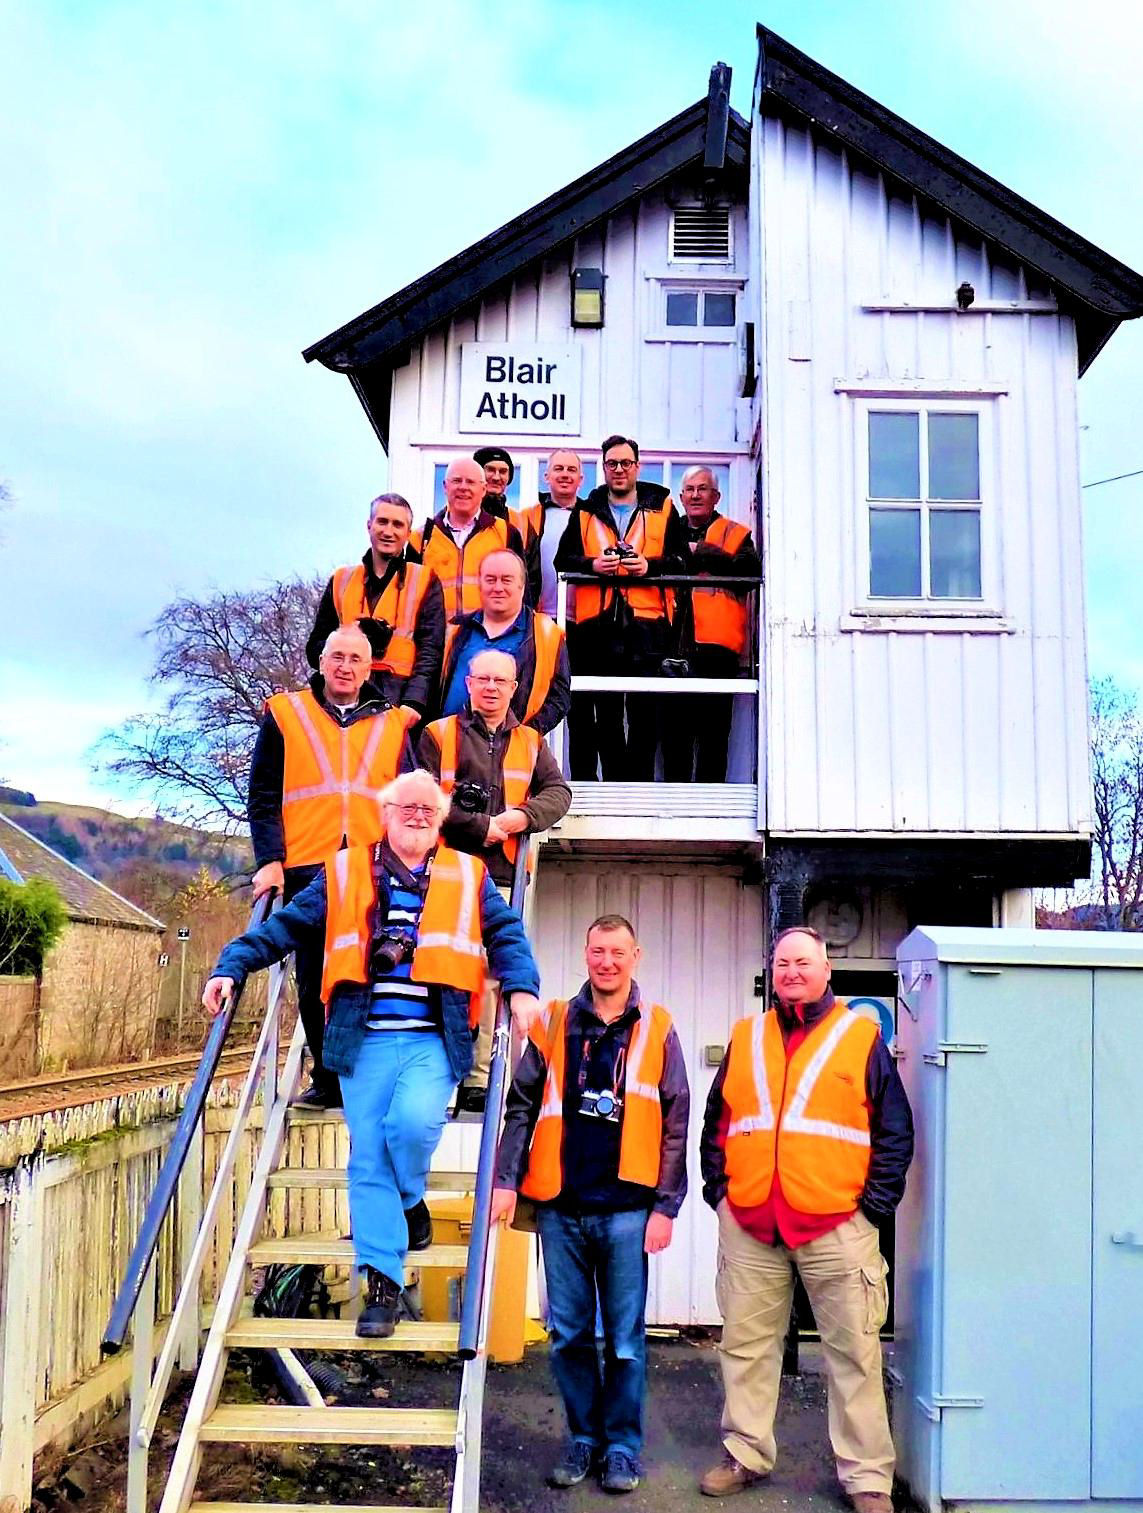
The twelve keen BLS signalling aficionados are in the frame..... (don't pull their legs).
[© Nick Jones 2018]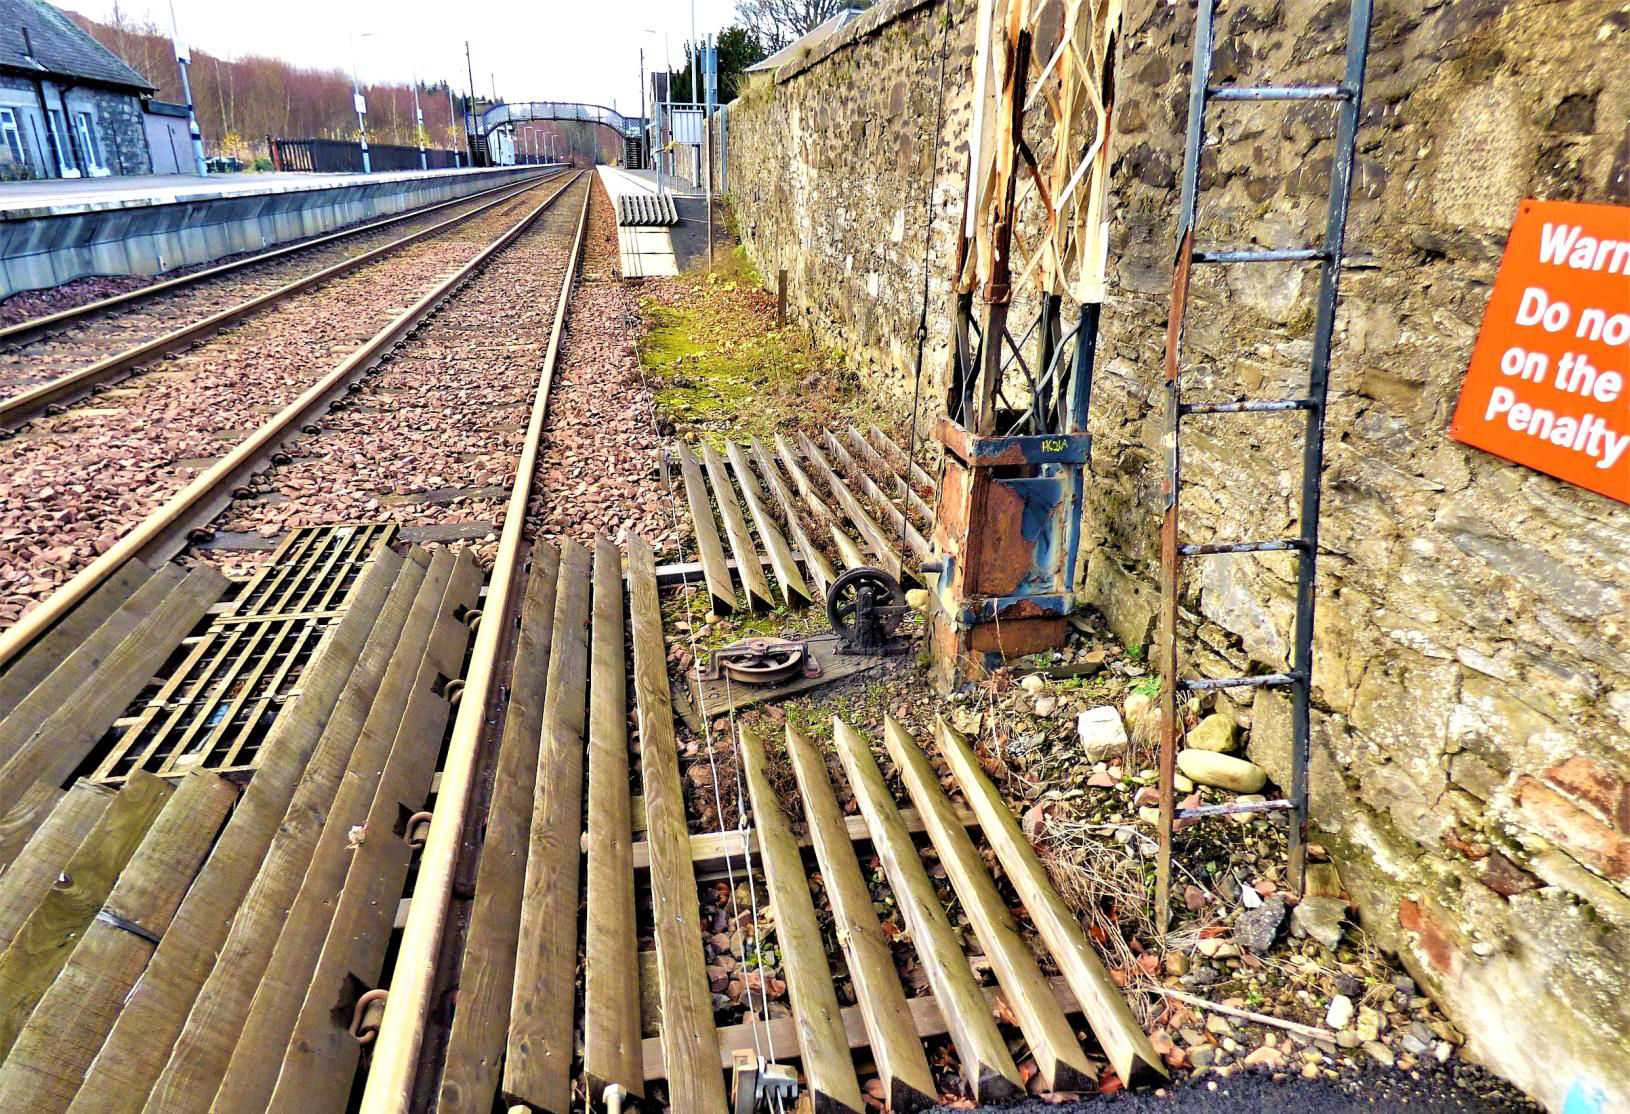
Blair Atholl
[© Nick Jones 2018]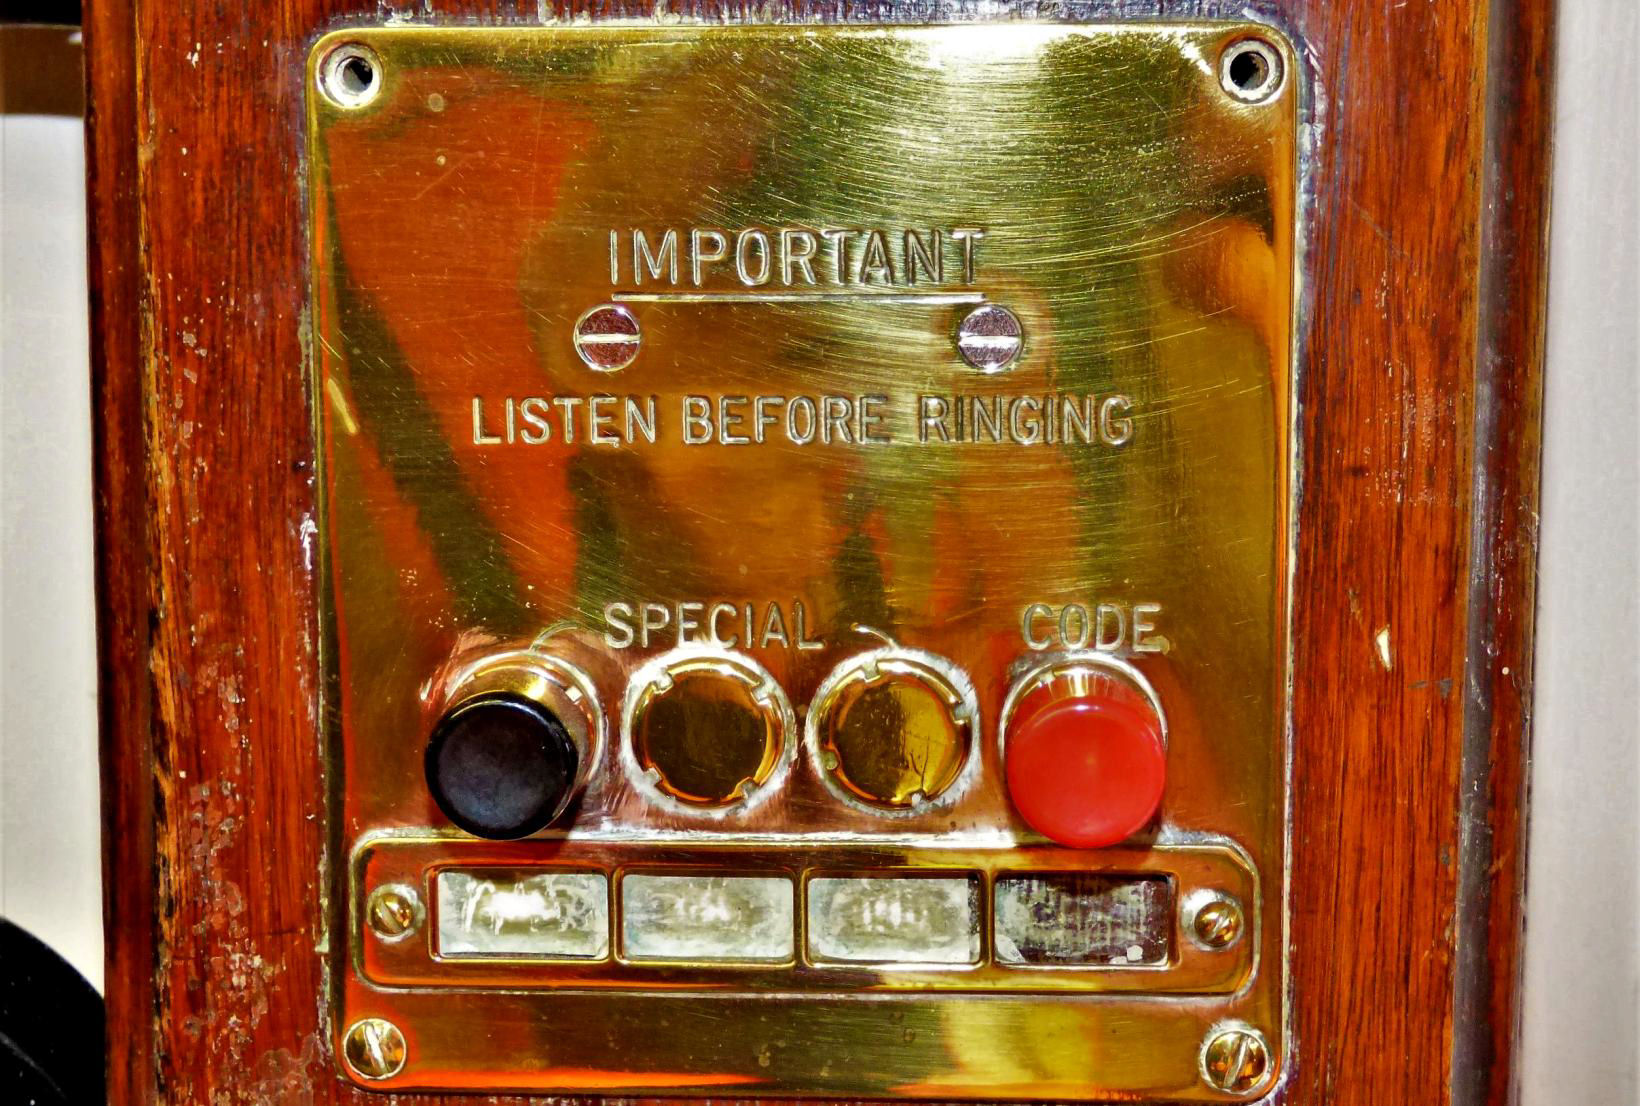
Part of the non-functioning 'omnibus' phone, once commonplace in signal boxes etc.
[© Nick Jones 2018]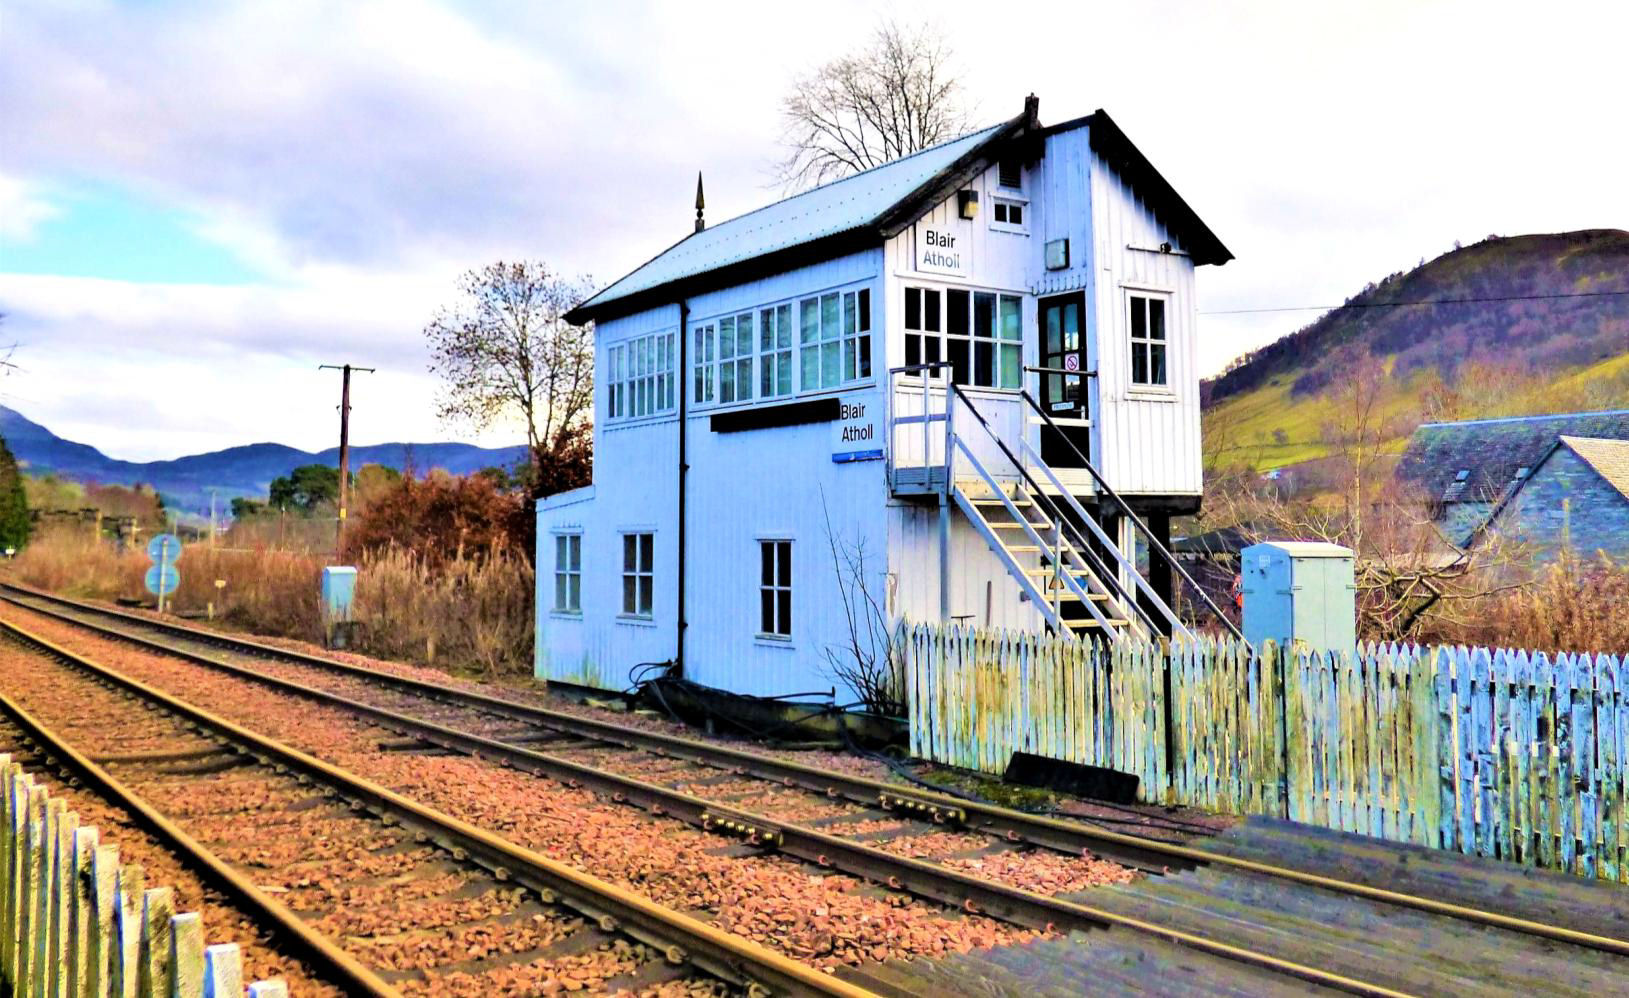
Blair Atholl signal box
[© Nick Jones 2018]Last port of call was
Pitlochry, a 1911 Highland Railway 24 lever box. This was a priority to visit due to its pending closure (which happened after service on 22 Mar 2019 as planned). At the time of the visit, the signalling was still traditional - lever frame, semaphores and Scottish Region Tokenless block working in both directions (to Dunkeld and Blair Atholl). However, the resignalling work on the ground was in evidence with the Up Siding already removed and the platform extension work well under way.
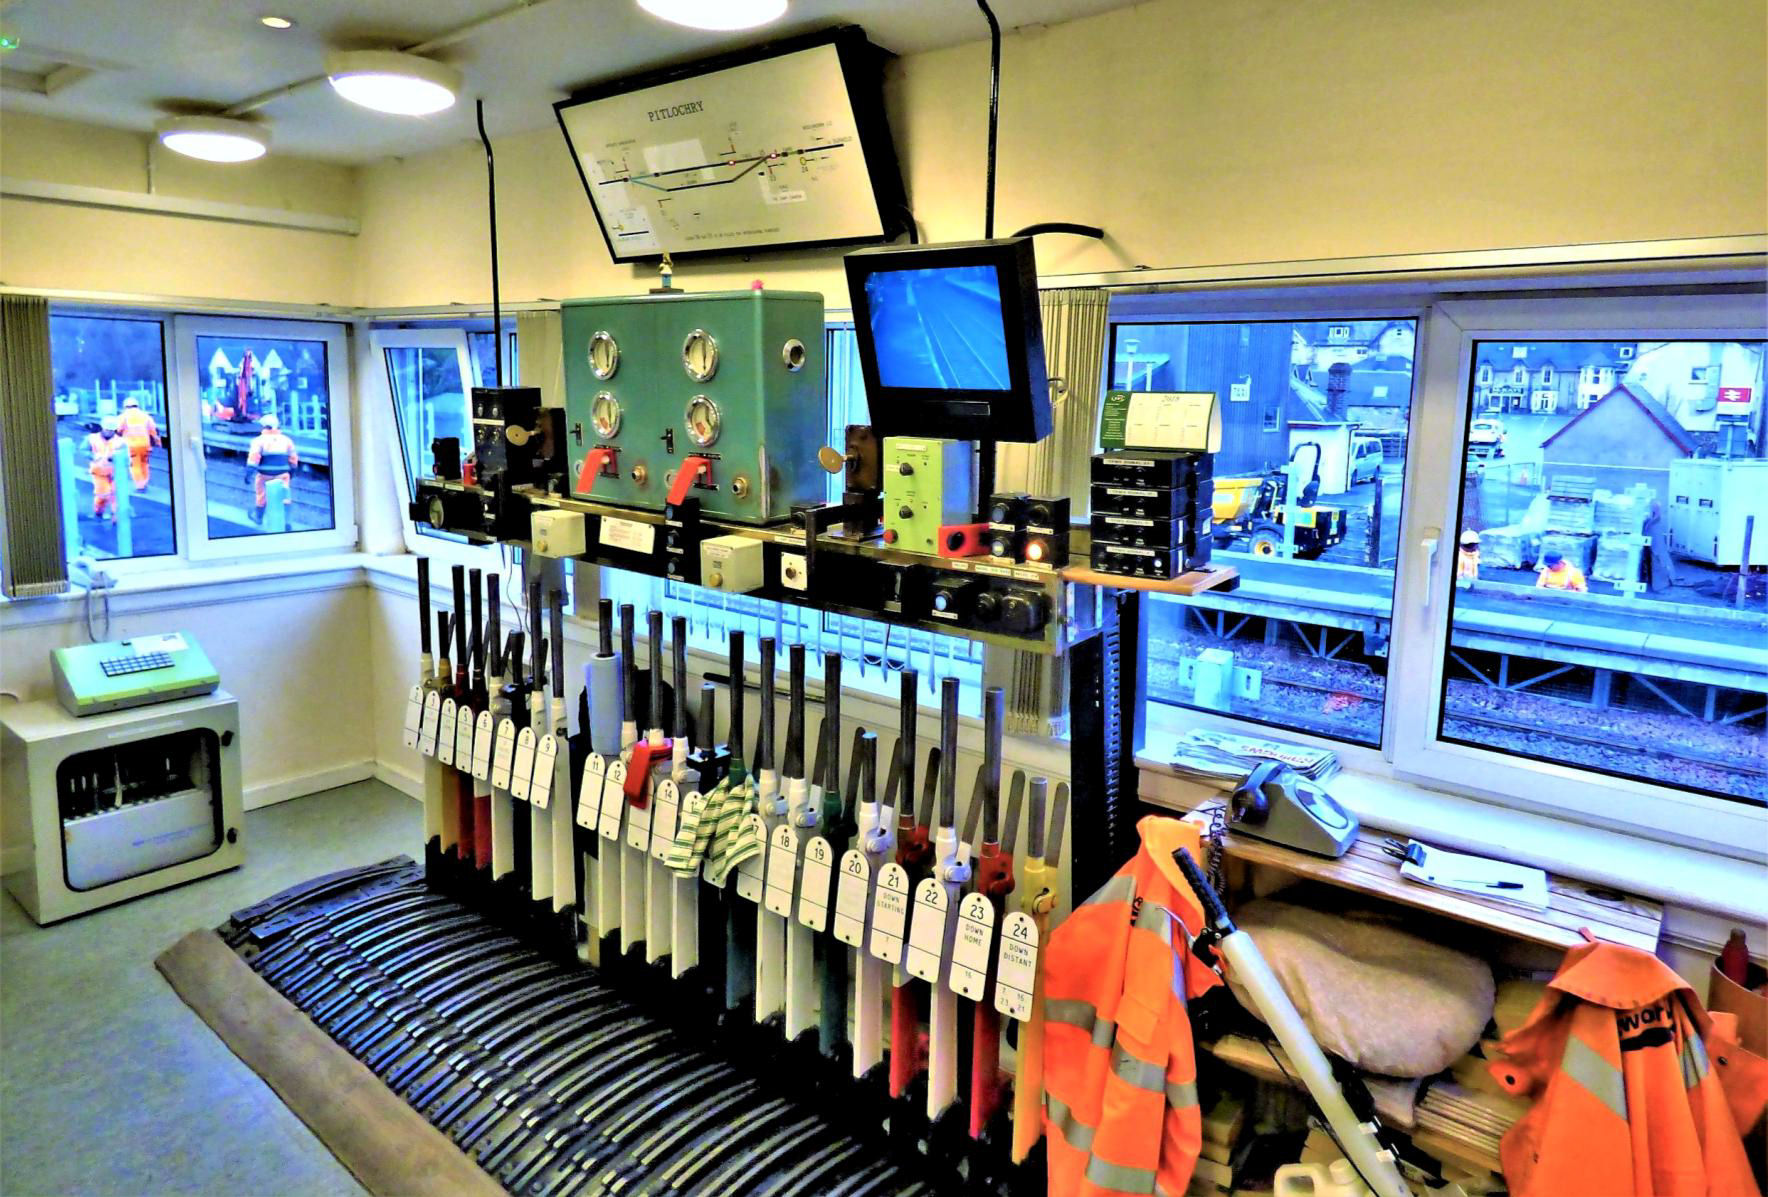
Pitlochry, in many ways the activity through the windows is as interesting as the box interior...
[© Nick Jones 2018]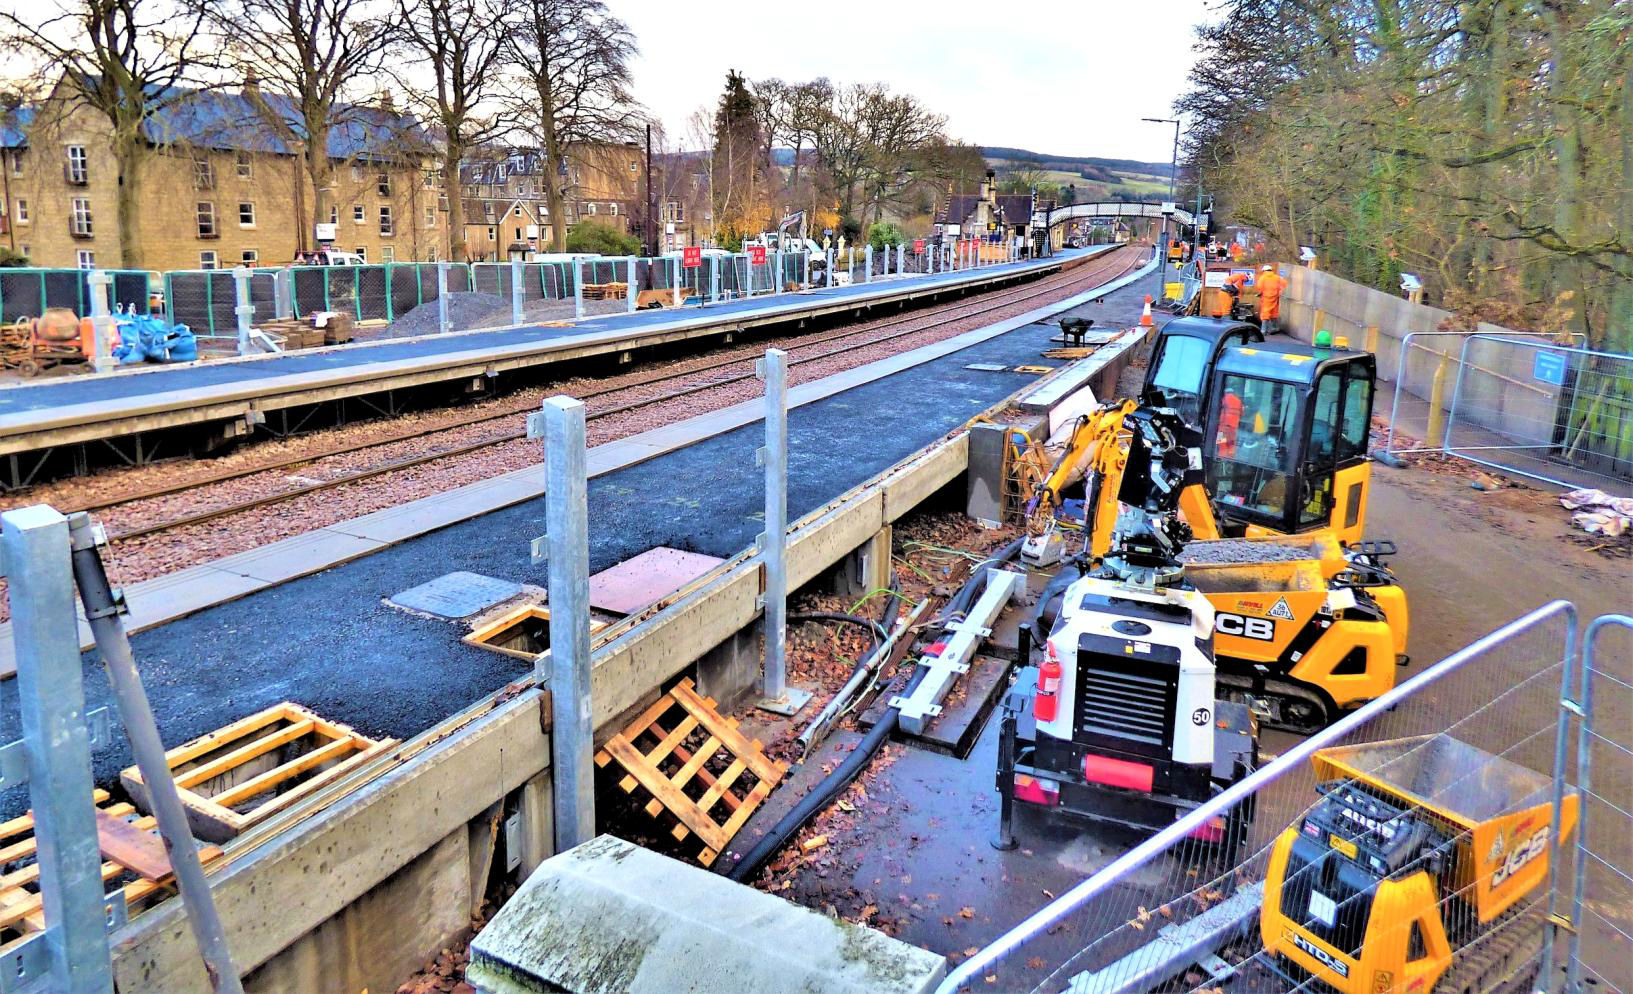
Pitlochry platform extensions as at 25 Nov 2018 (the loop was not altered).
[© Nick Jones 2018]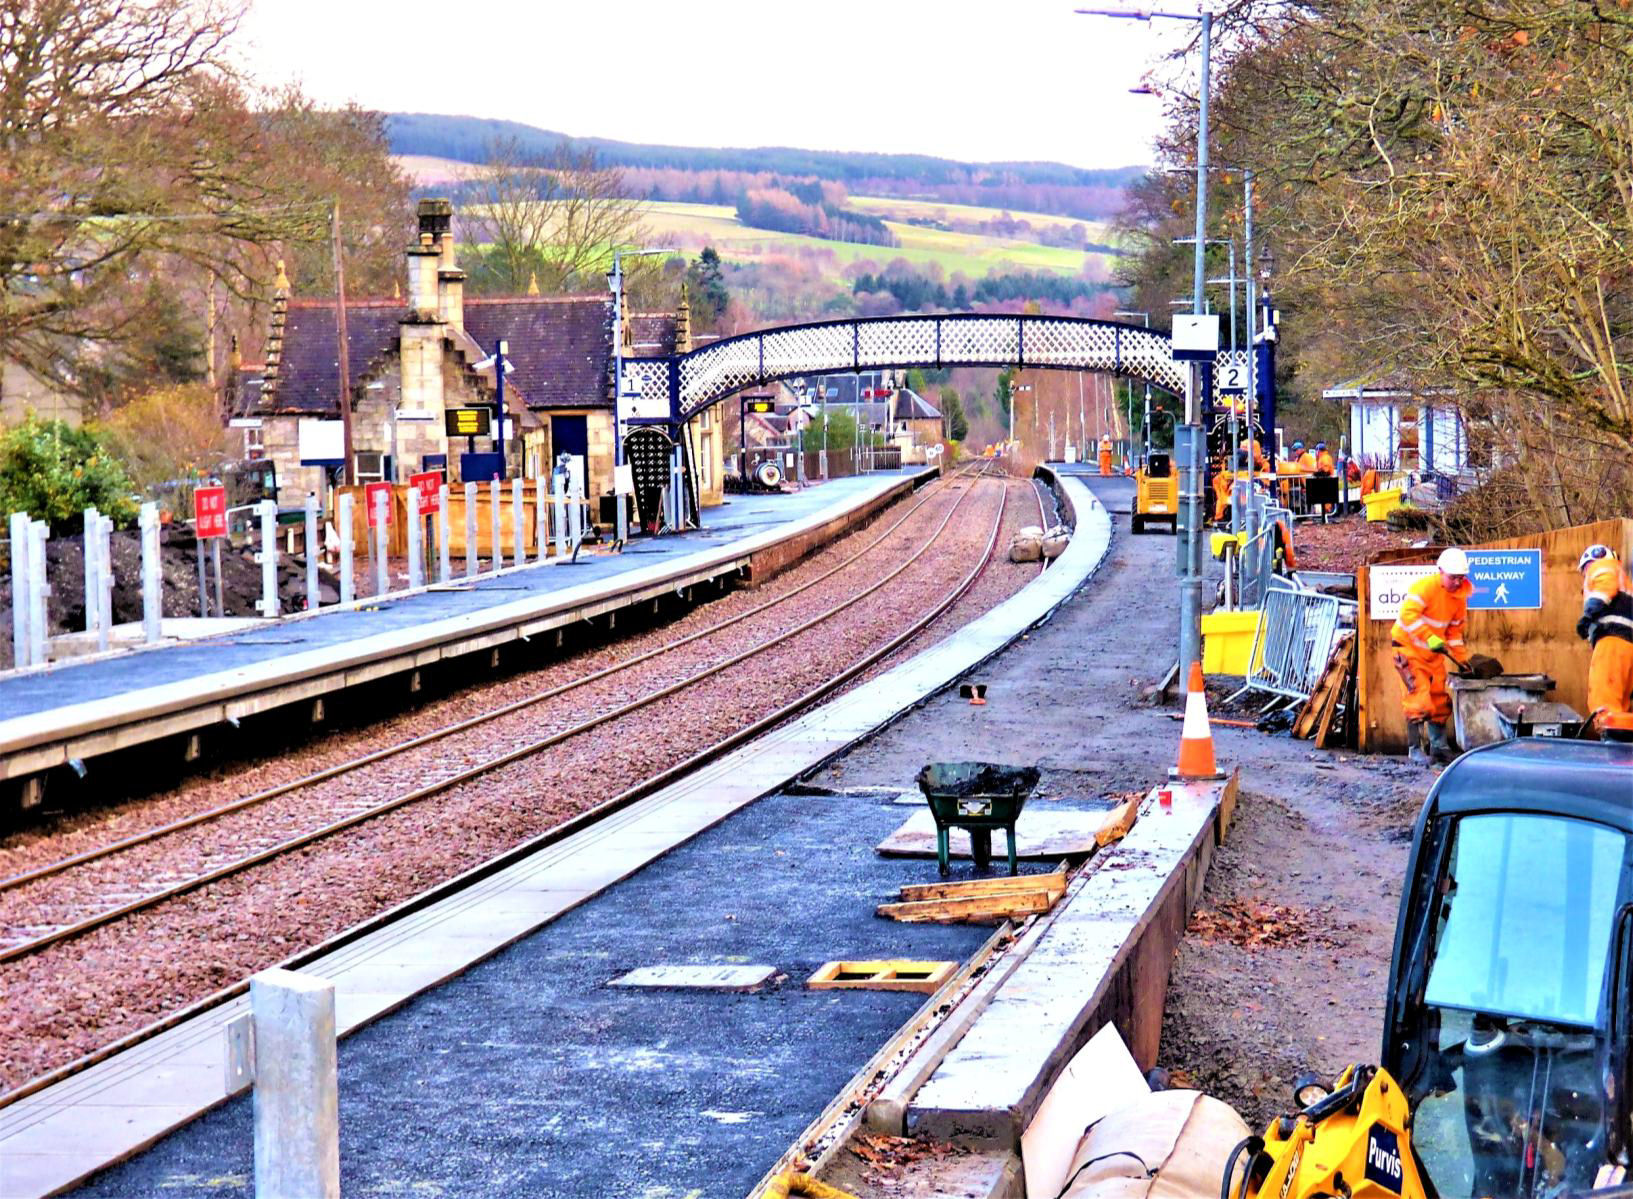
Pitlochry platform extensions as at 25 Nov 2018 (the loop was not altered).
[© Nick Jones 2018]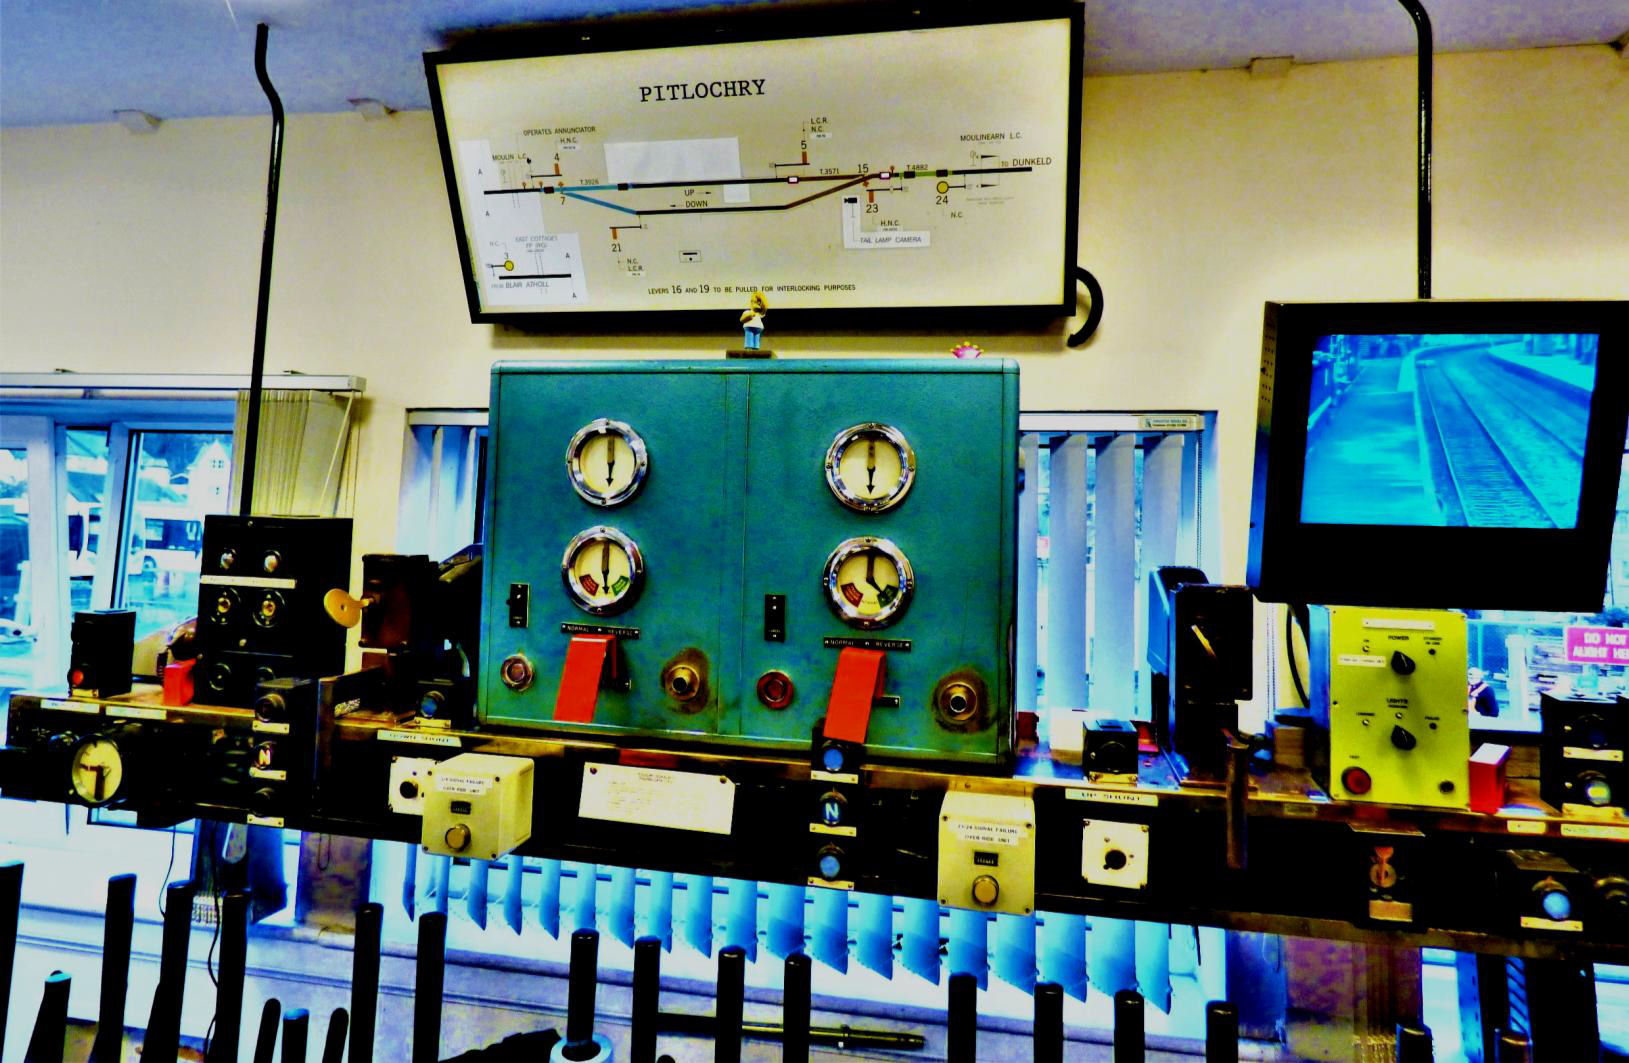
Pitlochry signal box panel
[© Nick Jones 2018]Thanks to NR, especially Local Operations Manager Alison Bodie for the visits and to Nick Jones for the arrangements, £308 was donated from participants to (at Alison's request) the defibrillator charity 'Lucky2BeHere', in memory of a local signaller who had died tragically young from a heart attack.